
Here you will find the processes and how-tos for your Nimble-equipped DeltiQ printer.
Extruder swap: E3D Titan -> Zesty Nimble
TRILAB DeltiQ printers are equipped with a versatile and powerful E3D Titan filament extruder. For more demanding materials, such as flexibles or slippery materials, we can optionally upgrade our printers with the Zesty Nimble. Switching botch extruders is simple and takes approx 5-10 minutes.
For unmounting the Titan and attaching the Nimble, please follow the following steps. A similar procedure is used for removing the Nimble and attaching the Titan.
1) Make sure, that the filament is unloaded from the printhead and the hotend is cooled down.
2) Remove the bowden tube from both the printhead as well as from the Titan extruder. Keep and store the bowden tube for later use, it is necessary for proper Titan extruder function.
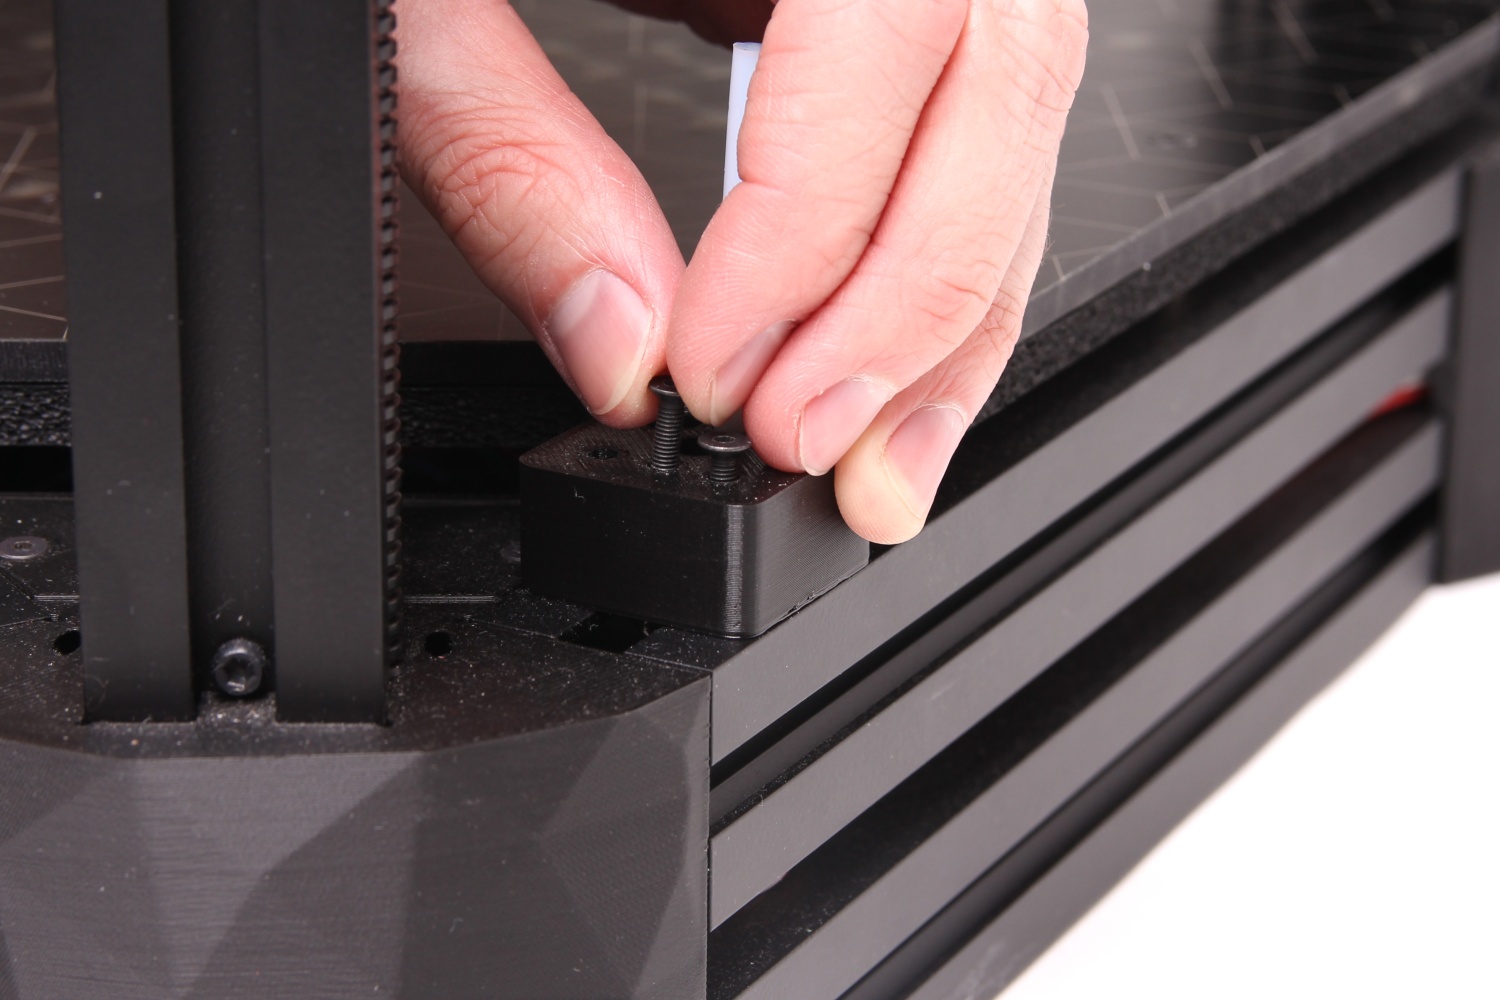
3) Remove the following screws using a 3mm hex allen key.

4) TIP: You can store the screws in the stand as follows:
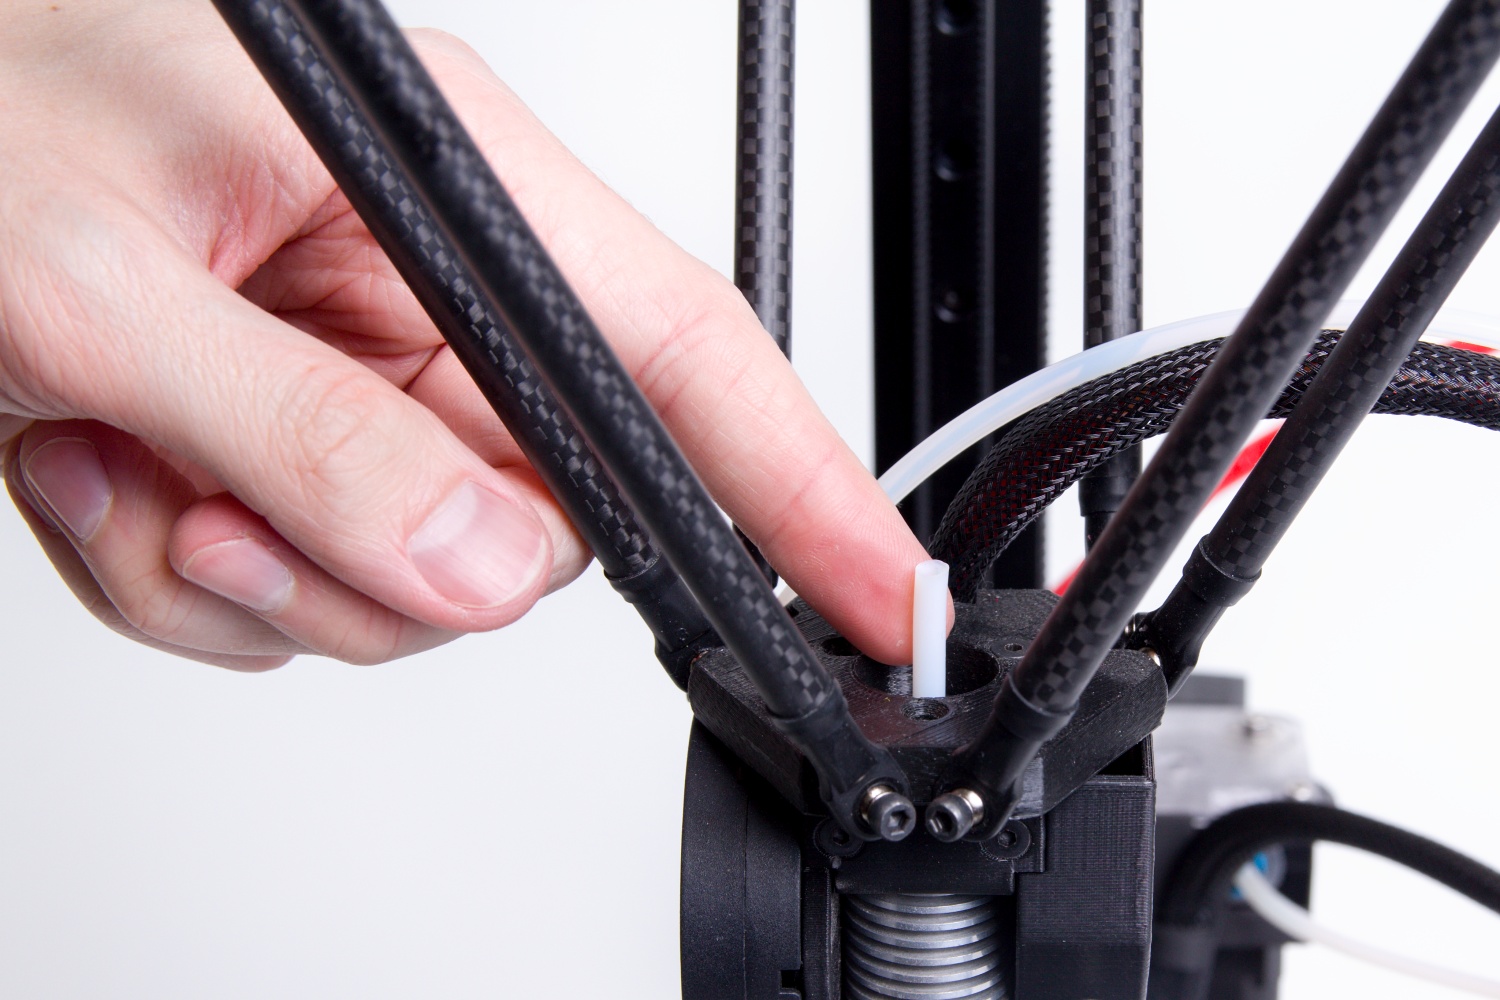
5) Insert the supplied 55mm long PTFE tube into the hotend heatsink. The tube has an external cone on one end and an internal cone on the other.

Caution: The external cone/tip is to be inserted into the heatsink.Make sure the tube si fully inserted.
6) Place the Nimble extruder assembly onto the effector platform, so that the two screws protruding from the extruder assembly are aligned with the two holes on the effector platform and the PTFE tube is centered with the central bore on the extruder assembly. Carefully slide the assemby on.
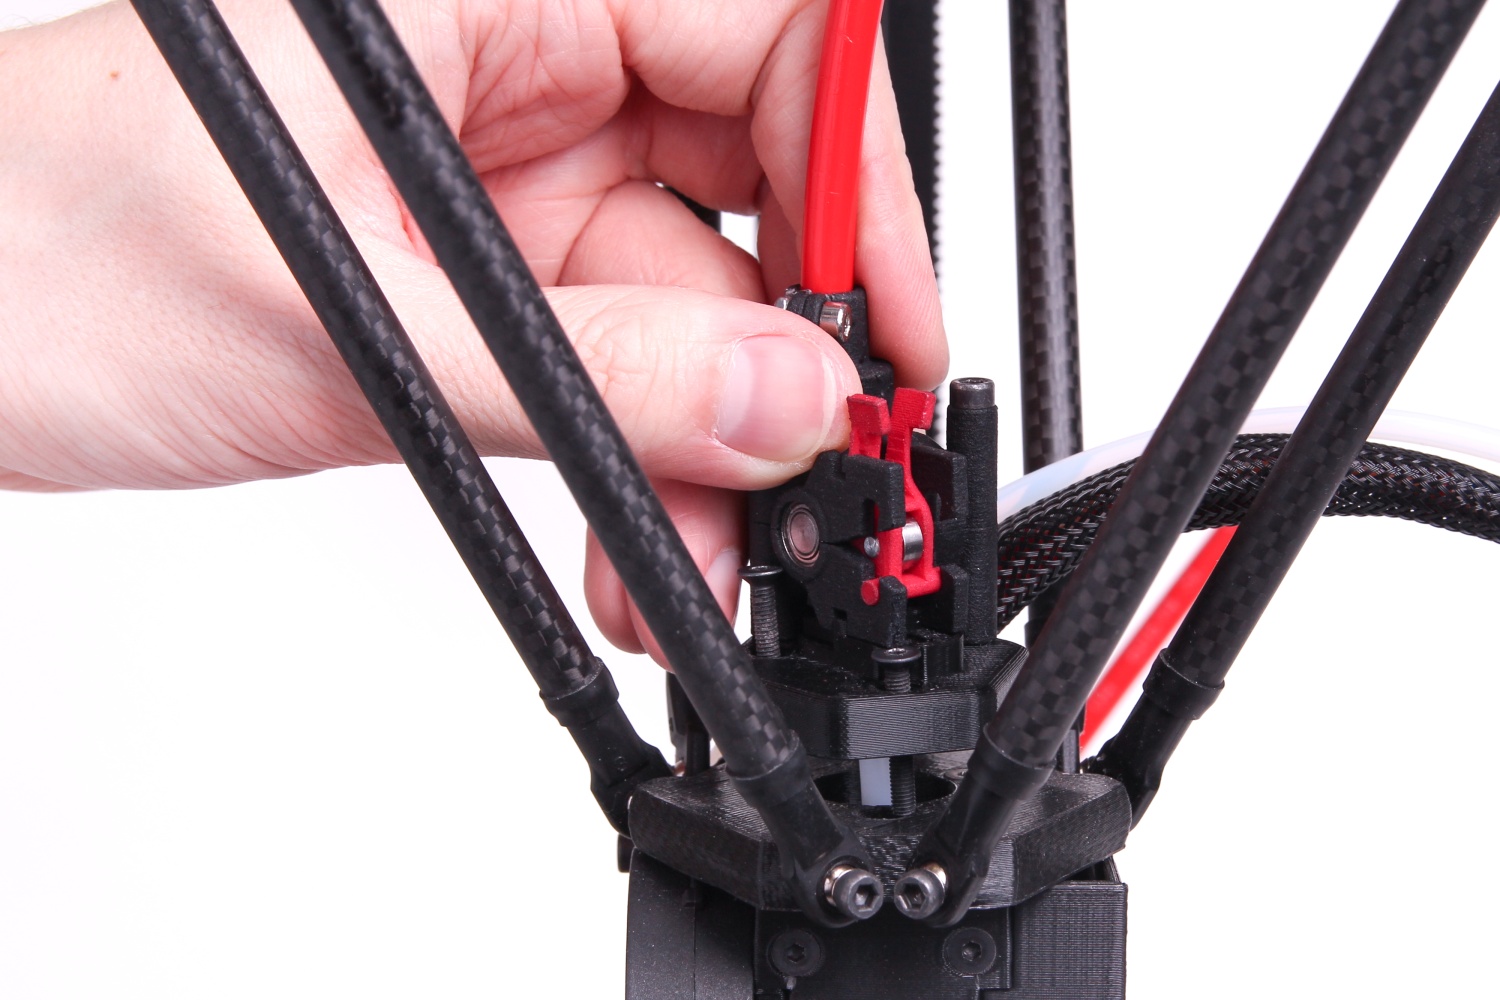
Tighten both screws using a hex allen key. Only fix both screw until first resistance. Do not overtighten

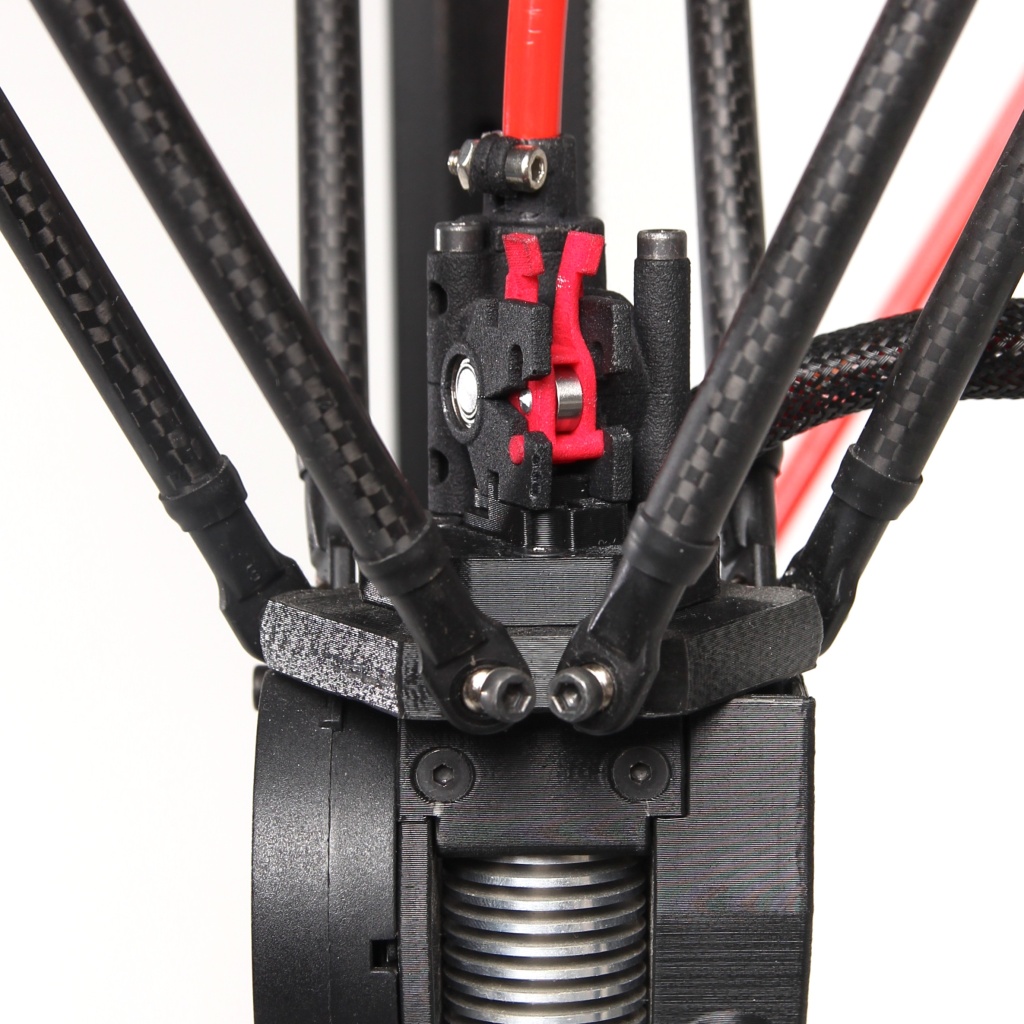
Congratulations, you sucesfully finished the extruder swap!
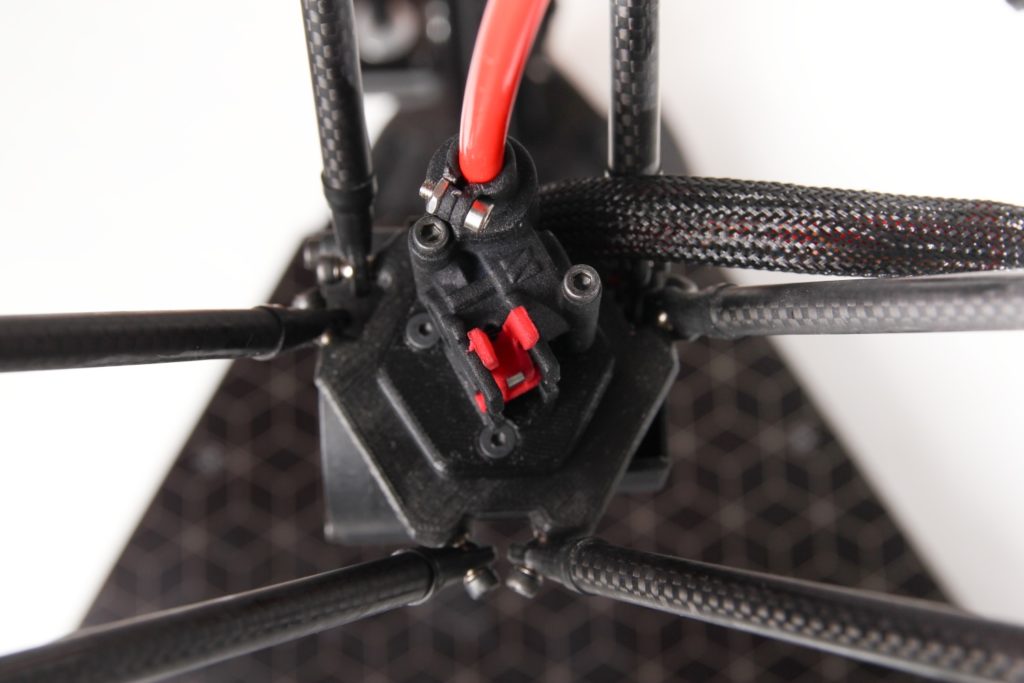
Nimble extruder filament loading
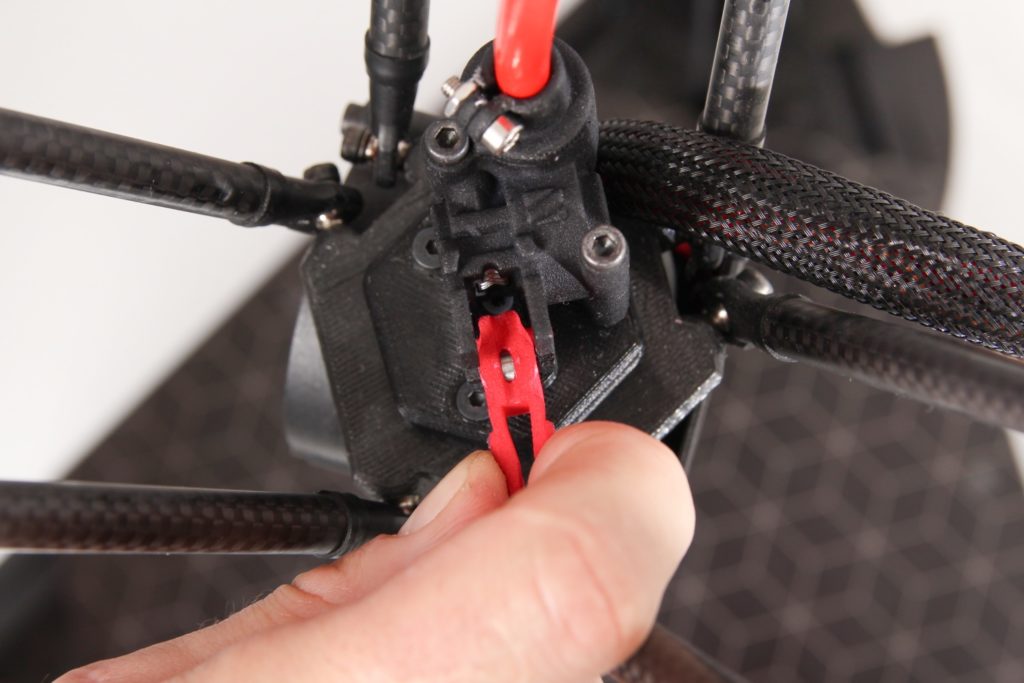
- Remove the red filament idler as follows.
2) Compress the idler by pressing on the tabs using your index and thumb finger. Open the idler.
3) At this moment, the extruder is prepared for filament loading.
4) Place the spool on the top spool holder as follows.

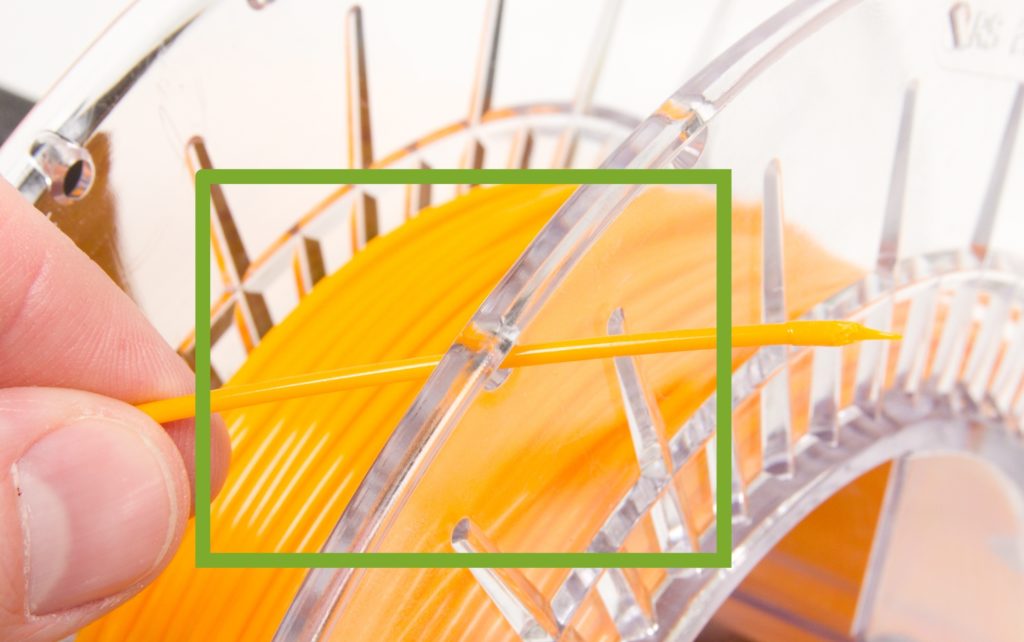
5) Cut the filament at approx 45° using the supplied side cutters (obrazek popr link na nej).
6) Insert the filament as far into the printhead as possible.
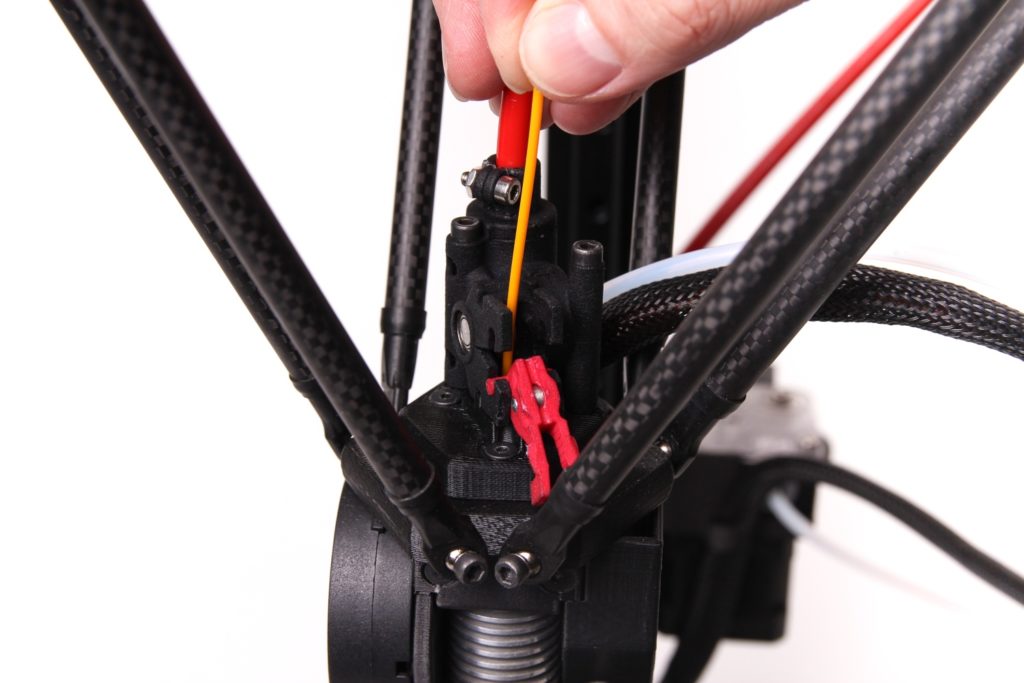
TIP: If you manually preheat the printhead, you can push the filament through the nozzle and purge as required. This is not required and can be done automatically as follows.
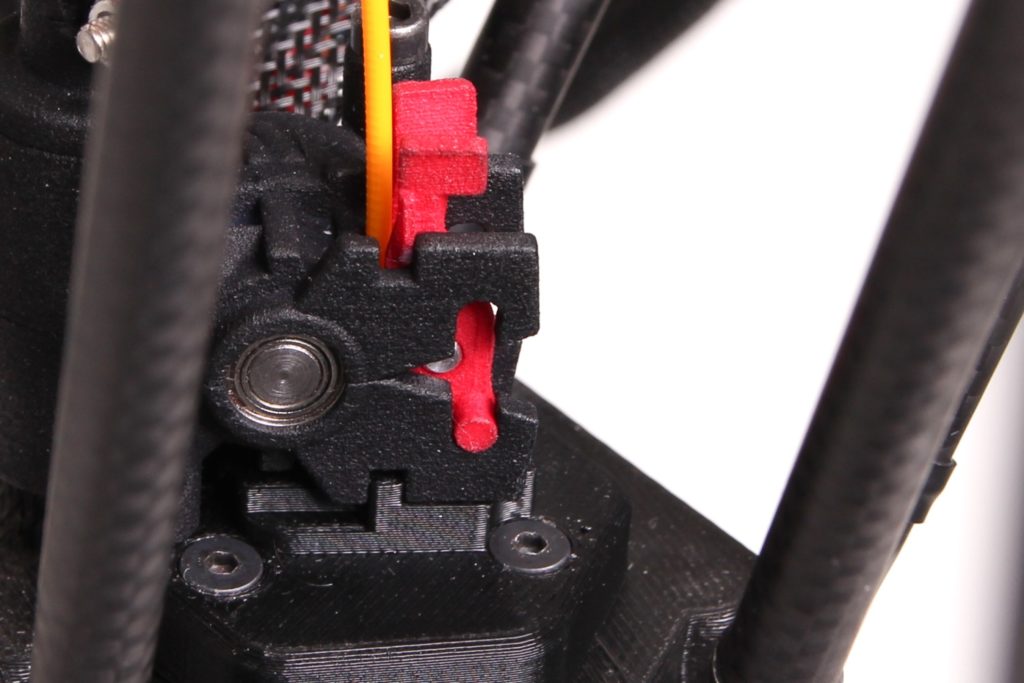
7) Close the filament idler – the red tabs, which hold the idler closed, should be fully locked in the tab openings.
8) For purging the hotend, choose Control – Purge filament – Direct Extrude.
9) The printer will automatically preheat the printhead and purge the nozzle with new filament.
10) Cooldown the printhead as usually.
Vytažení filamentu z Nimble extruderu
1) In the Control menu select Purge filament – Direct Extruder. The printer will heat up the hotend and it will purge the filament.
2) The hotend stays heaten up.
3) Remove the filament idler and pull out the filament.
4) Put the end of the filament securely back to the hole in the spool’s side.
5) Cooldown the printhead as usually. Alternatively, you can use the preheated nozzle to insert new filament.