
We know that you want to get started printing as fast you can. But we would like to ask that you read and follow the instructions below carefully, so that you won’t damage your printer, your hands, or your prints.
Place the printer box on the ground, with the correct side facing up. This keeps the printer from falling during unpacking. To see which way is up, check the transport openings and the box markings.
Remove the tape and open up the box.
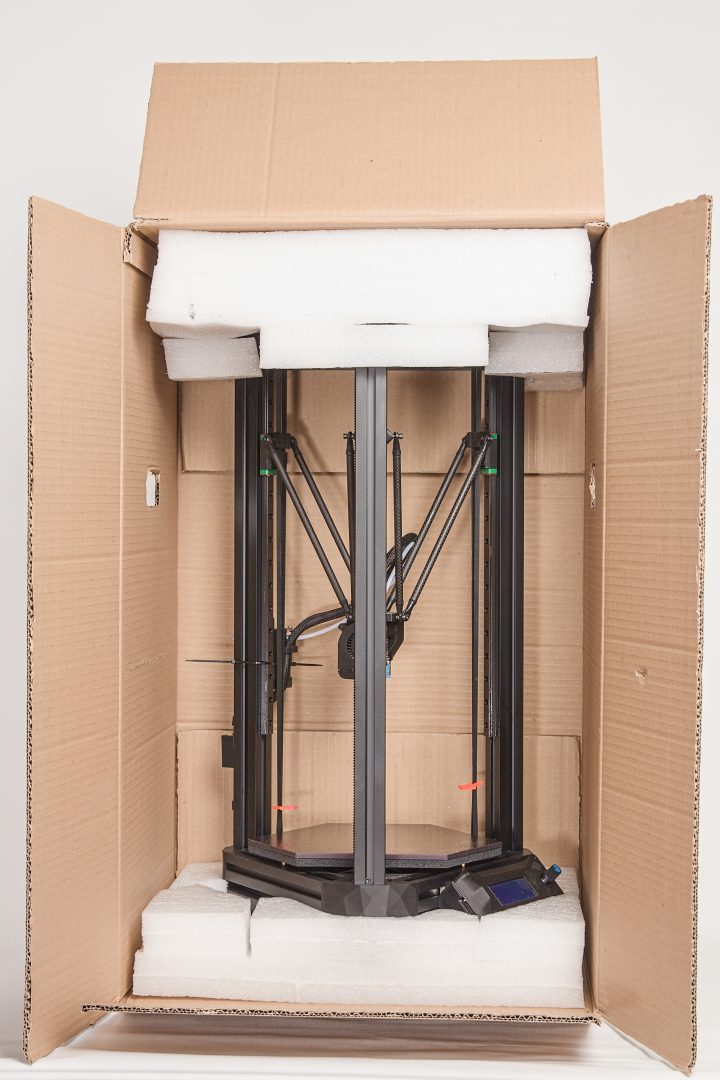
Take out the contents of the box. Pay close attention to the accessories that have been packed within the upper protective cover.
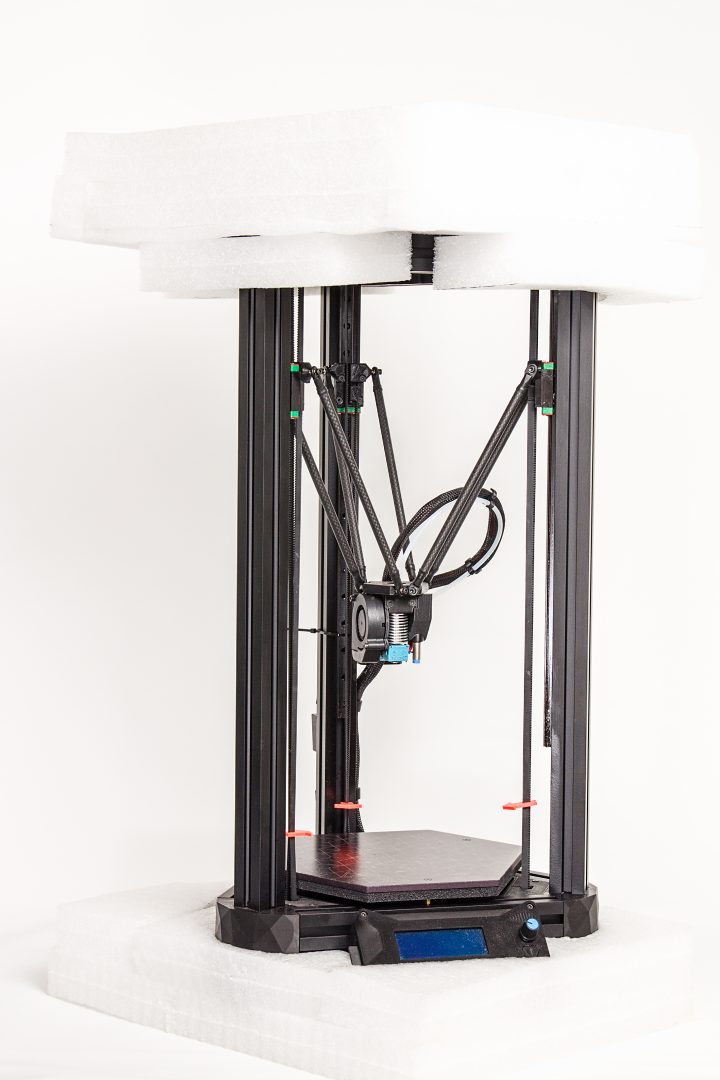
Remove the white protective caps from the printer. The printer is now ready for further use. However, before continuing, familiarize yourself with its individual parts.
Package Contents
The package contains the printer itself, with a size and configuration matching your choice of model. It will also contain these components:
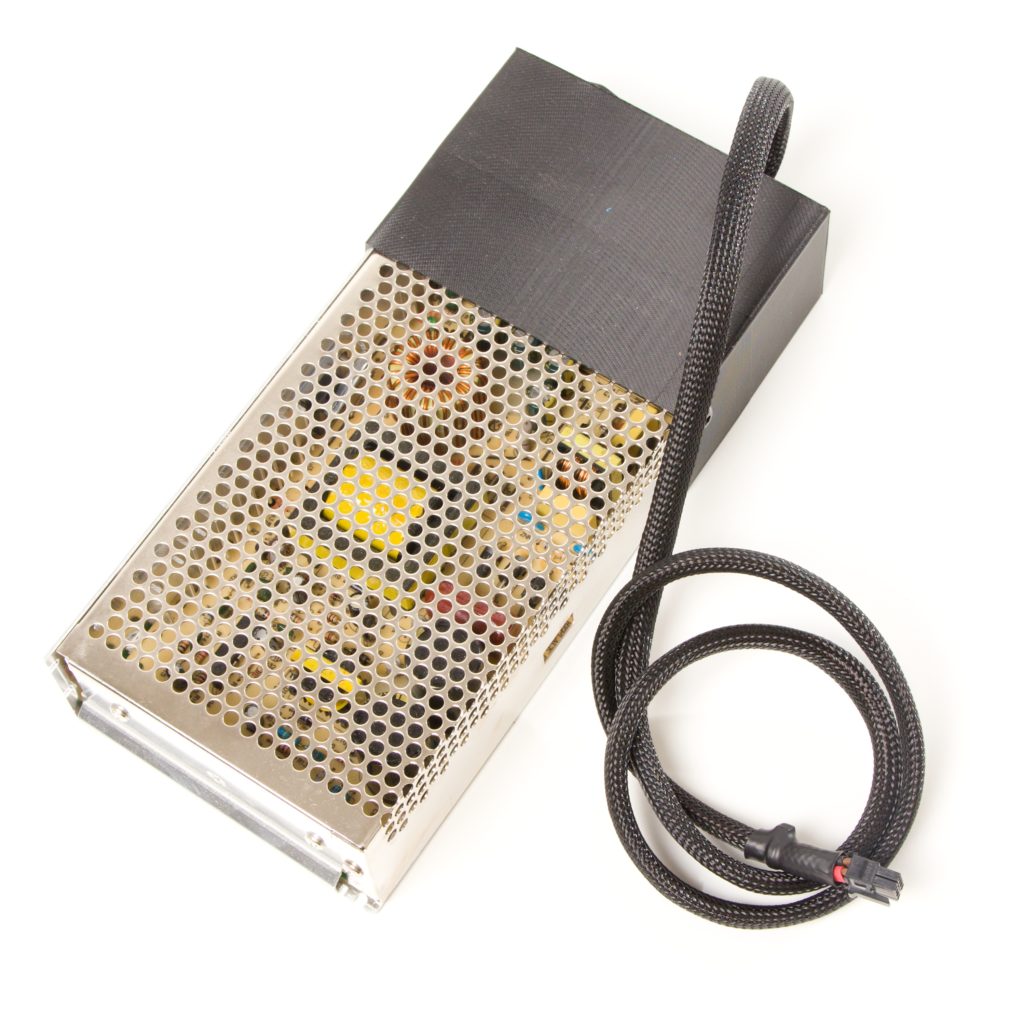
a power supply 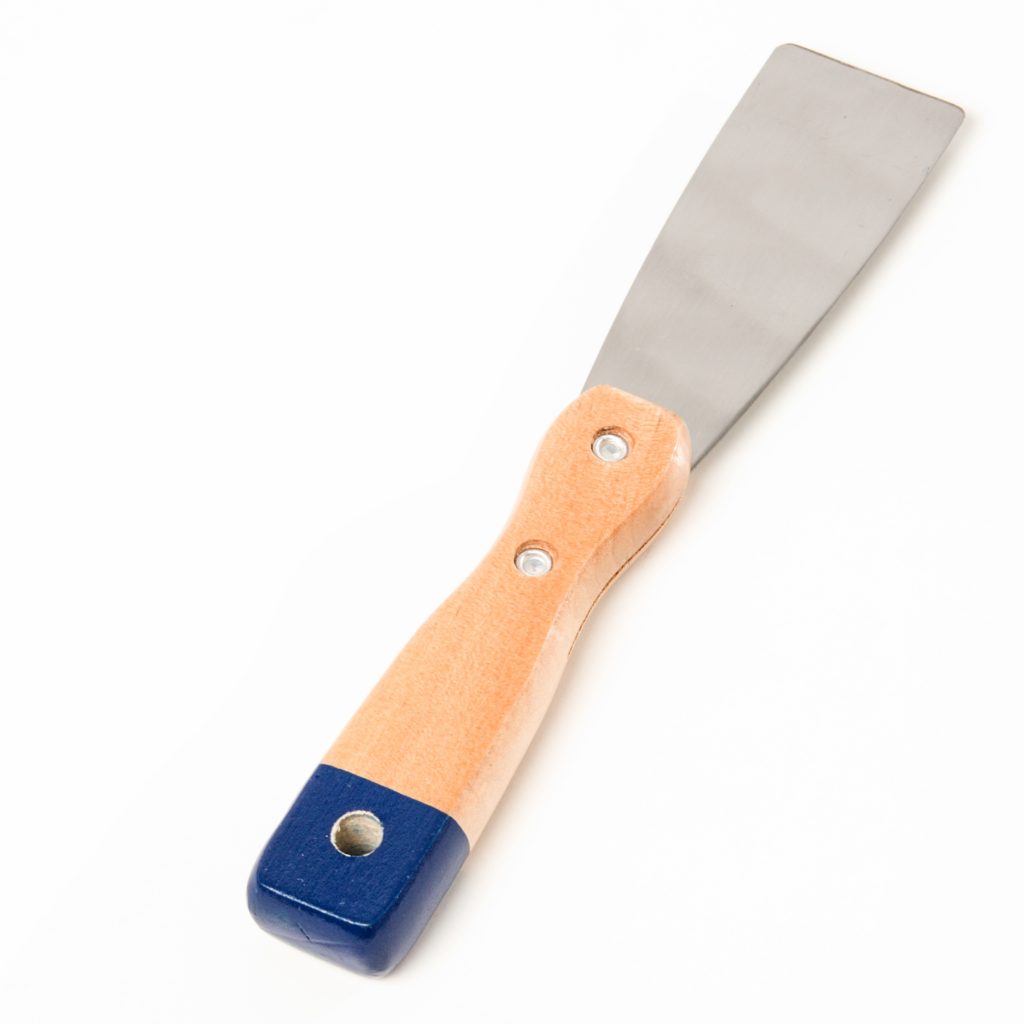
a scraper—for easier removal of large models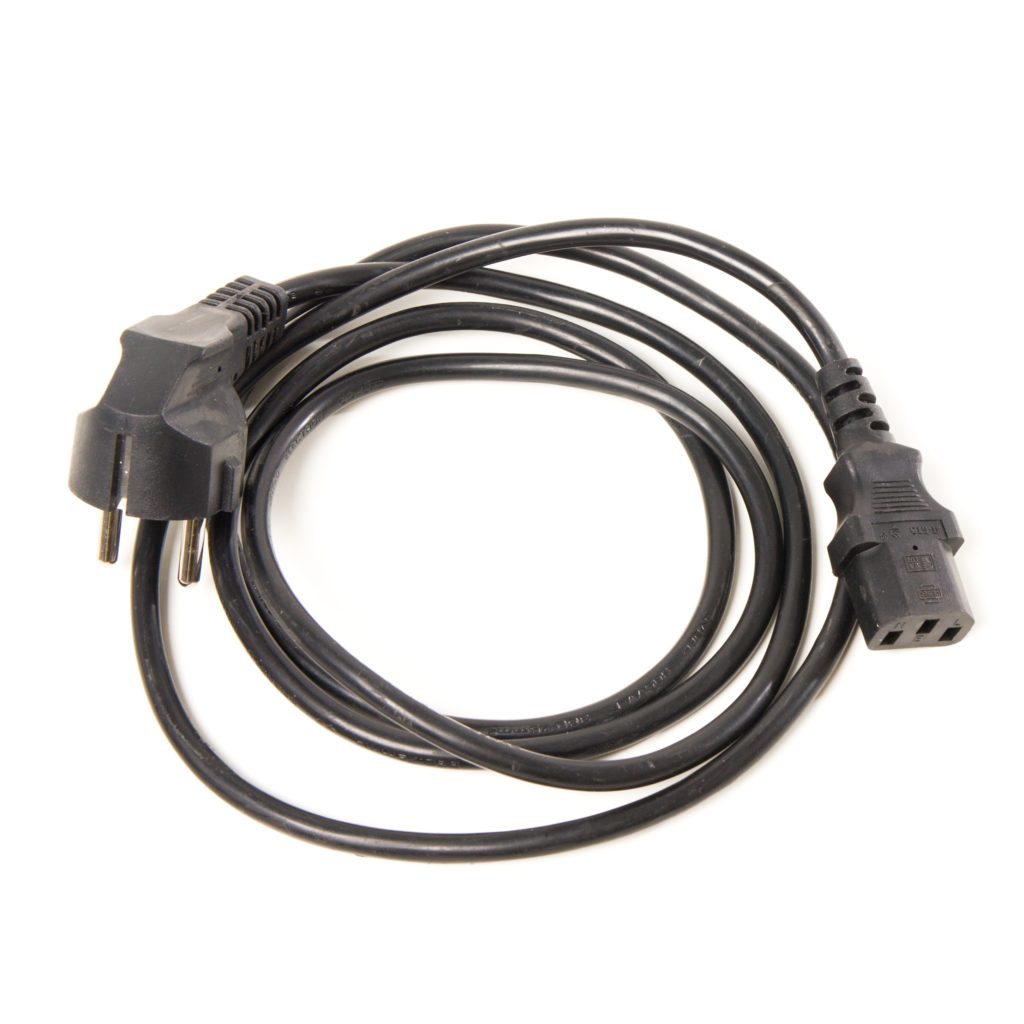
a power cable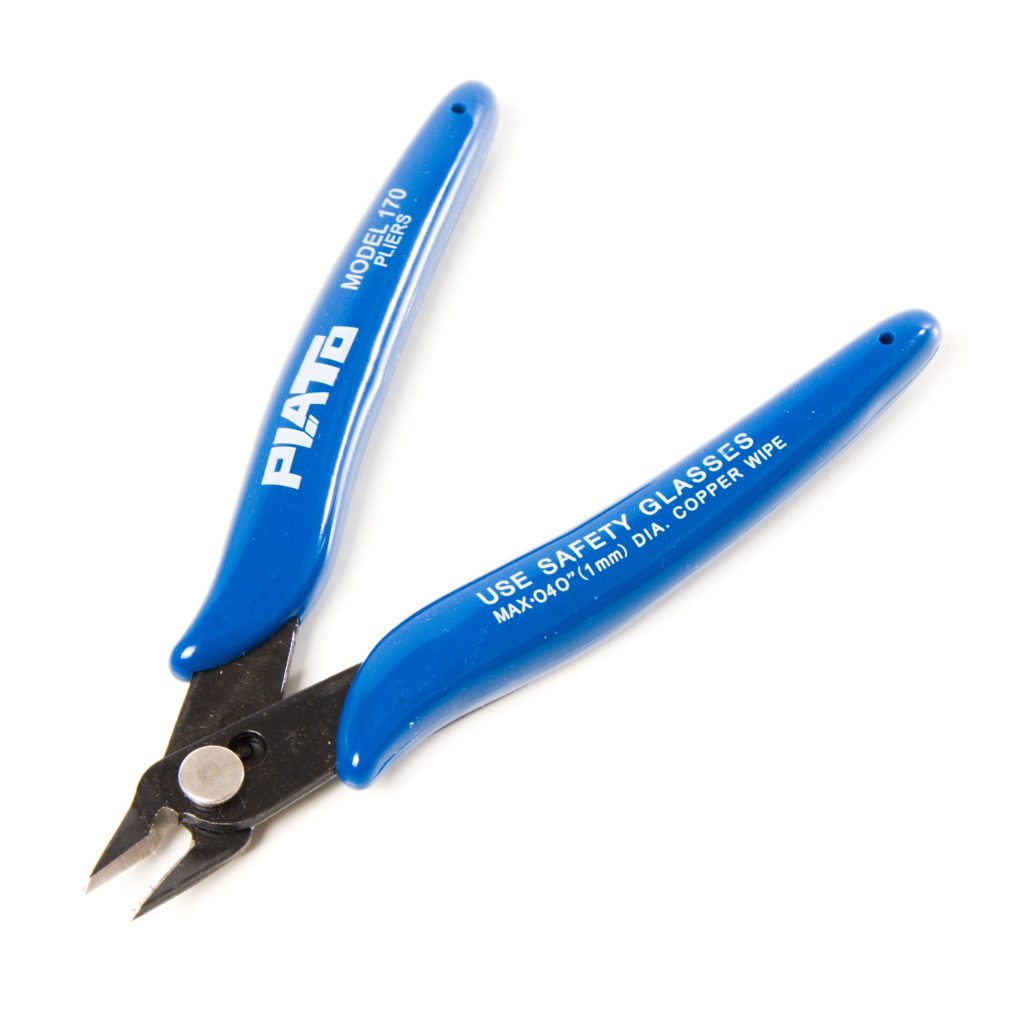
a wire cutters—for cutting the filament when adding or removing supports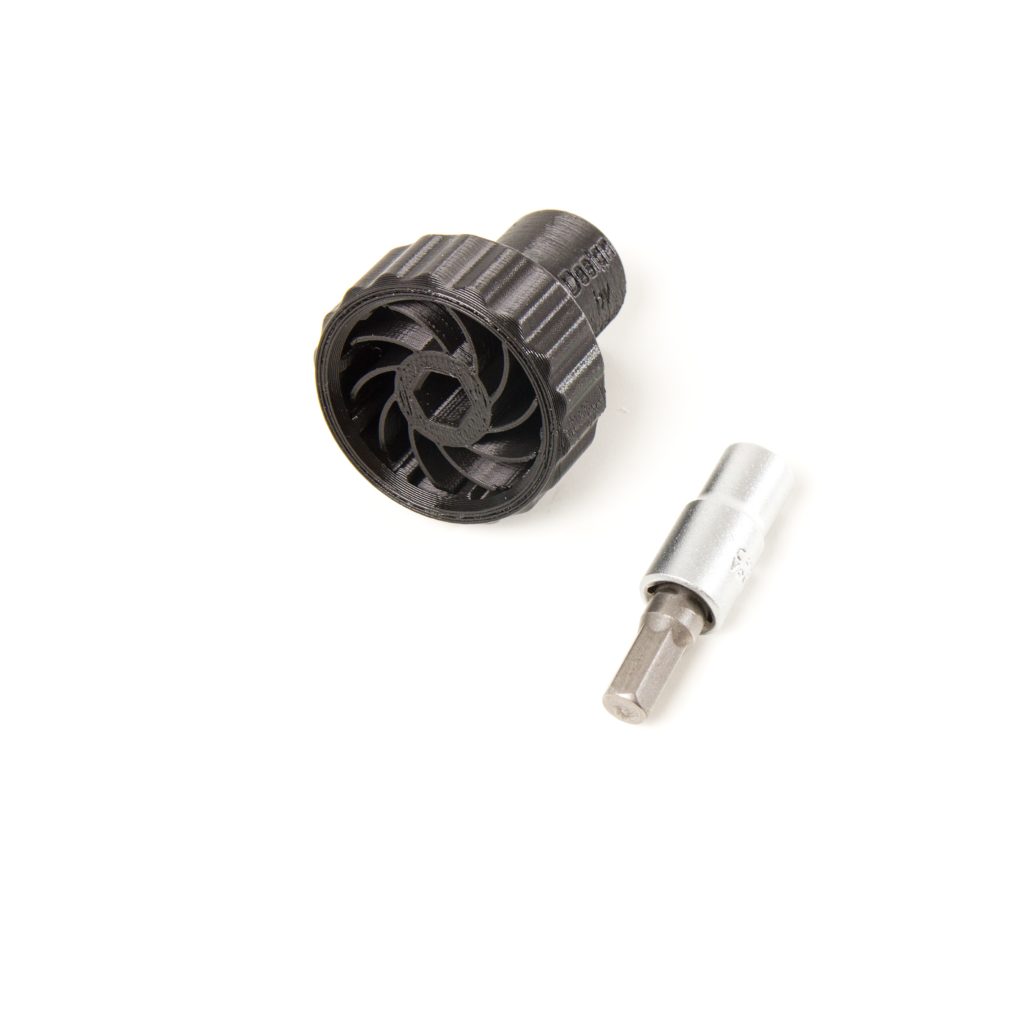
tools for exchanging the nozzle (two components)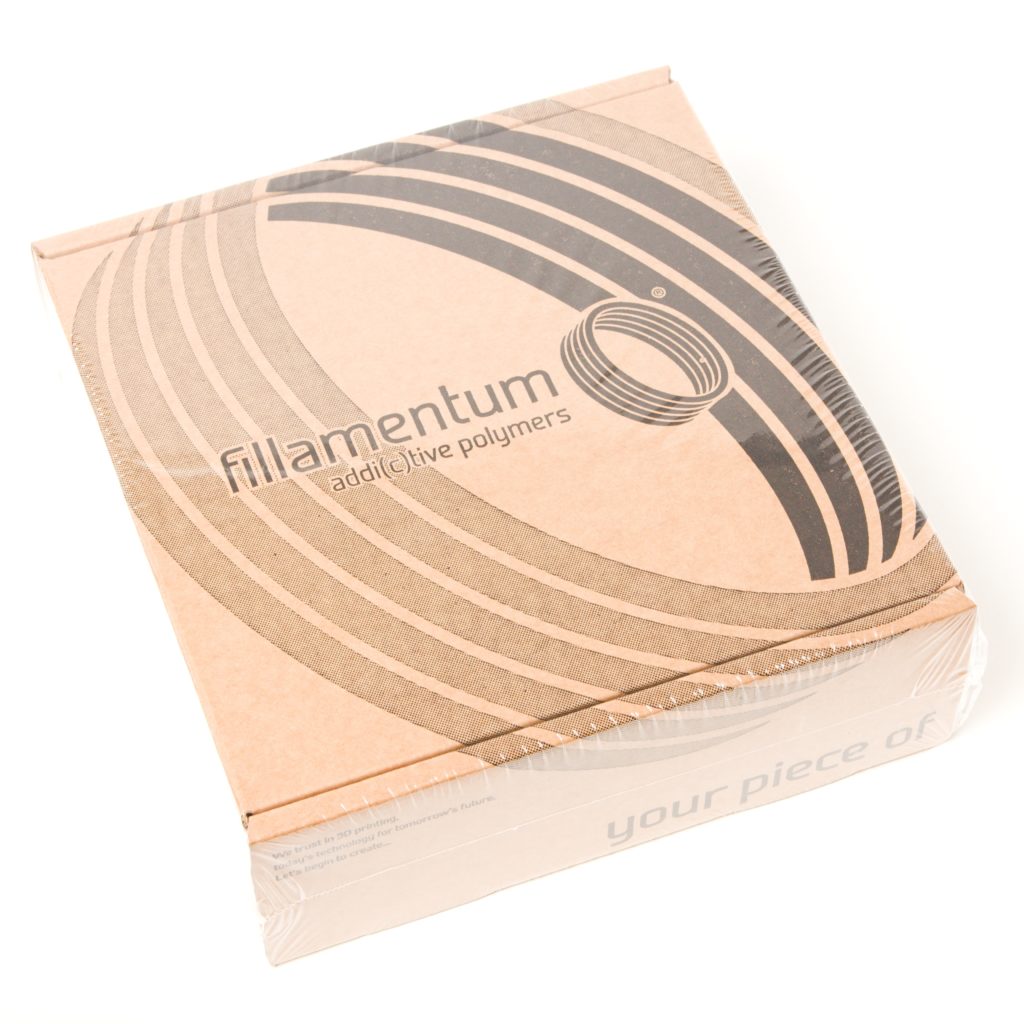
a box of filament
- a filament holder (not shown)
- an SD card (inserted into the printer)
A Description of the Printer’s Parts
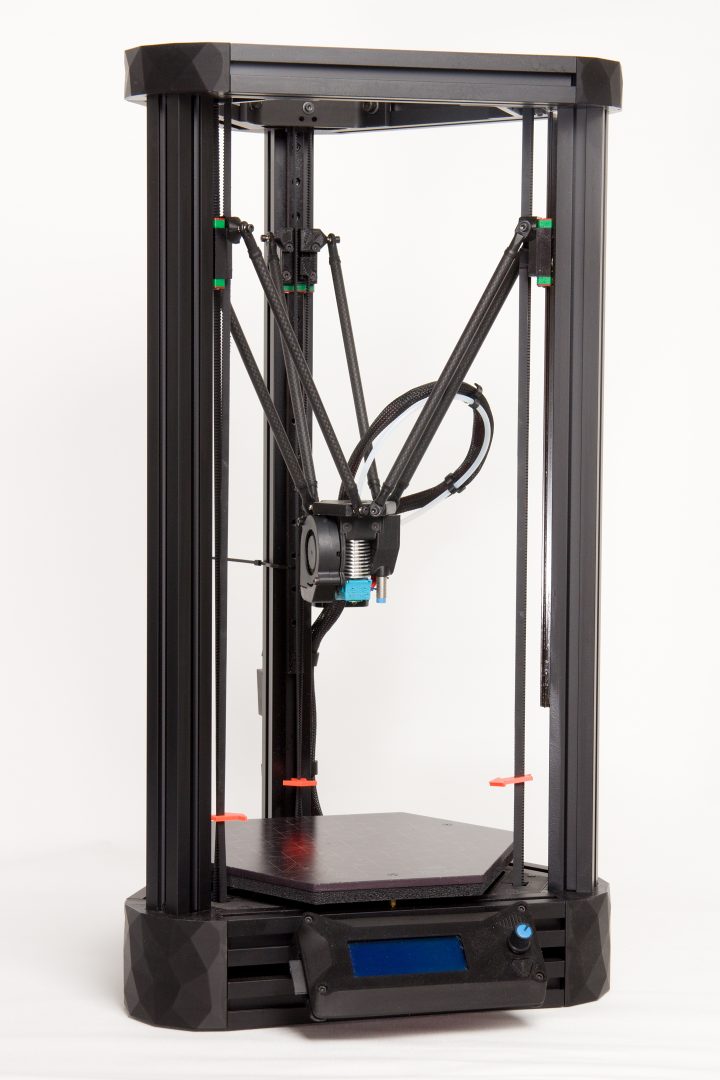
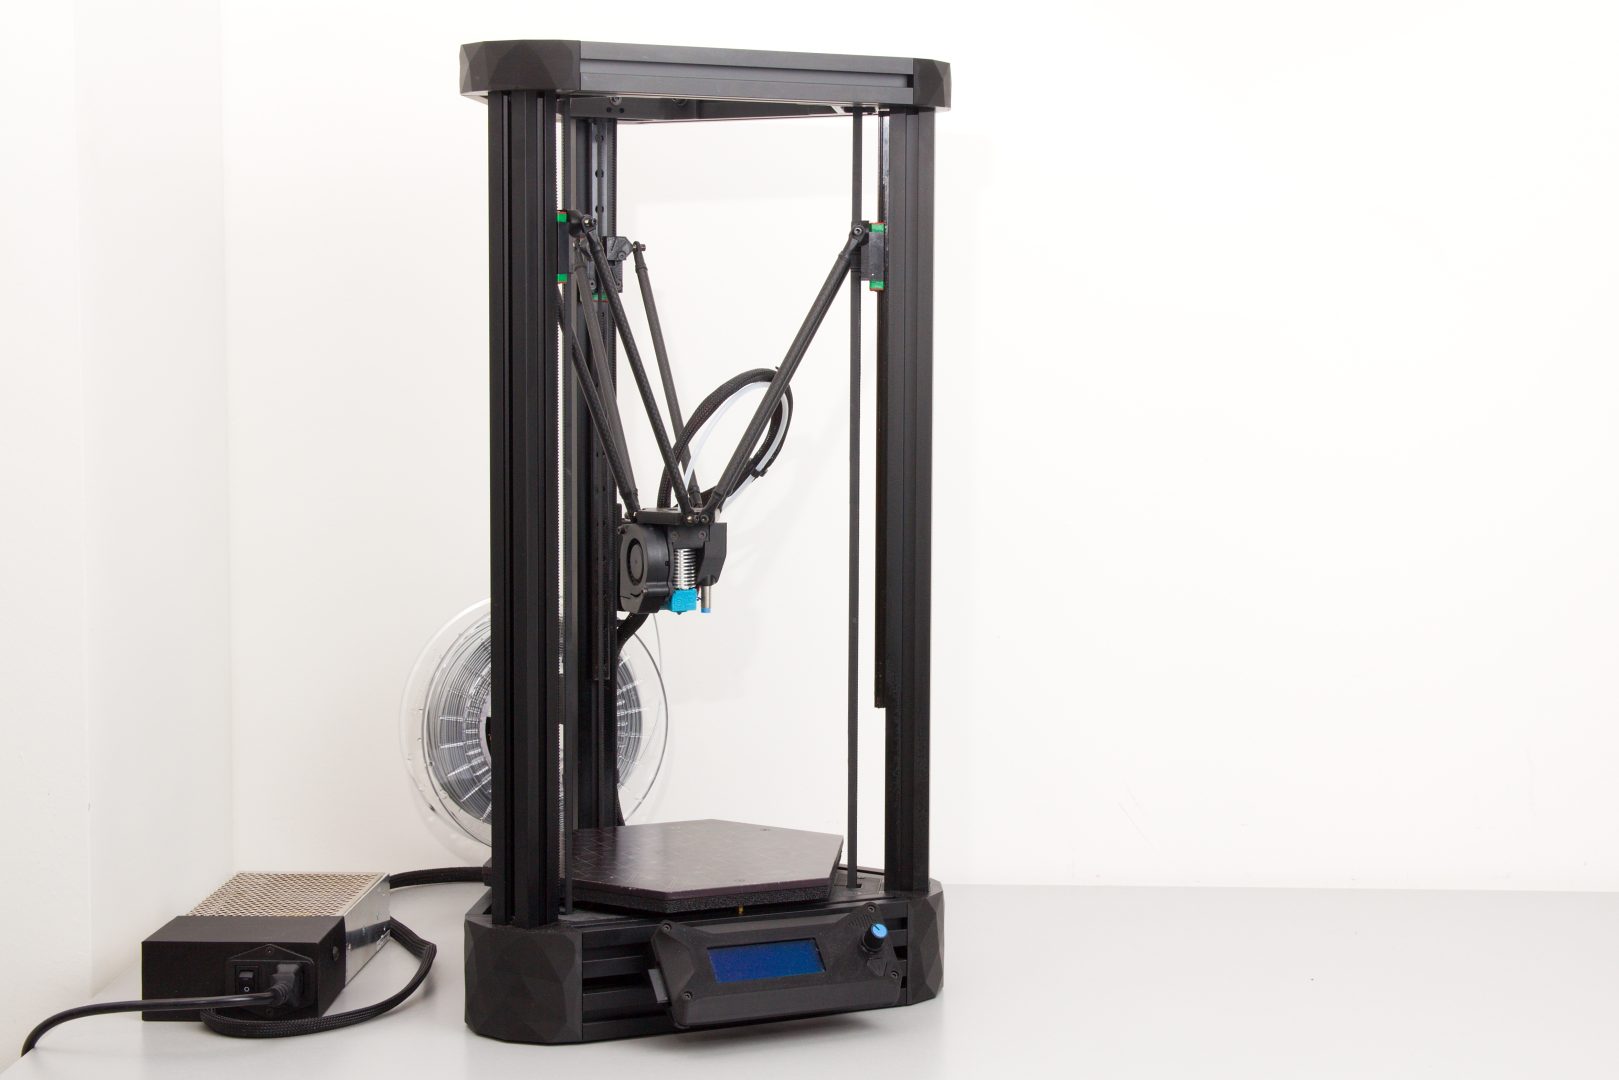
Overall View
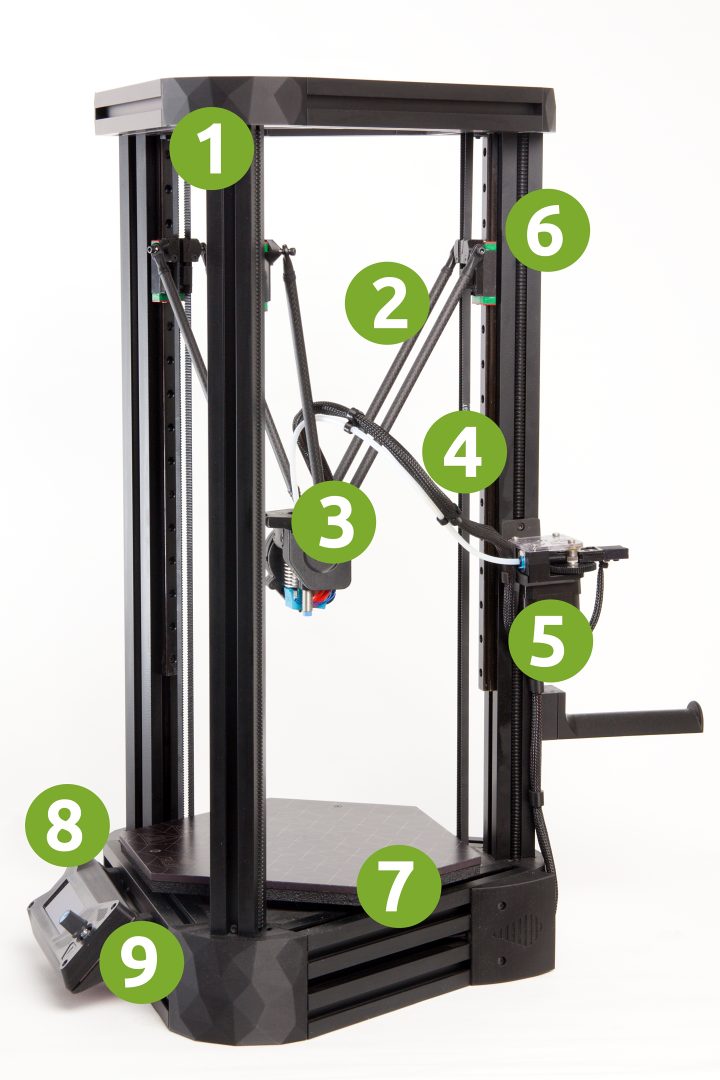
- Printer frame
- Carbon arm
- Print head
- Print head cabling
- Extruder (filament feeder)
- Linear rail
- Heat bed
- Printer display
- Printer display control button
The Print Head
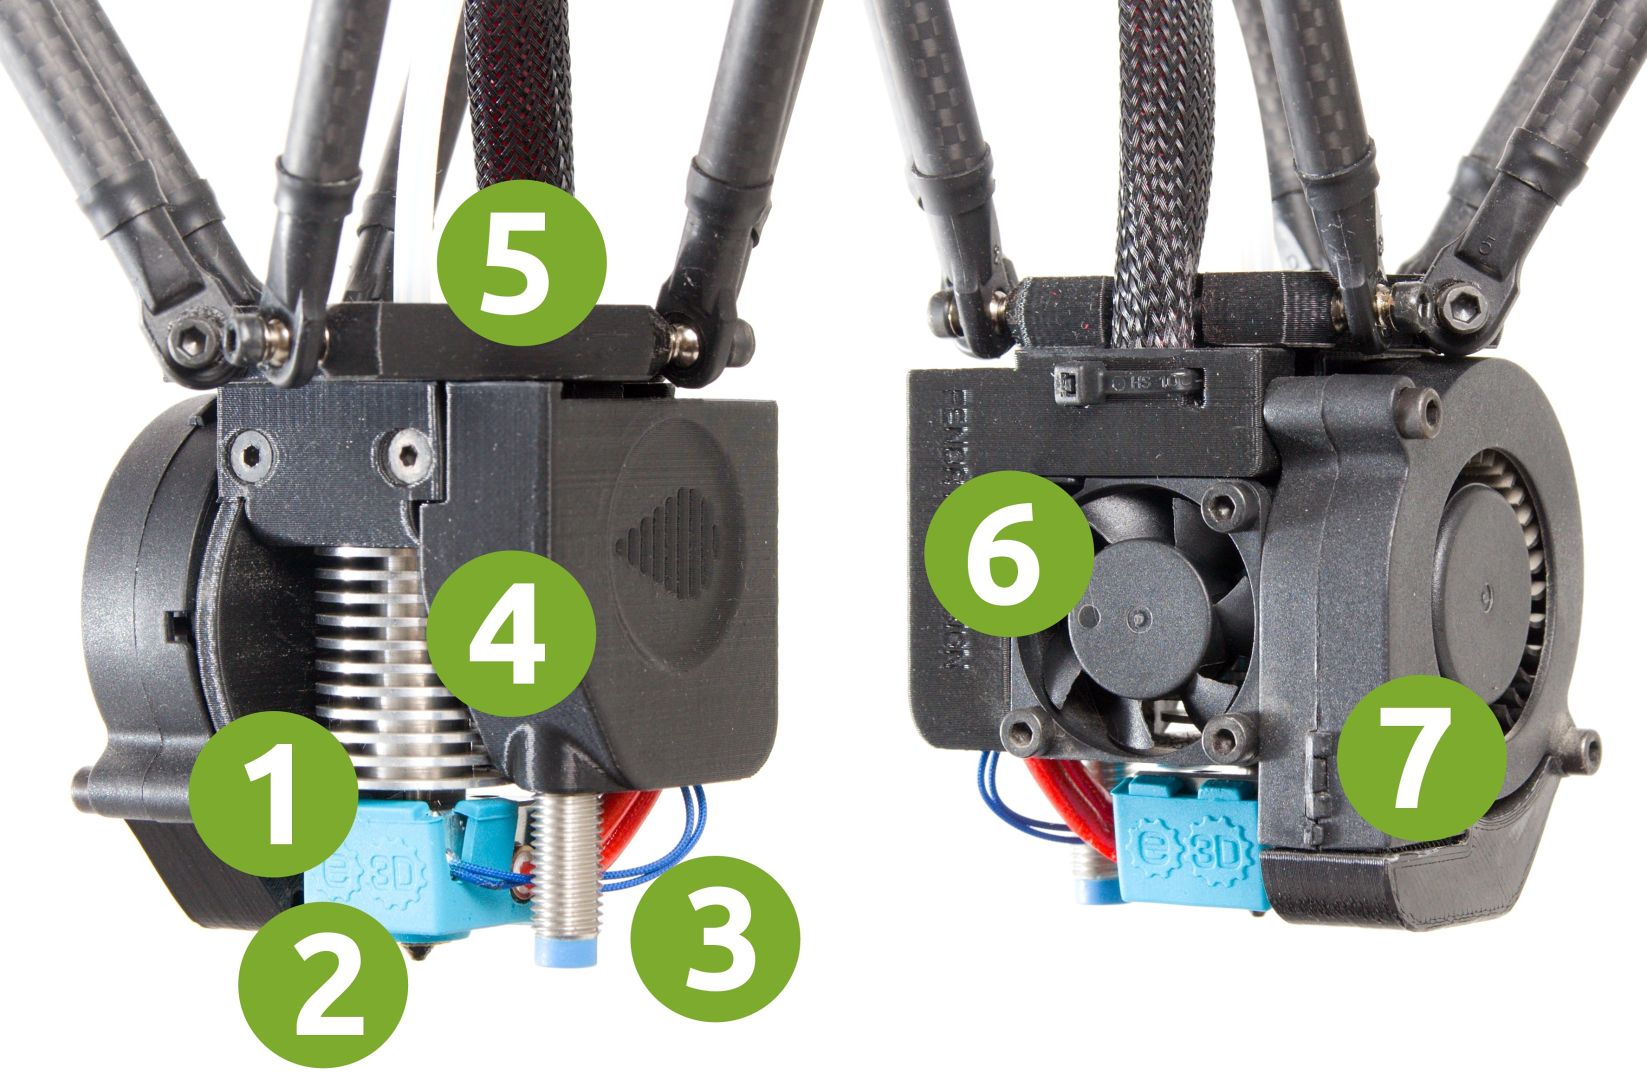
- Heat block – an aluminum block containing the heating element and the thermistor.
- The nozzle – used for the application of the heated filament.
- Induction probe – keeps the nozzle from colliding with the base (the probe reacts to metal).
- The heat break – a cooling block that ensures that the heat from the heat block will be concentrated solely around the nozzle.
- The filament’s Bowden cable – the plastic stock enters the print head here.
- The cooling fan for the heat break. It starts running automatically, and outside of printing it runs whenever the nozzle temperature exceeds 50 °C.
- The print-cooling fan. The print data (or the user) controls this fan’s operation.
Caution – Burn Risk – the nozzle and the heat block are extremely hot during printing
The Titan extruder
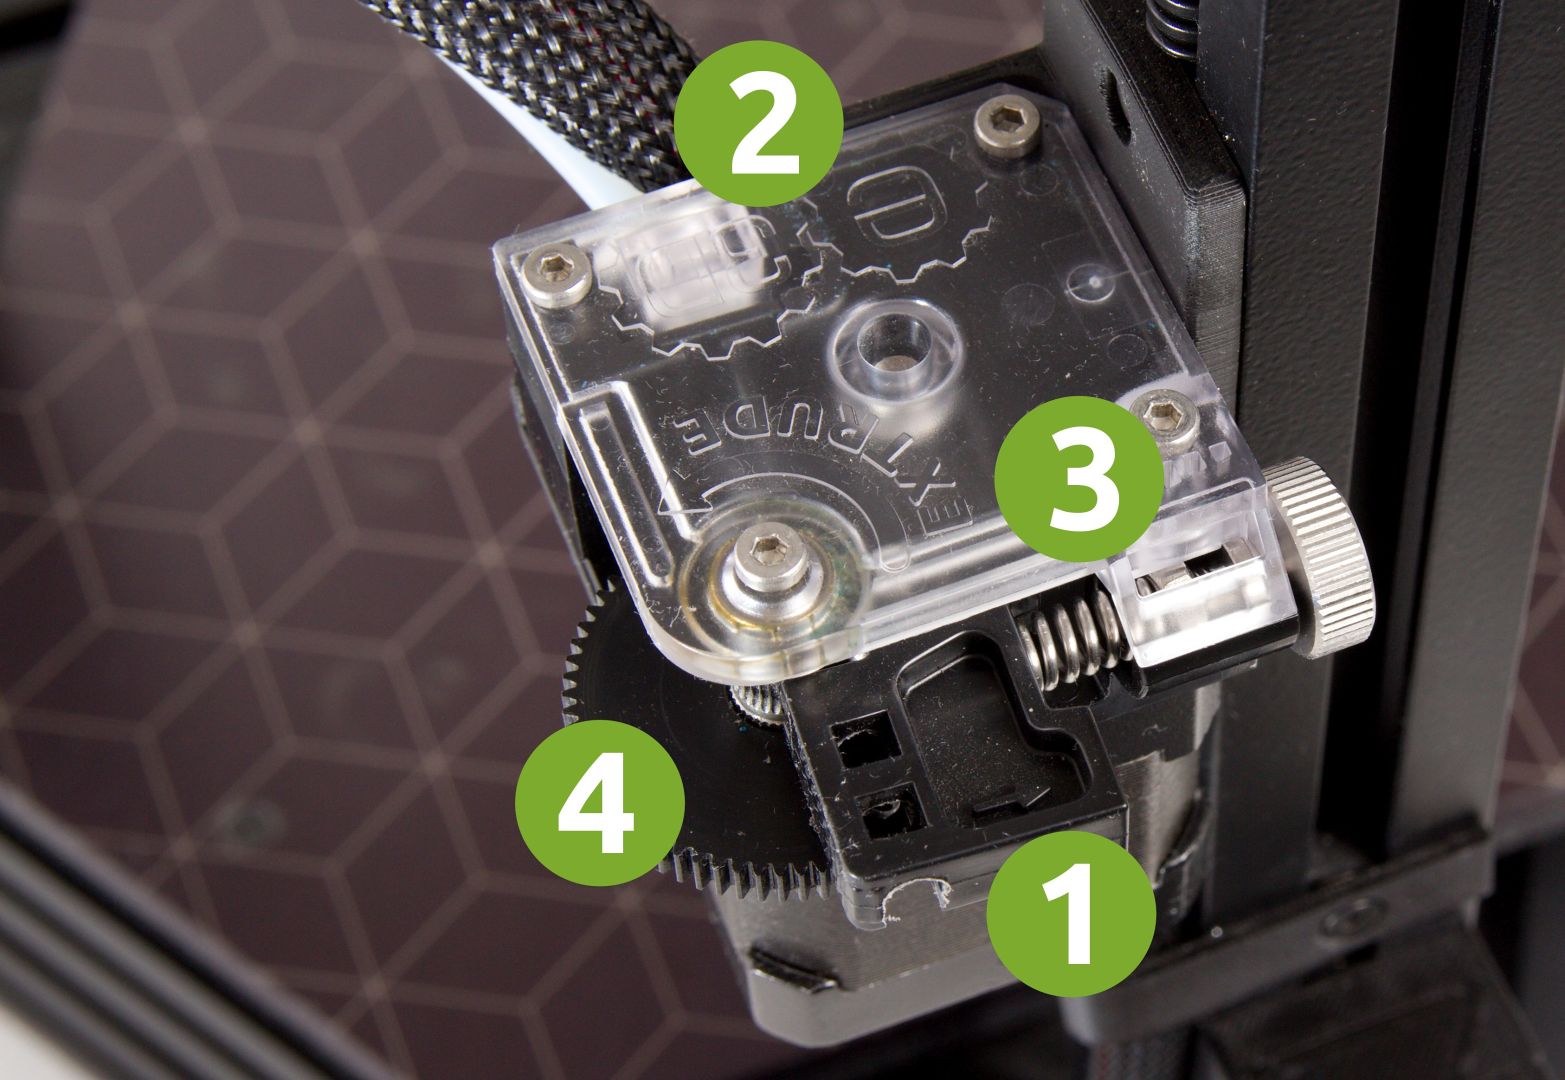
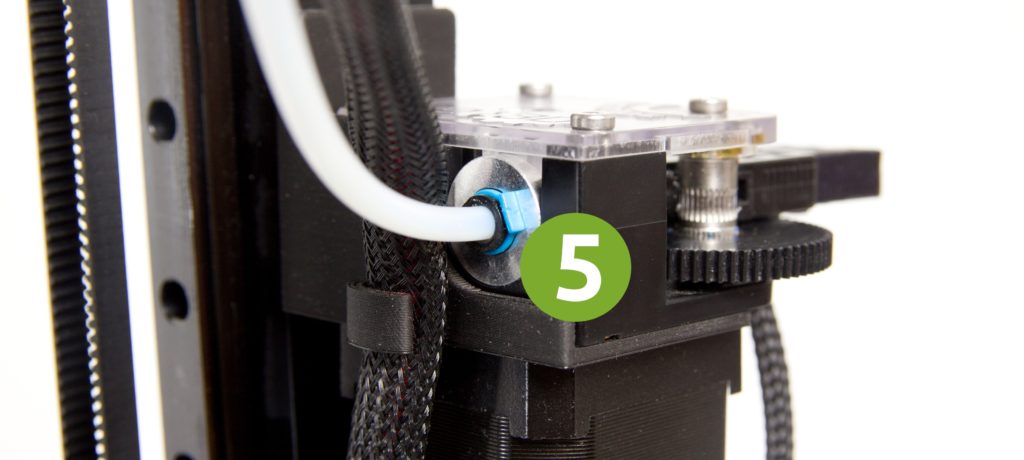
- Entry point for filament from the reel
- Bowden cable leading to the print head
- Pressure screw with pressure indicator (nut)
- Wheel for manually moving the filament
- In the background you can see the filament sensor attached to the frame outside the extruder.
- Collet clip ensures backlash-free bowden dosing
The Nimble extruder
This is an optional accessory.
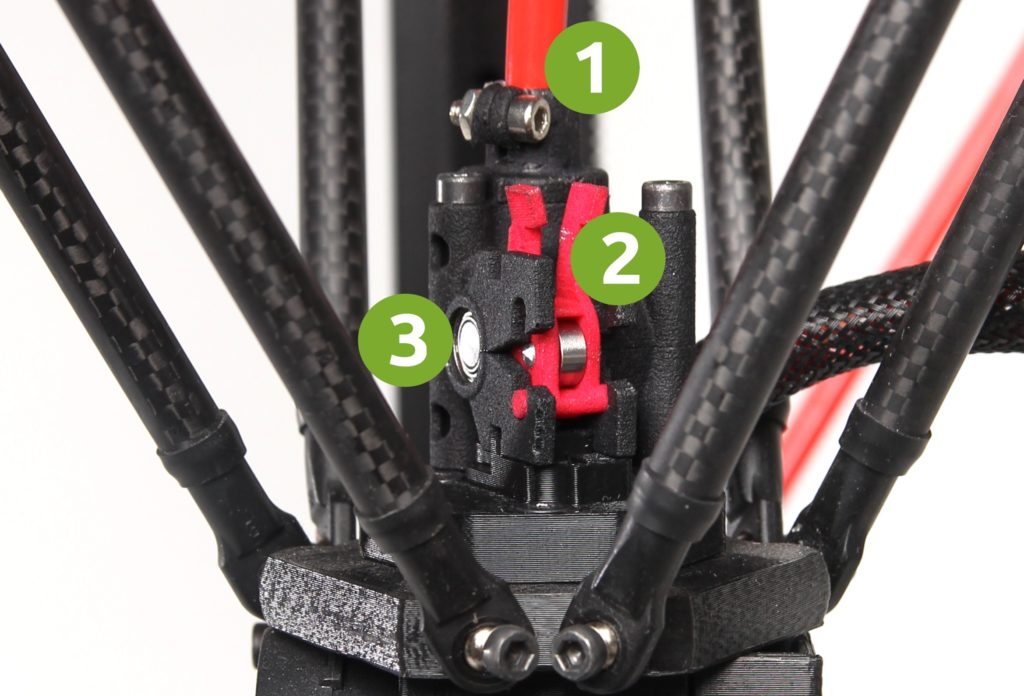
- Nimble DriveCable
- Filament idler, ensures proper tension on the filament during printing
- Nimble extruder body
The LCD Panel
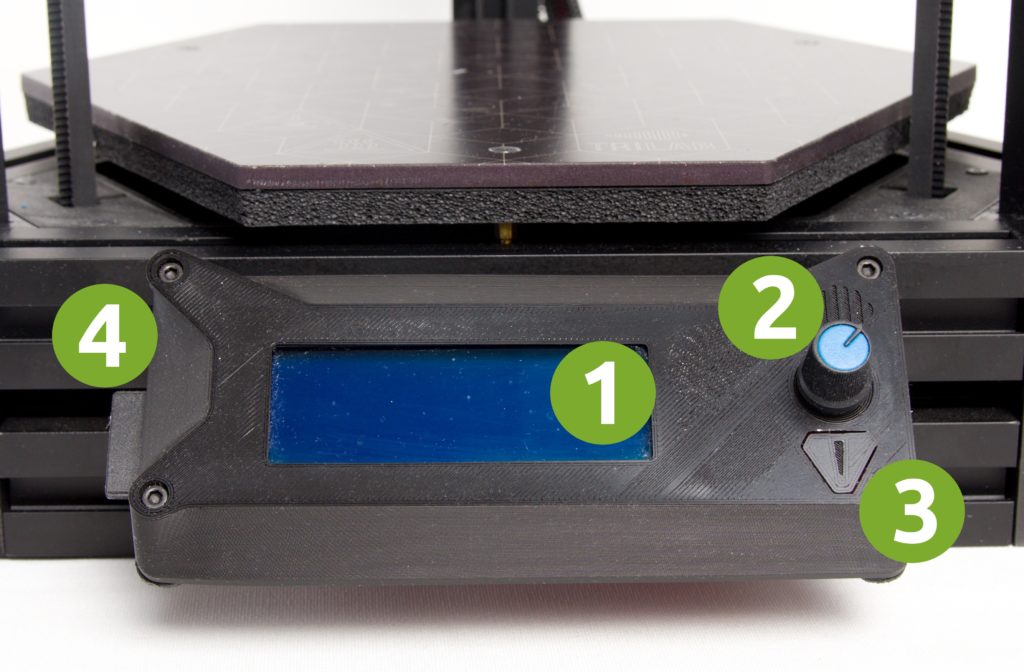
- Display
- Control wheel – rotational encoder. This wheel can be rotated in both directions, and it also reacts when pressed (clicked).
- Reset button – used for restoring the printer to its default state. Stops all heating of the base and the extruder and irreversibly stops the current print job.
- SD card slot (side of the control panel)
Printer Specifications
Complete printer specifications can be found on our website.
Positioning Your Printer
Position your printer onto a thick and firm table. Tables and boards with a cardboard filling or similarly light filling are unsuitable choices. They can make the printer’s operation less quiet. The printer must be placed on a flat base. Pay special attention to the positioning of the power cables and to the printer’s corners sticking into thin air.
Place the power supply next to the printer, but not directly next to it. The power supply transforms power from the grid into power for the printer. During this transformation, the supply heats up strongly. Therefore, place it in an open space and provide good ventilation around it. Do not cover it up, do not place it in a corner, and do not enclose it in a cabinet or a narrow vertical space. Do not bend the cable between the printer and the supply.