
- Only a Very Small Amount of Filament Leaves the Nozzle
- No Filament is Passing Through the Nozzle (Fully Clogged Nozzle)
- The Filament is Planed off Within the Extruder’s Feeder
- Filament Is Leaking Over the Heat Block
- The Hot End Has Been Rotated
- How to Remove the Bowden Cable from the Extruder
- How to Remove the Bowden Cable From the Print Head
- The First Layer Has Insufficient Adhesion
- Bubbles or Light Spots Arise on the Printbed
- The Printbed Surface Is Damaged
- Printing Has Stopped and a Check Filament Message Is Showing
- Stopping the Printer During Printing (e.g. Bad Model)
Only a Very Small Amount of Filament Leaves the Nozzle
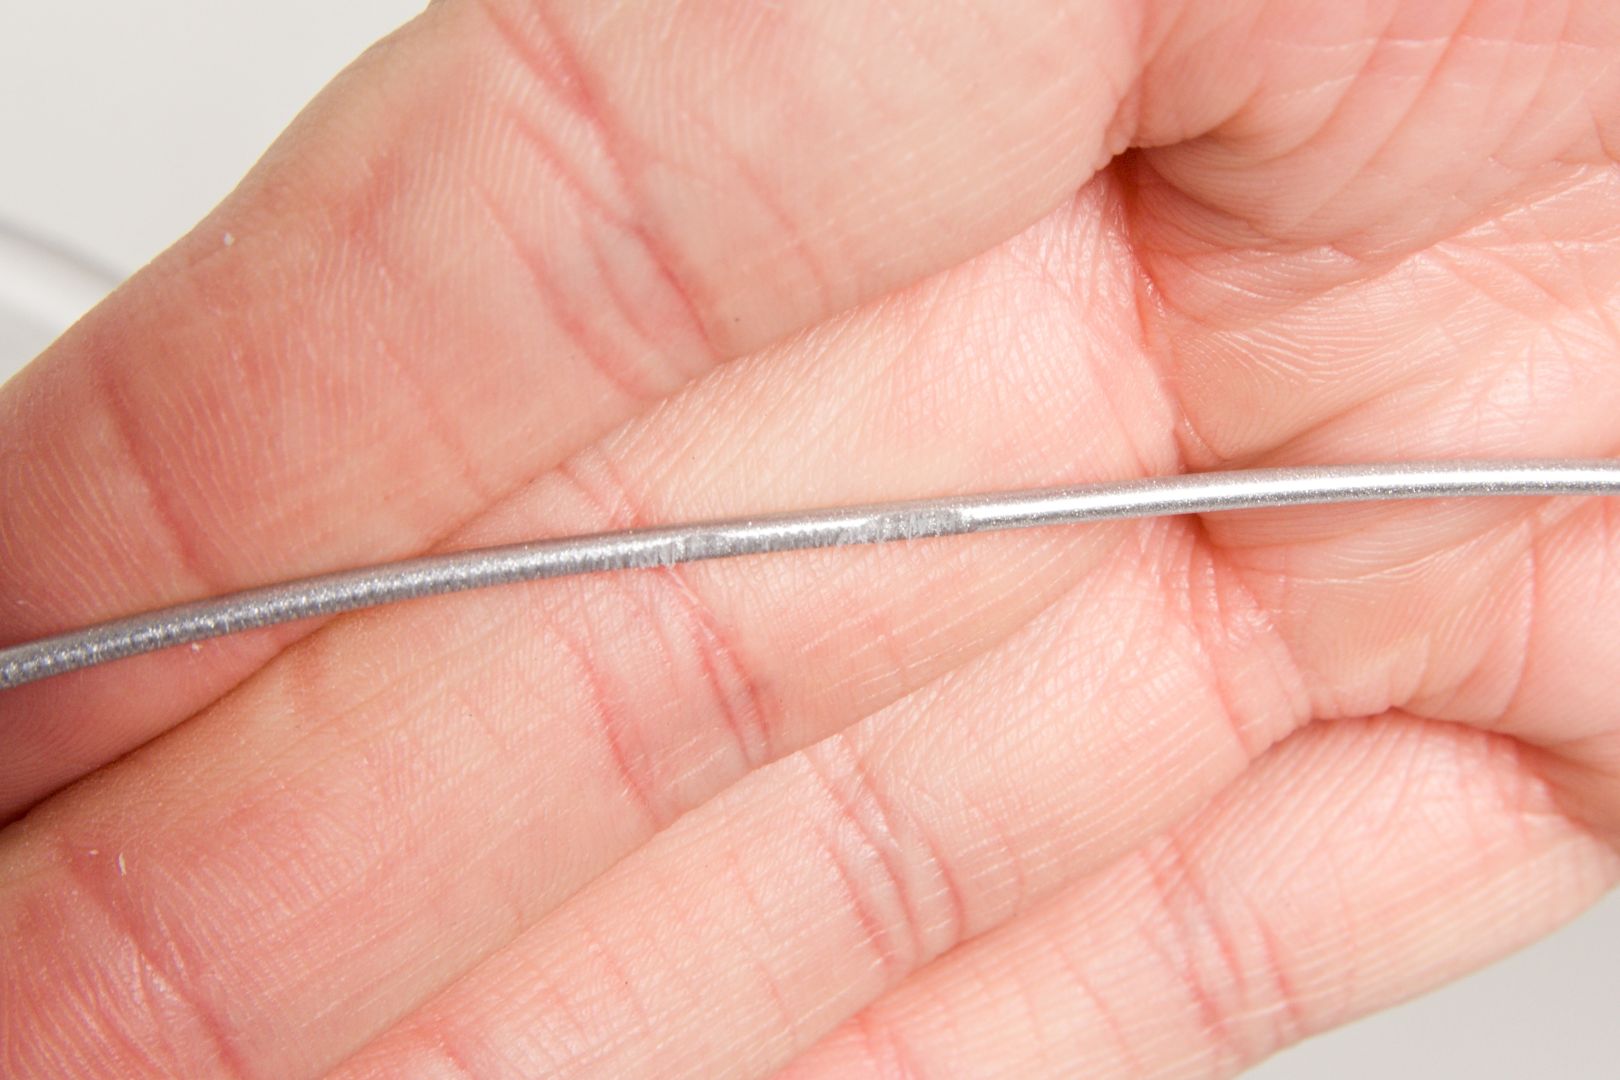
A partial nozzle clog could be the cause. You can clean the nozzle using the “cold pull” method, which uses partially solidified filament to pull out debris or impuritis from the core of the nozzle.
Tip: Use light colored filament for this procedure. It is much easier for inspecting the results as you can easily see impurities in a light material.
- Prepare wire cutters, roughly 50 cm of PLA filament, and zip ties (e.g. 2.5 x 100 mm).
- Perform the Removing the Filament procedure.
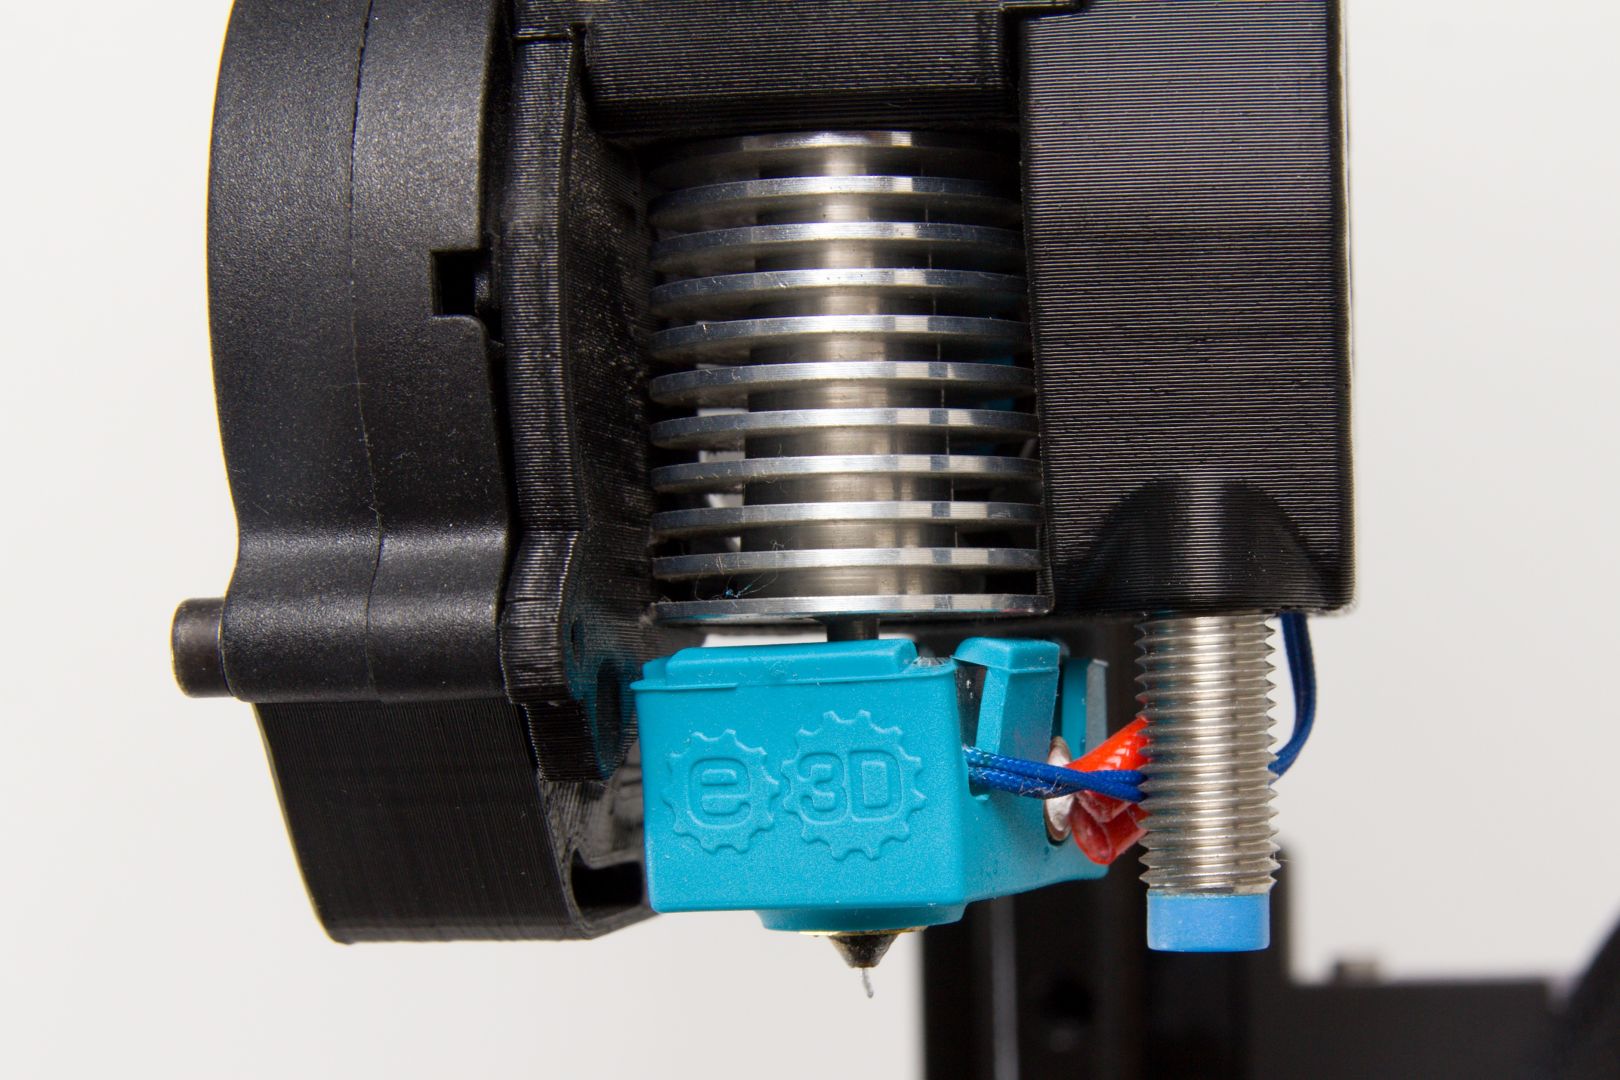
- Using the wire cutters, remove the zip ties that keep the nonstick-coated Bowden cable positioned by the cable that leads into the print head.
- Remove the Bowden cable from the print head, following the instructions in How to Remove the Bowden Cable from the Print Head.
- Heat the nozzle up to a temperature of 210 °C (Menu > Extruder > ).
- Cut off about 50 cm of PLA filament, cut its end away at a 45° angle, and straighten the last 10 cm.
- As soon as the nozzle’s temperature reaches 210 °C, slide the cut-off piece of filament into the print head. Molten filament should start extruding from the nozzle. Lower the temperature to 90°C (Menu > Extruder > Temp. 1) and keep pushing the filament into nozzle (just keep light pressure).
- After the temperature drops below 160°C, stop pushing and let the nozzle cool down to 90°C. At this moment, the PLA filament will be partially solidified, but still quite plastic. Do not leave the filament in the nozzle longer than necessary and proceed immediately!
- Grasp the filament by its free end and pull it out with a swift motion.
- Inspect the part of the filament that you pulled out of the nozzle. If you have done things correctly, grime that was previously clogging up the nozzle will be visible at the end of the filament that you have pulled out. The imprint of the nozzle’s internal shape will also be visible.
- You can also view the nozzle from above to check that it is no longer clogged—if your work has been successful, you will be able to see down through the nozzle.
- For maximum effectiveness, we recommend that you repeat the whole nozzle-cleaning procedure.
- Once the nozzle is unclogged, slide the Bowden cable—this time without manipulating the fastening ring—back into place. Make sure, it is fully inserted
- Using new zip ties, secure the Bowden cable in the same locations as it was secured before.
No Filament is Passing Through the Nozzle (Fully Clogged Nozzle)
If the filament is not running through the nozzle at all, exchange the nozzle using the Exchanging the Nozzle steps.
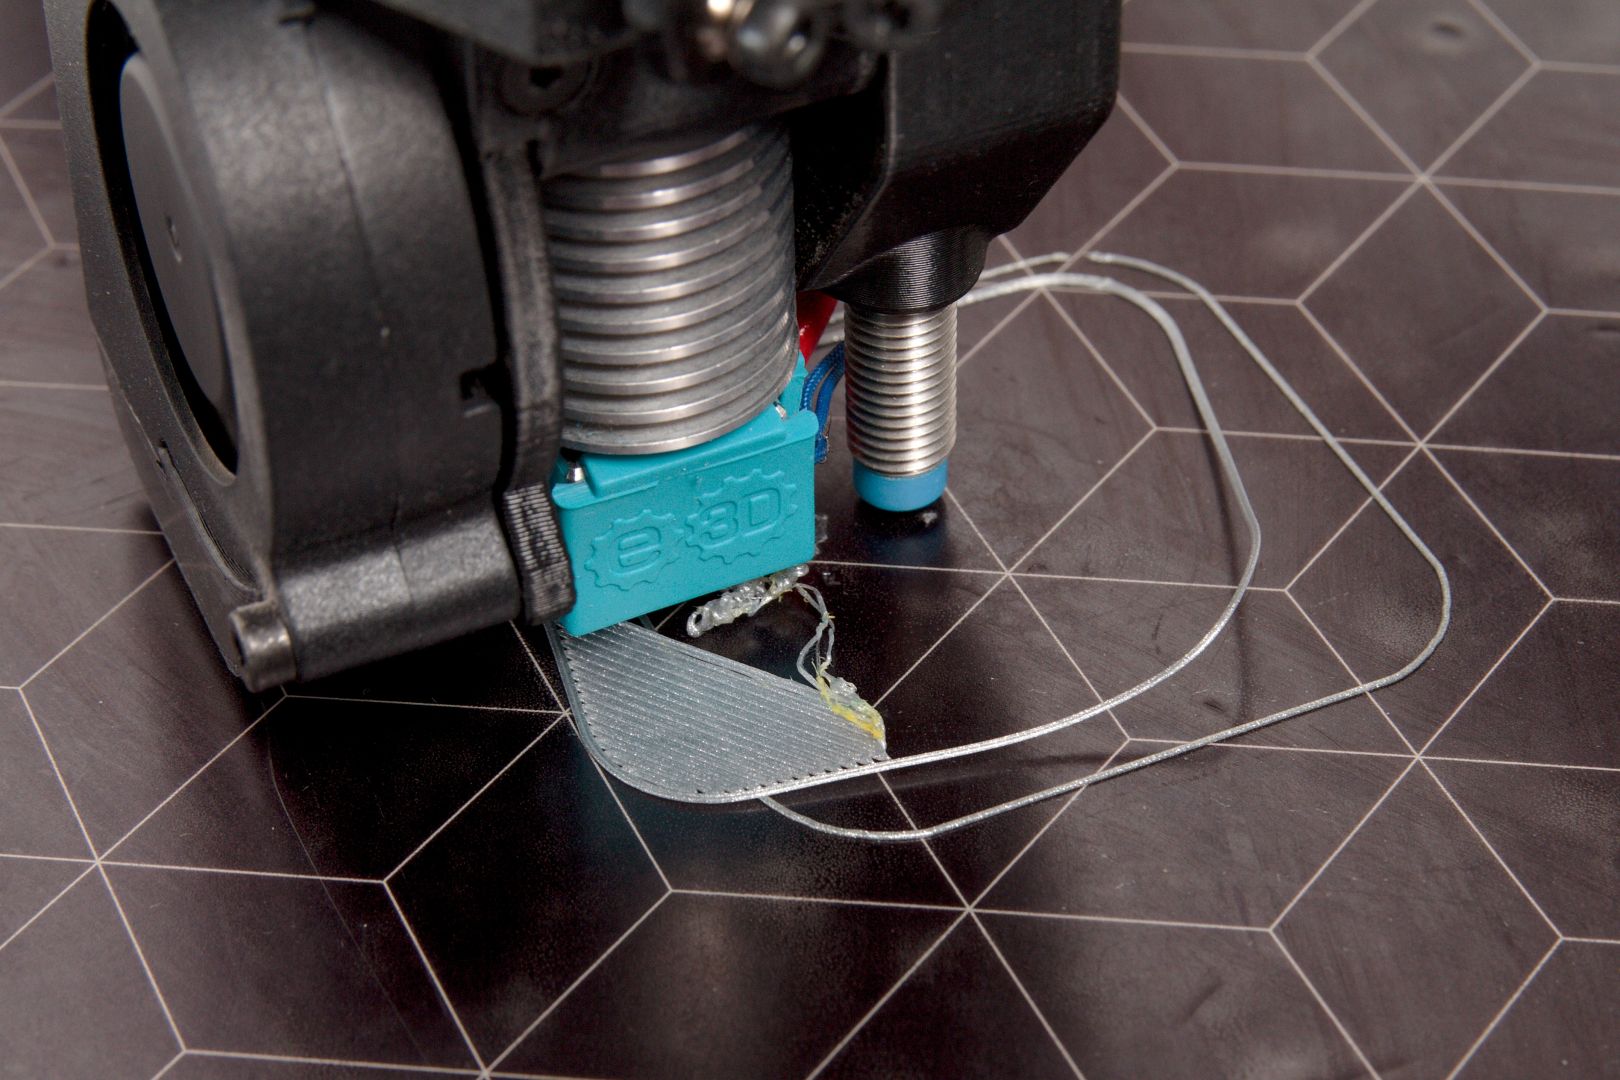
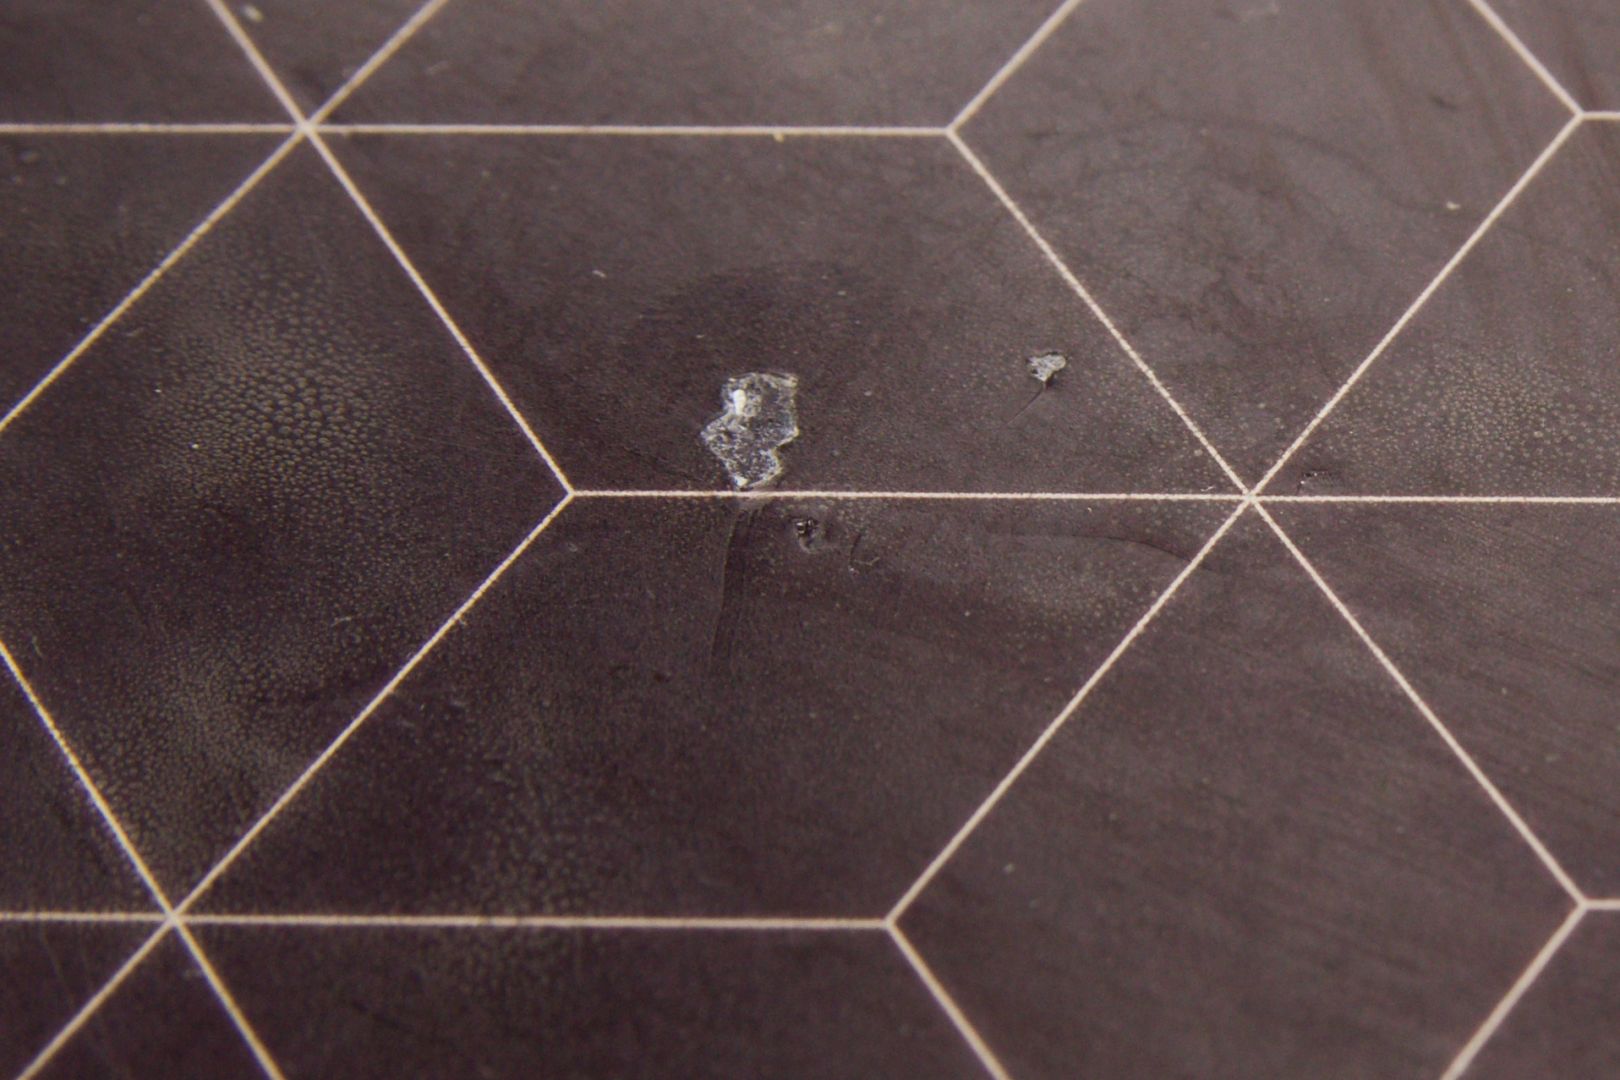
The Filament is Planed off Within the Extruder’s Feeder
If the filament is not being moved towards the print head during the extruder’s motion, the problem probably lies in a incorrect tensioner adjustment or a clogged nozzle. This problem can be accompanied with a clattering sound, and planed-off filament will appear nearby the feeder wheel. Clean and/or exchange the nozzle. Perform the “cold pull” nozzle cleaning procedure or exchange the nozzle.
Filament Is Leaking Over the Heat Block
The heat block and nozzle assembly needs to be sealed up. Take these steps:
- Using a 2 mm Allen key wrench, release the 2 screws holding the cooler.
- Now loosen the 4 screws holding the print head.
- Pull the hot end (the nozzle + the heating block + the cooler) out of the printer.
- Pull the cooler up against the aluminum block. While doing so, pay attention to the wires leading out of the block.
- After doing so, return the hot end back into the print head.
- Put the screws holding the print head and the cooler back into place.
The Hot End Has Been Rotated
Follow the steps from Filament Is Leaking Over the Heat Block above. After removing the hot end, straighten the block’s rotation and place the hot end back into the print head using the same instructions.
How to Remove the Bowden Cable from the Extruder
Perform the Removing the Filament steps, including the cooling down of the print head.
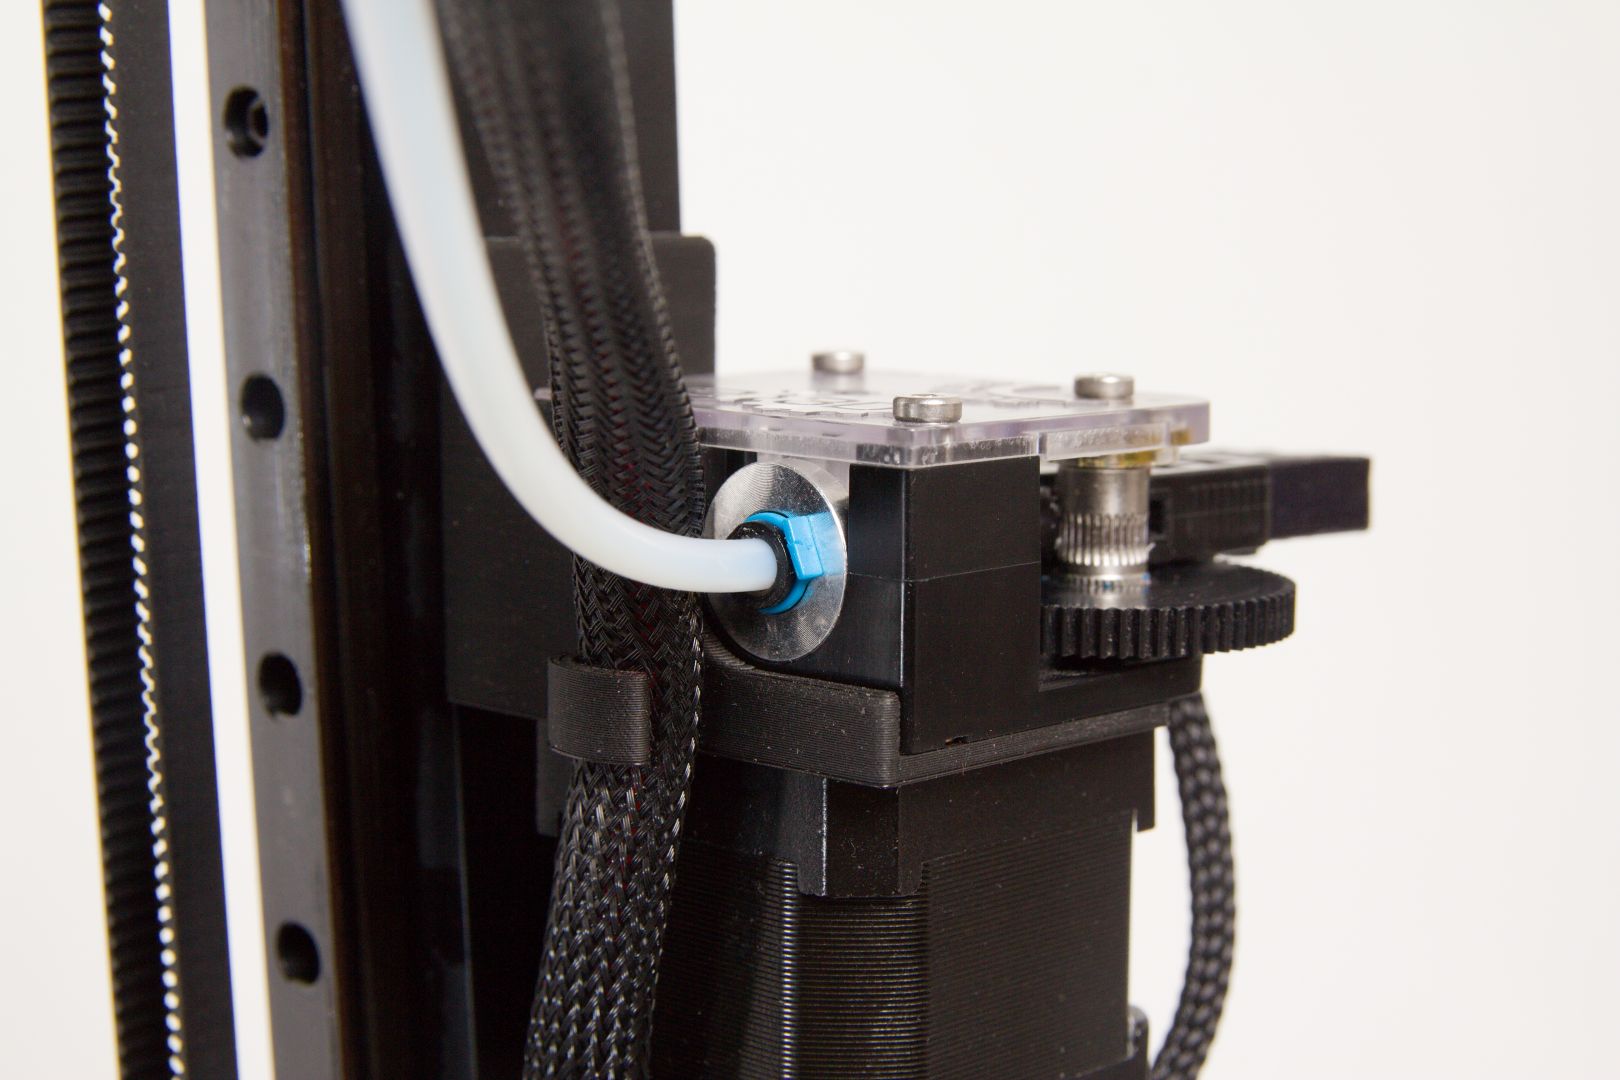

You can use your fingers or pliers to apply pressure on the black collet ring. However, make sure not to damage the bowden tube with the pliers.
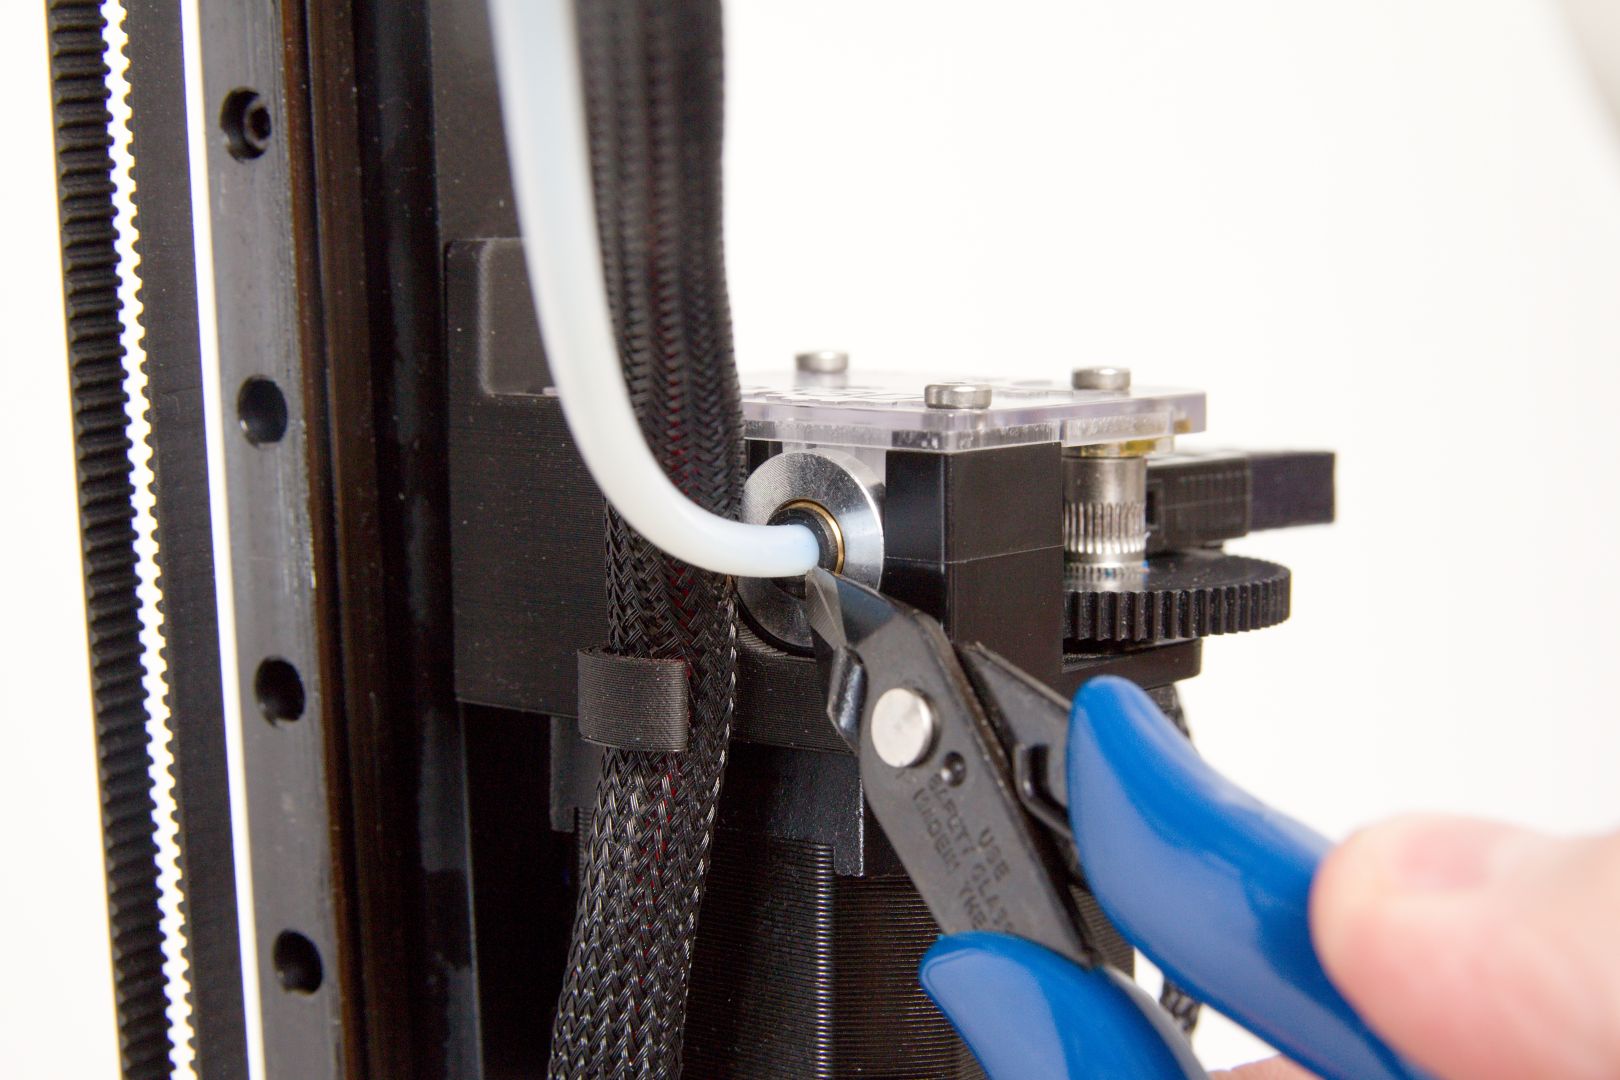
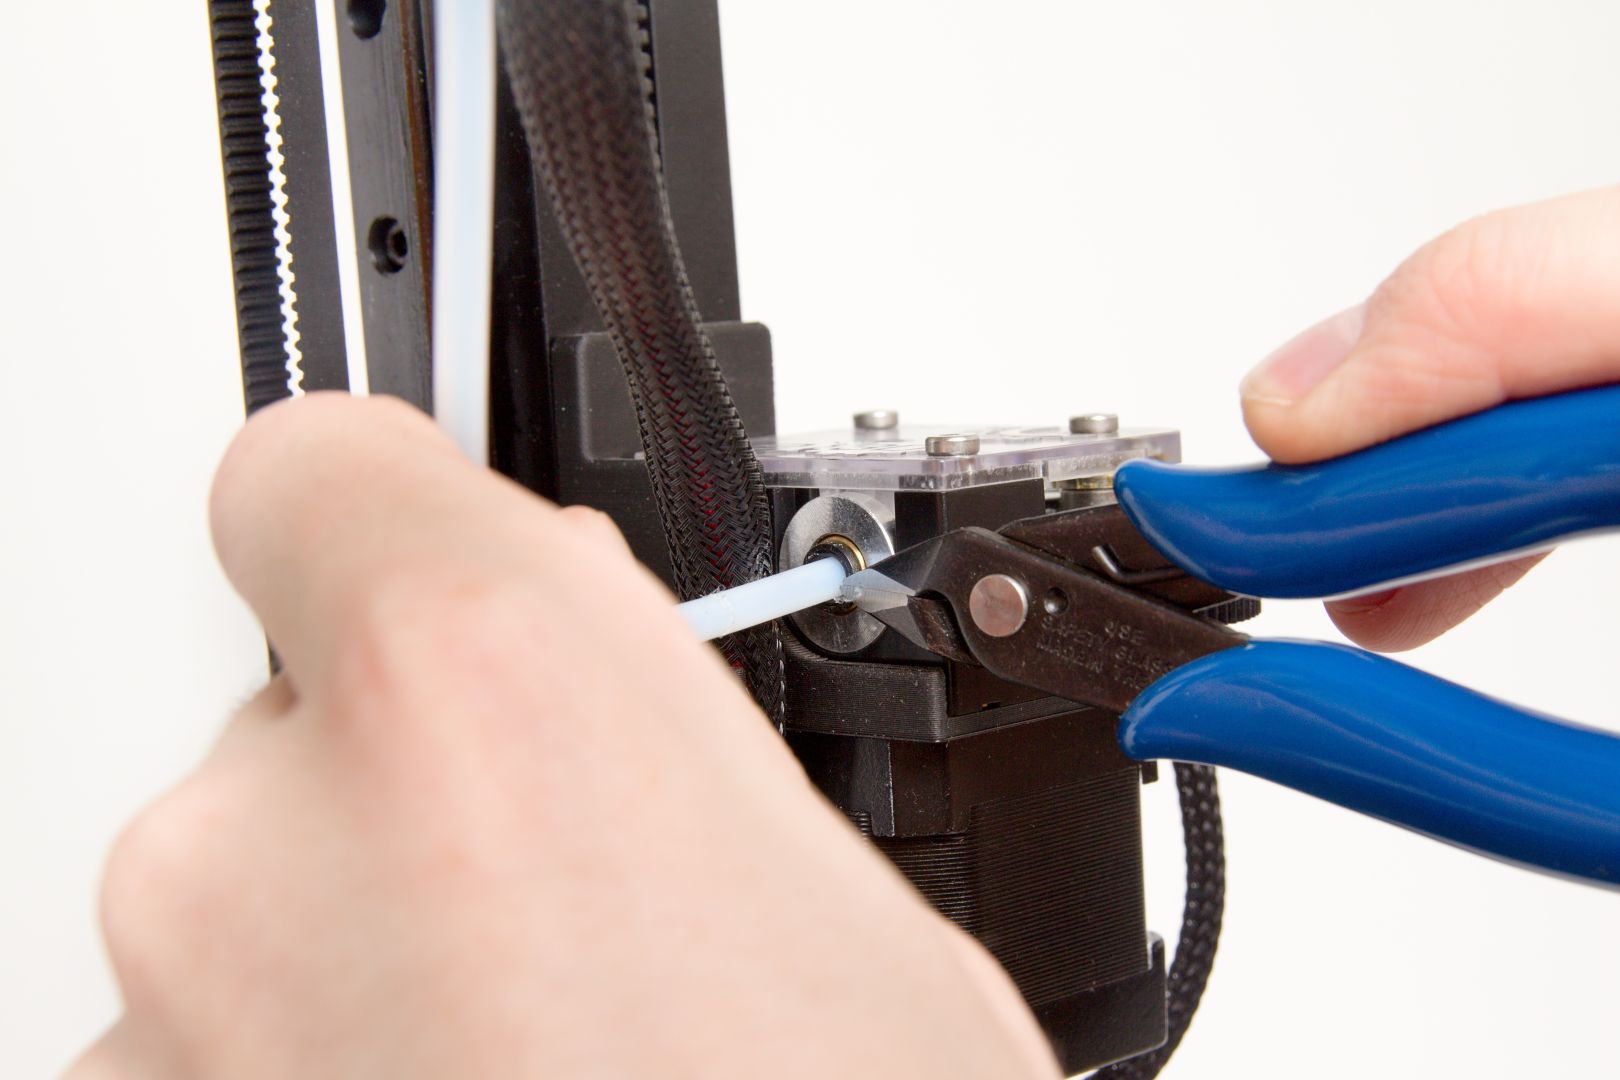
How to Remove the Bowden Cable From the Print Head
Perform the Removing the Filament steps, including the cooling down of the print head. Press on the black securing ring with the supplied wire cutters. The pressure on the Bowden cable will be released while you are pressing on this ring.

Remove the Bowden cable from the print head.
To put the Bowden cable back in place, simply slide it back into the print head (you no longer need to hold the securing ring).
The First Layer Has Insufficient Adhesion
Outside of improper printing temperatures, the most common problem here lies in poor removal of grease from the base. In this situation, prepare the base thoroughly, following the Pre-print Base Preparation instructions.
If this has not solved the problem, then the trouble may be that the first layer is too high. The material is thus not sufficiently in contact with the base during printing, and is not holding in place.
For adjusting the first layer settings, follow the procedure “Z probe height” calibration.
The First Layer Has Excessive Adhesion
The first possibility is that you used a material that naturally adheres very strongly to the PEI base (PET-G or CPE) without properly preparing the base beforehand. Please pay close attention to the procedures described in the Pre-print Base Preparation chapter.
The second possibility is that the first layer is too low. Here the solution is to raise the first layer. Proceed according to The First Layer Has Insufficient Adhesion above. However, here you will be adding to the Z-babystep value and then lowering the Z-probe-hgt value by the same value that you added in Z-babystep.
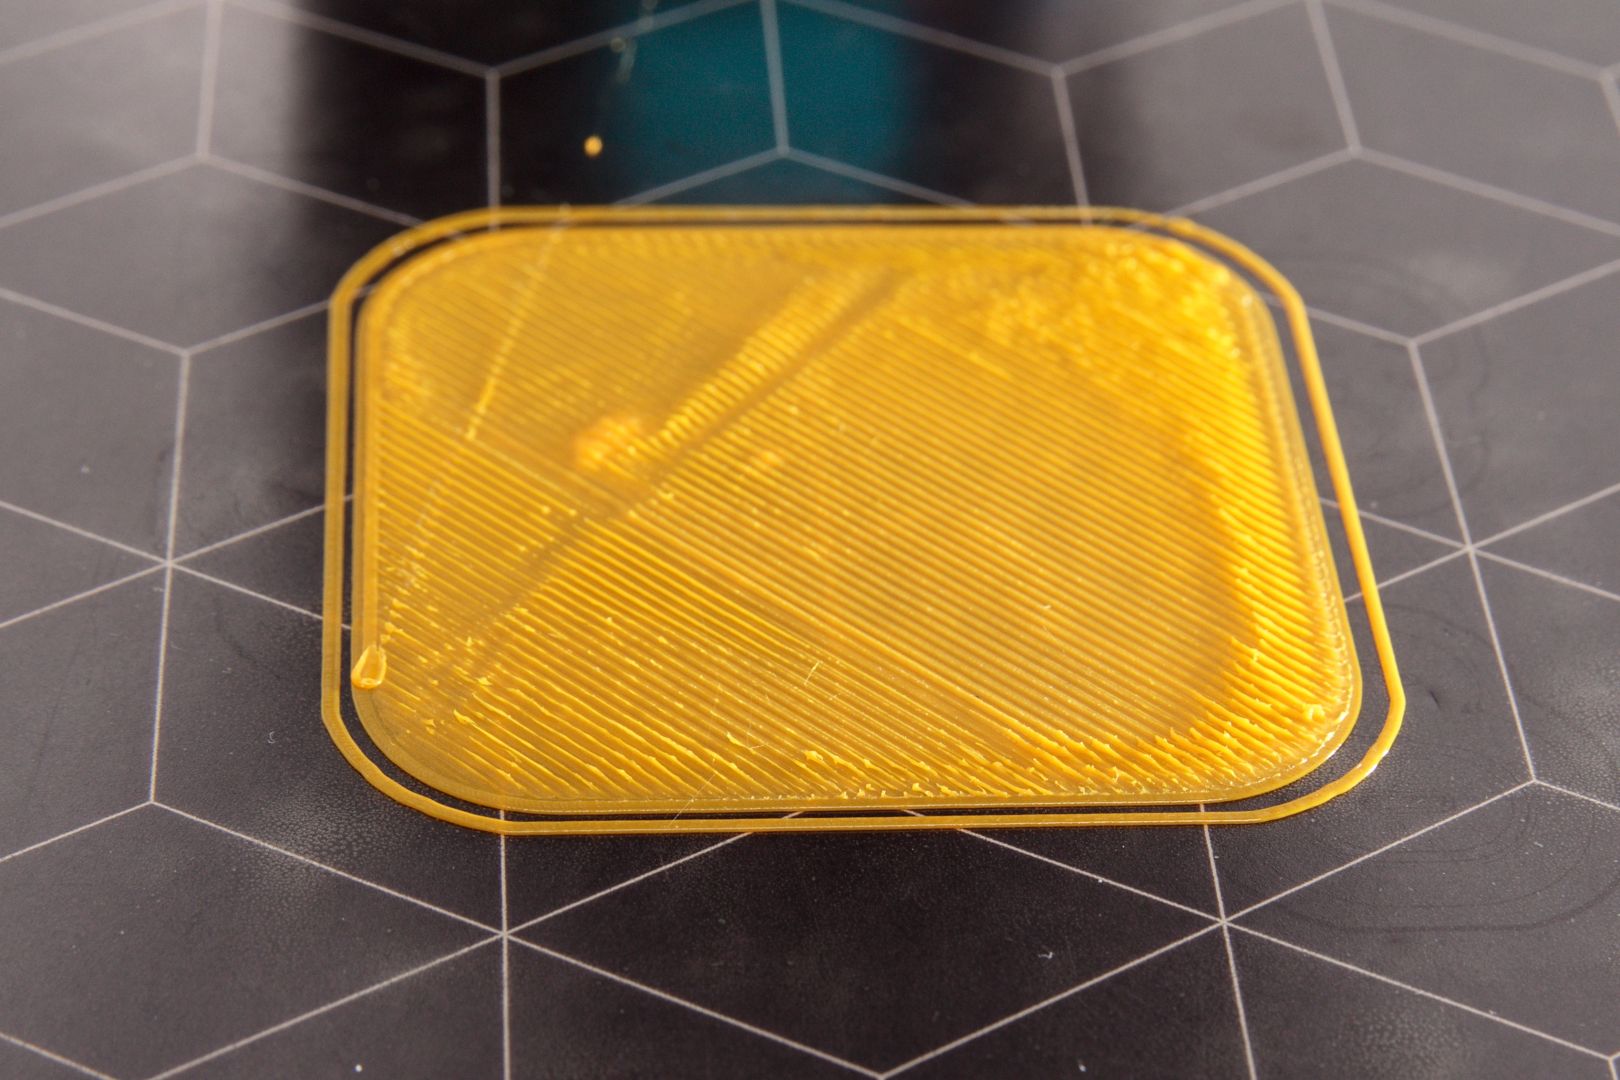
Bubbles or Light Spots Arise on the Printbed
These are naturally occurring glue bubbles that appear after heating and especially after repeated printing on the same place. When the printer is being used correctly in accord with the manual, there is no need to worry about them; they will disappear on their own after some time.
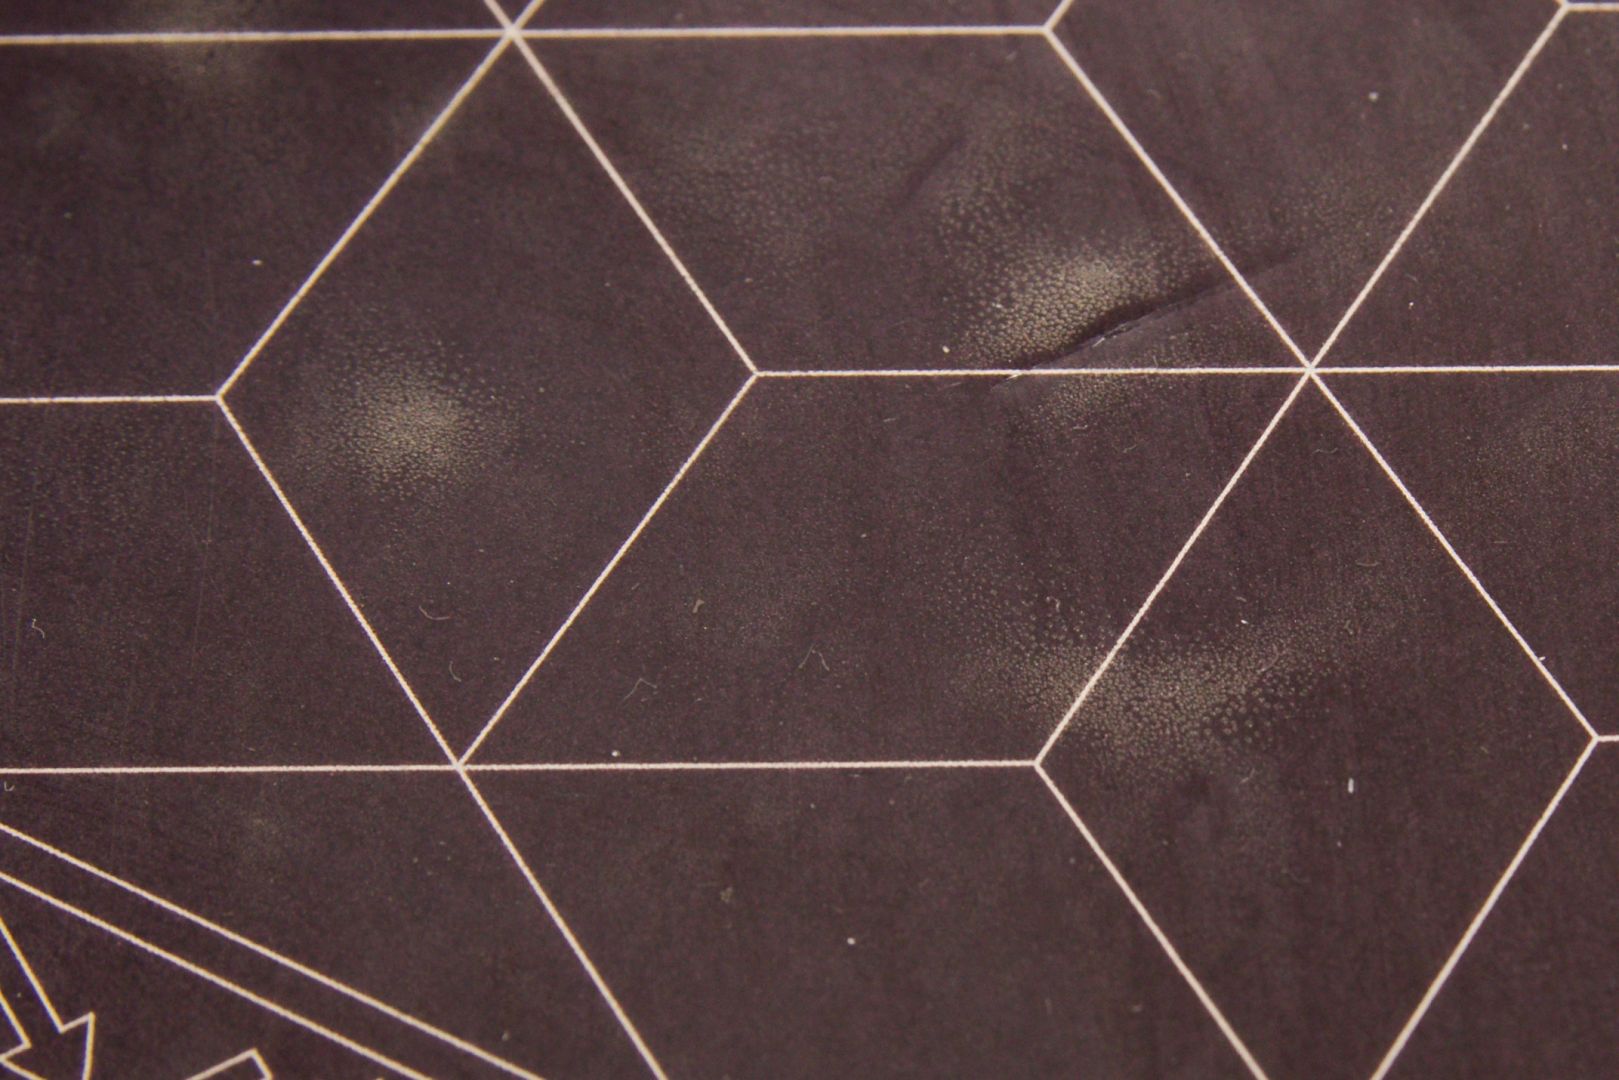
The Printbed Surface Is Damaged
Small scratches and nicks in the PEI base do not make the printer unusable. But if they become numerous or the damage becomes more extensive than this, contact our support team for a base replacement.
Printing Has Stopped and a Check Filament Message Is Showing
Proceed according to the steps in Running out of Filament and How to Insert a New Filament.
Stopping the Printer During Printing (e.g. Bad Model)
The quickest way to stop printing is to use the reset button. Then after the printer has reset, press the control wheel three times to make the print head ride back to the home position.
Caution: Do not turn the printer off immediately after it has finished printing. You must let the print head cool down.