
Table of Contents
1) Introduction
2) Printer un-boxing and installation
3) Getting to know your TRILAB DeltiQ 2 printer
4) Making your first DeltiQ 2 print
5) Cheat sheet – standard printing procedure
6) How to use the DeltaControl display and application
7) How to use the WebControl online interface
8) Installing the printer on your own
9) Printer service procedures
Thank you for purchasing your TRILAB DeltiQ 2 printer. Before you begin using your new machine, please familiarize yourself with this manual. We wrote it so that you can avoid damage due to malpractices and maximize the quality of your future prints.
Unless otherwise stated, all of the instructions herein are simple and do not require excessive force. Should you encounter a procedure where your muscles tense up greatly and nothing happens, please consult this manual again.
In the case that this manual doesn’t answer your question(s), please contact our support team at support@trilab.cz.
Safety instructions
Your safety and well being is our priority, so please follow these instructions when using your printer:
- The printer shall only be operated by trained personnel.
- The printer shall be operated only under supervision. In the event of a malfunction or unusual printer behavior, stop printing and shut down the printer.
- Power to the printer is supplied by high voltage. Always turn off the printer and unplug the power cord before accessing the power supply.
- The printer contains moving parts and therefore, do not interfere with the printer during printing. The printer can start moving without any notice and can cause injury.
- Adhere to the following values for proper printer operation:
- Operating temperature 20 – 32 °C (68 – 90 °F)
- Storage temperature 0 – 32 °C (32 – 90 °F)
Emergency STOP
The printer is equipped with a red emergency shut off switch – EMERGENCY STOP, placed at the top of the printer. Once pushed, this switch deactivates any ongoing operation, such as printing, disconnecting heated components, and stopping printer movement. After a short pause, the print head cooling fan will reactivate should the head remain hot. This function is to prevent the head from clogging and therefore, do not turn off the printer immediately after using the EMERGENCY STOP switch during printing.

At the touch of a button, the printer completely restarts and is ready to operate. It is necessary however, to remove the interrupted print from the pad and prepare the pad again. In any event of abnormal printer behavior, damage or parts separation, please contact your service representative.
Exclusion of liability
Please carefully read the contents of this installation and user manual. Failure to do so may result in poor quality results, damage to the TRILAB DeltiQ 2 printer or in the worst case scenario, injury. Always make sure that anyone using this 3D printer fully understands the contents of this manual is able to use this TRILAB DeltiQ 2 safely and optimally.
The conditions or methods used to assemble, handle, store, use or dispose of this equipment are beyond our control and may be beyond our knowledge. Because of this and other potential reasons, we do not assume any liability and expressly disclaim any liability for loss, injury, damage or expense resulting from or in any way related to the assembly, handling, storage, use or disposal of this product.
We believe the information in this document has been obtained from reliable sources. However accurate the information may be, it is provided without any warranty, expressed or implied.
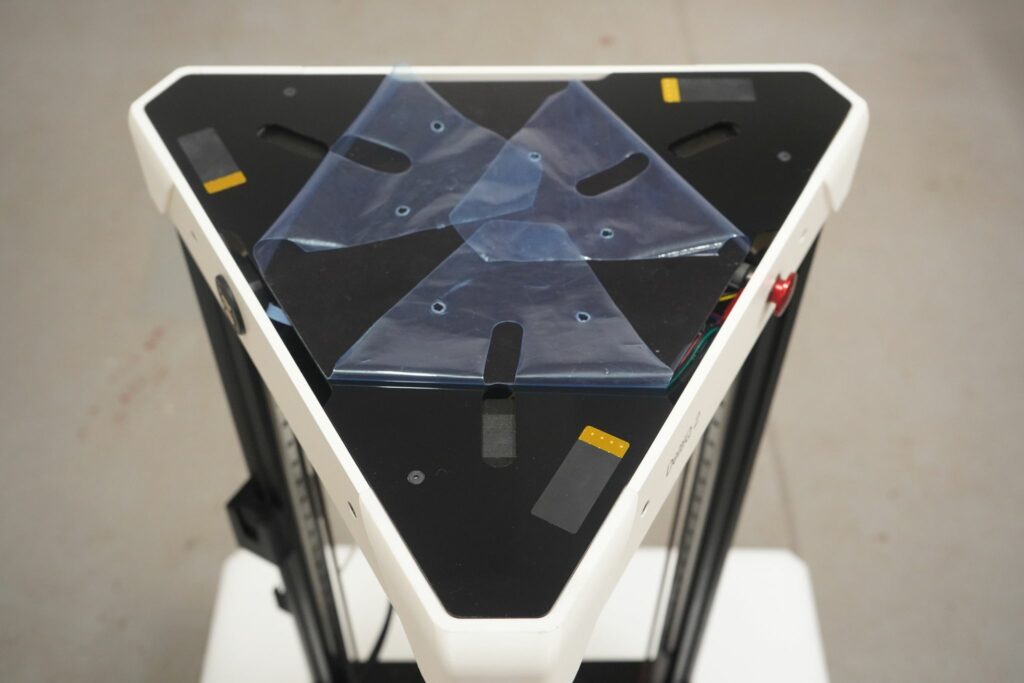
Protective seals
Each 3D printer is equipped with security seals (black labels with yellow end). Check that they have not been damaged. Their damage or removal (without the written consent of the support team) may lead to
the loss of the device warranty
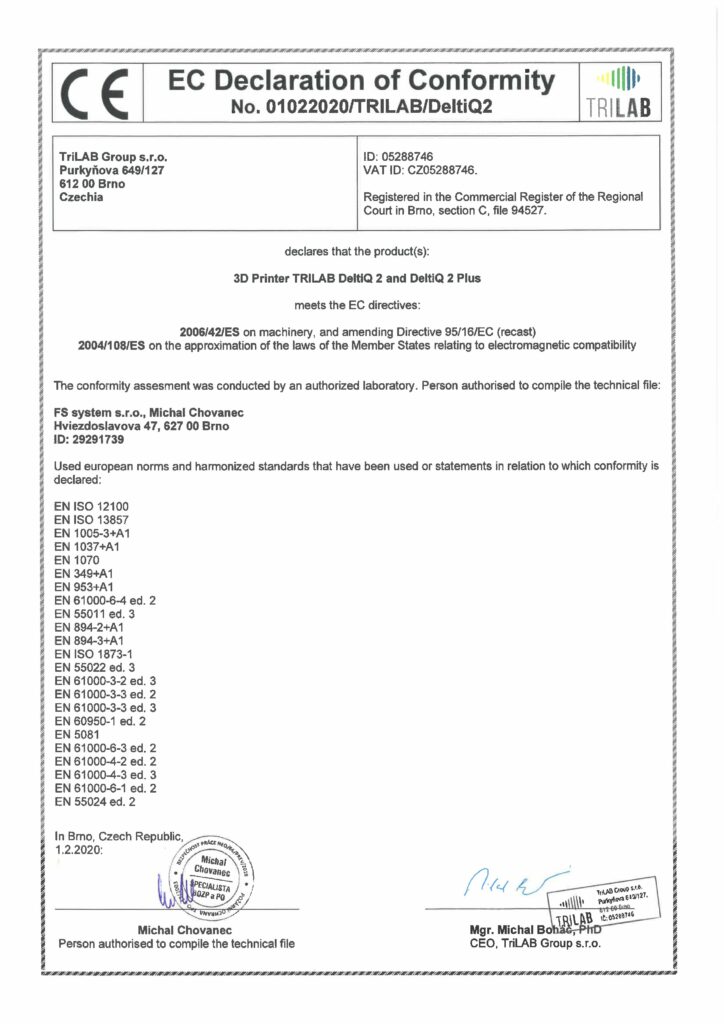
EC Declaration of Conformity
You can open the original PDF file by clicking the preview image.
Product names and important concepts
DeltiQ 2 – the basic version of the TRILAB DeltiQ 2 printer with a bowden extruder.
DeltiQ 2 Plus – an extended version of the printer. The print volume is increased to 500 mm on the Z axis (height).
TRILAB FlexPrint – a solution for printing with flexible and tough filaments. It consists of a special second extruder (swapping extruders is simple and only takes a few minutes), printer configuration and print profiles. Supplied as an optional extension, formerly known as Zesty Nimble.
TRILAB FlexPrint 2 – a new and improved solution for printing with flexible and tough filaments. It consists of a special second extruder (swapping extruders is simple and only takes a few minutes), printer configuration and print profiles. Supplied as an optional extension.
TRILAB QuadPrint – a multi-filament printing solution. It consists of a separate external Palette 2 unit, configuration files, and a portion of the multi-filament printing interface. Available as an option.
TRILAB PrintPad – a removable steel print pad. Depending on its type, it may be coated with another material (i.e. PEI).
TRILAB PrintHead – swappable printheads, available with various specifications, see tab below
| 0.4 mm | 0.6 mm | 0.8 mm |
| LP – E3D V6, brass | UA – E3D V6, brass | ZL – Volcano, brass |
| CU – Volcano, brass | BN – Volcano, brass | LT – Volcano, nozzle x (for abrasive materials) |
| MV – E3D V6, nozzle X (for abrasive materials) | SL – Volcano, nozzle X (for abrasive materials) | —– |
| DG – Volcano, nozzle X (for abrasive materials) | —– | —– |