
- Introduction – before you start using the printer
- Unpacking and installing the printer
- Getting to know the TRILAB AzteQ printer
- First printing with your AzteQ printer
- Cheat sheat – the usual printing procedure
- How to use the DeltaControl display and application
- How to use the WebControl online interface
- Printer self-installation
- Service tasks on the printer
Subchapters
1) Individual parts ….. 2) Specifications…..3) Content of delivery
4) Operation…..4.1) DeltaControl…..4.2) WebControl
1) Description of individual parts
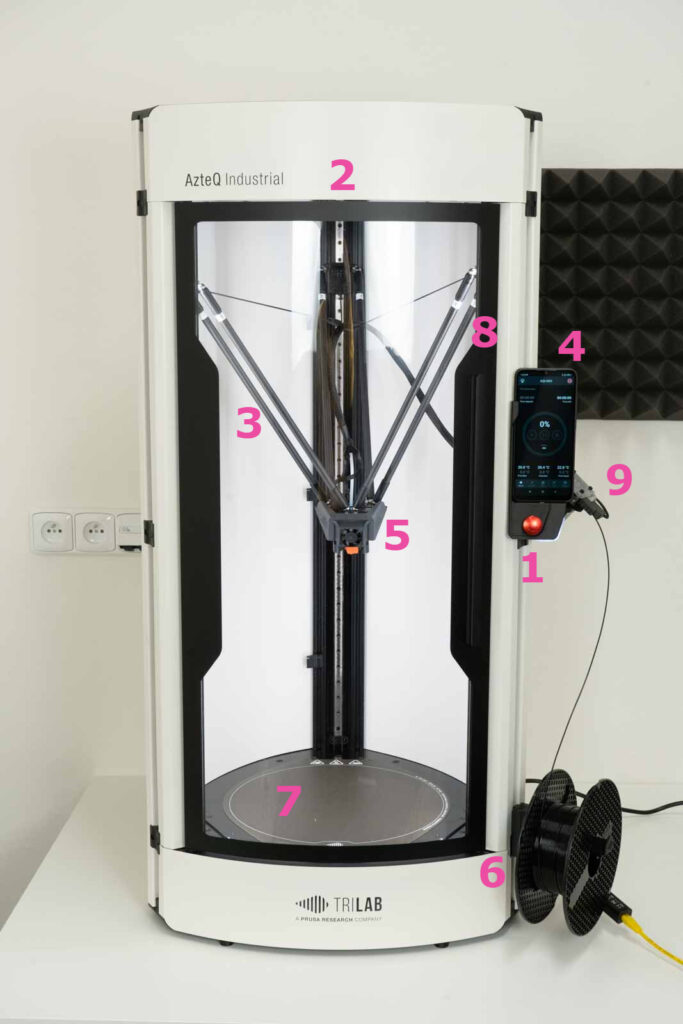
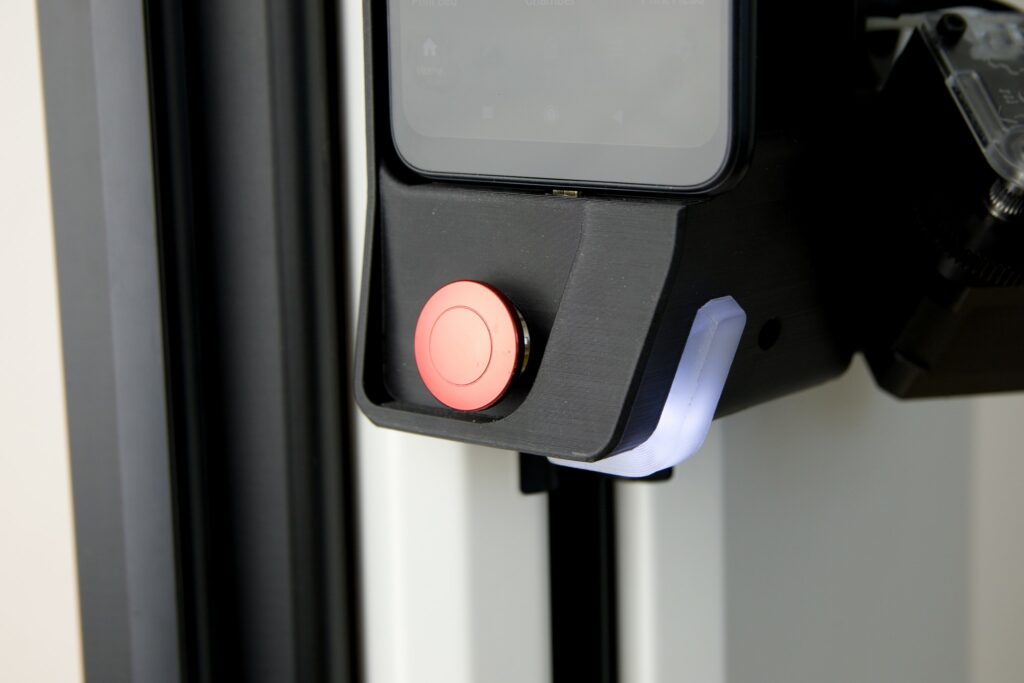
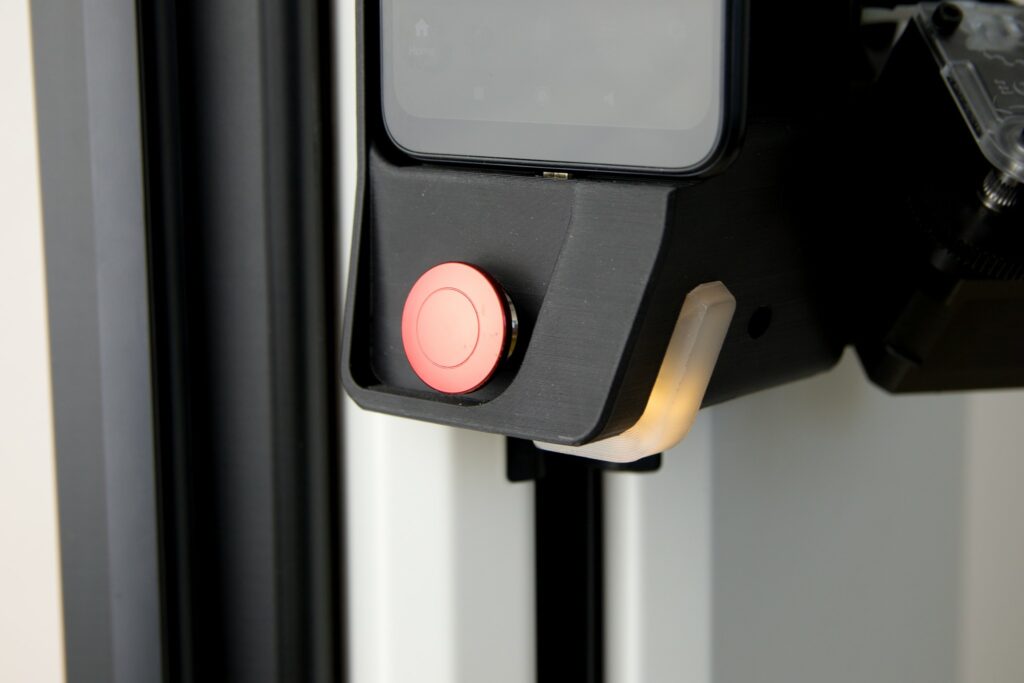
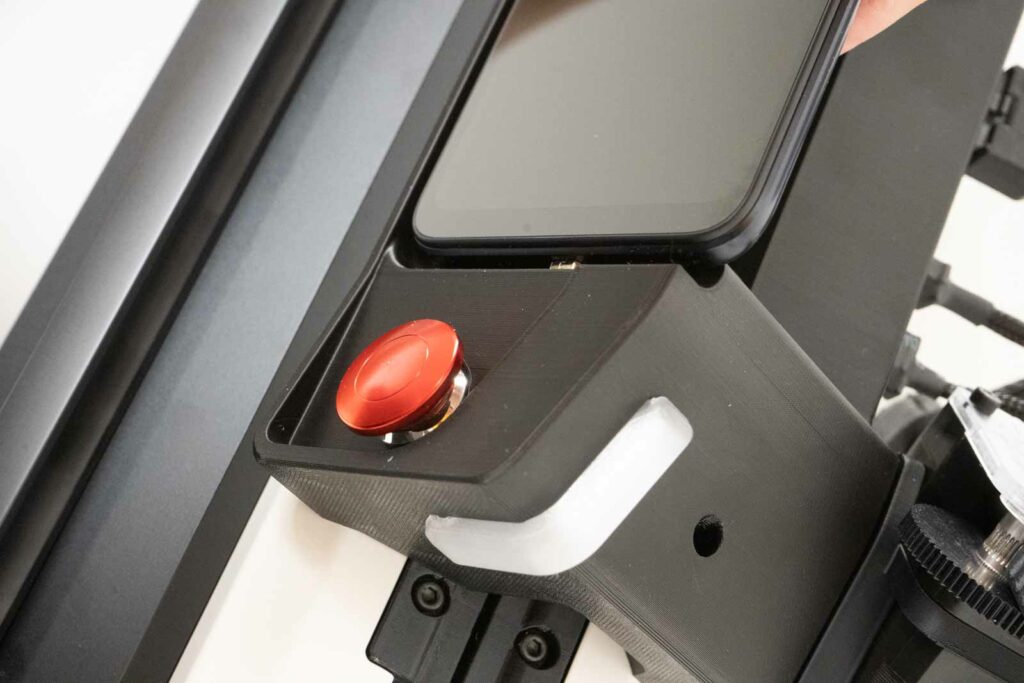
- EMERGENCY STOP button
- supervision camera (from below)
- magnetic arms and linear line
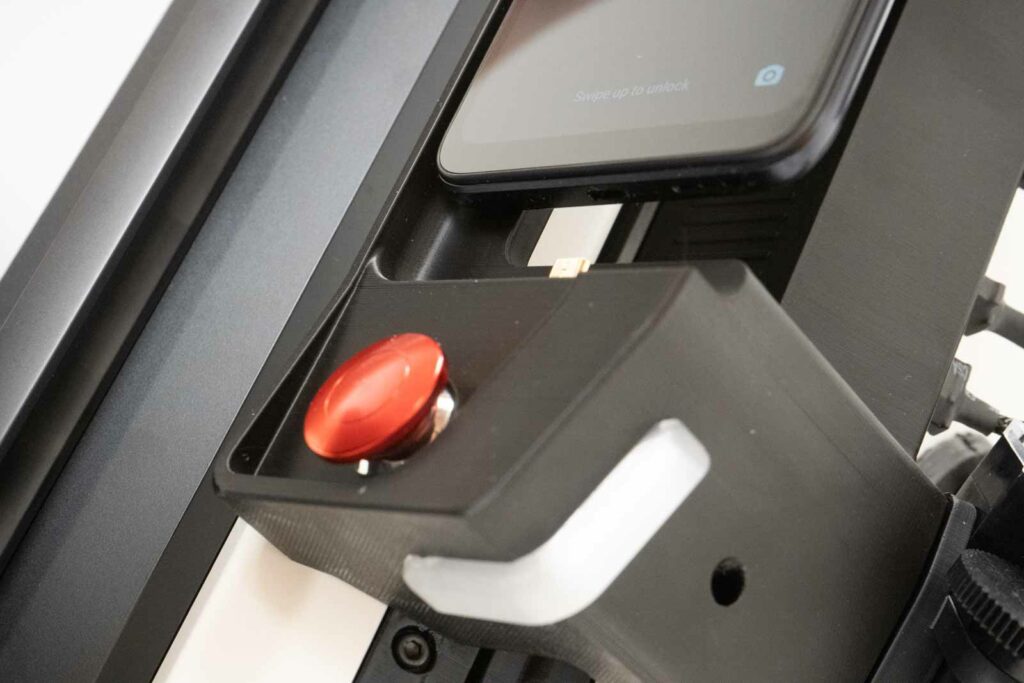
- DeltaControl display (removable), status indicator and connector HUB
- print head with nozzle, cooler and ventilators
- filament spoolholder
- heated printer bed with PrintPad placed on it
- chamber door with safety sensor
- Titan extruder with filament sensor
To place carbon rods into correct positions, each rod has a label according to the picture below.

In the side part of the printer (behind the DeltaControl display) there is a hub that is used for connecting the extruder, print head and filament sensor.
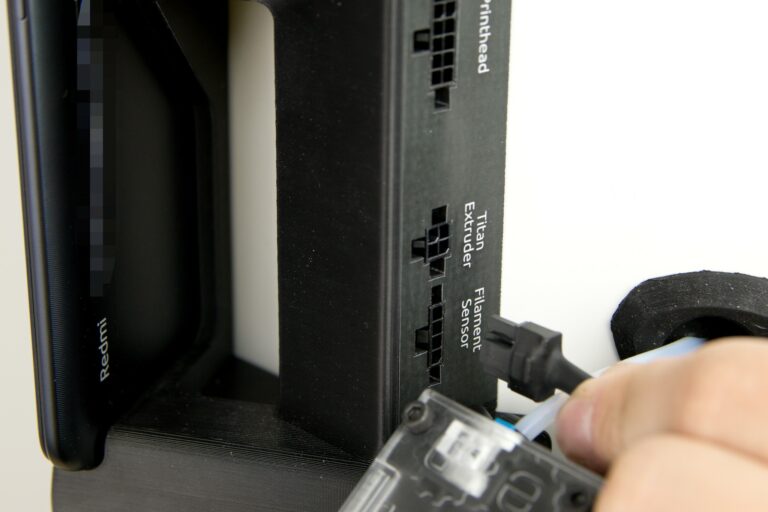
To make connection easy, there are captions for each connector on the hub.
Warning: Any handling of the connectors (connecting, disconnecting) in the hub must be done with the printer turned off.
The print head ensures melting of the filament supplied by the extruder and placement of the filament on the print pad.
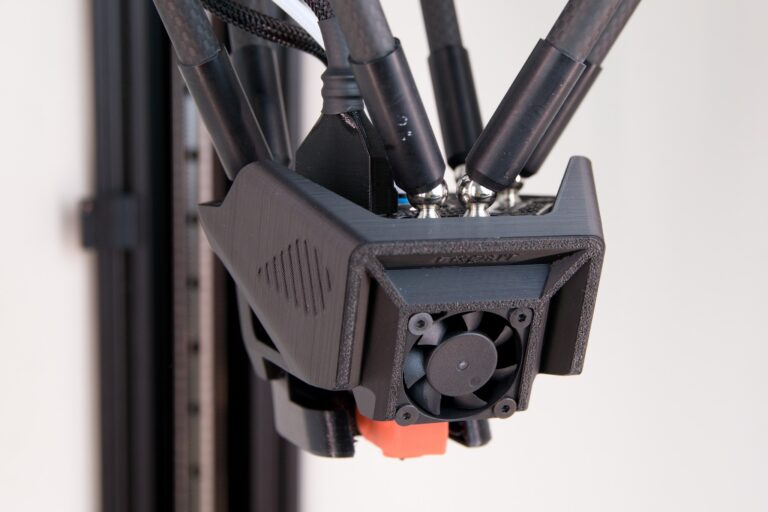
Viewing the print head from the front, the ventilator cooling the finned cooler can be seen; the ventilator cooling the freshly printed layer is situated behind the print head.
Warning: Before, during and after printing, some print head components may reach a very high temperature. There is a danger of getting burns.
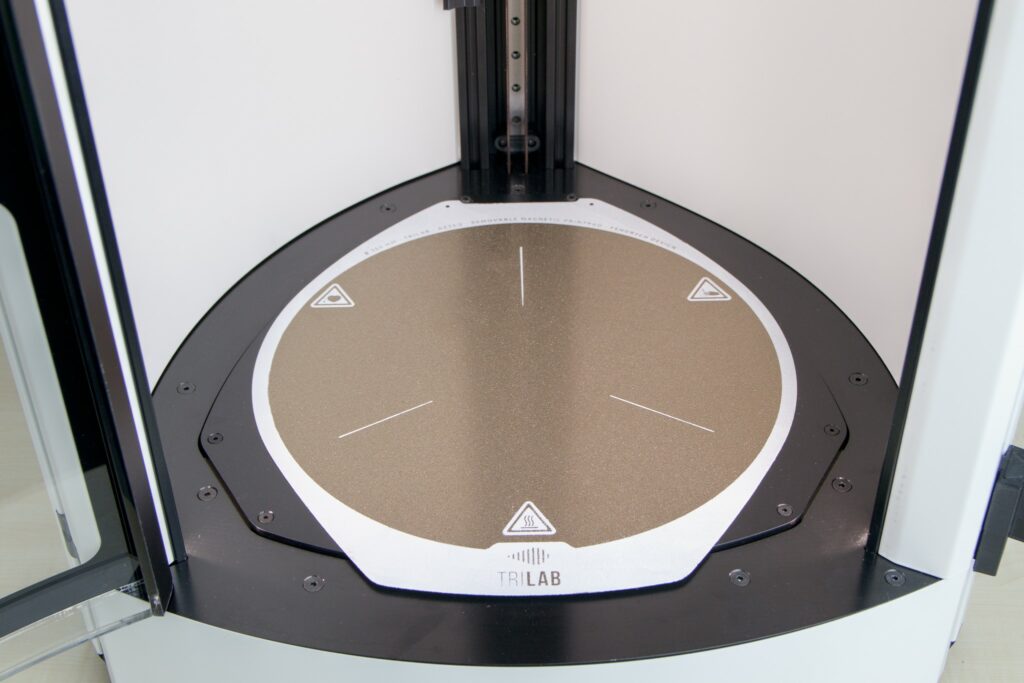
An important component is the flexible removable, specially finished PrintPad. The printing is done on the PrintPad. The PrintPad is placed on the bed in the manner described below and kept stable by magnetic force.
First prepare the PrintPad so that the TRILAB sign faces forward, as shown below.
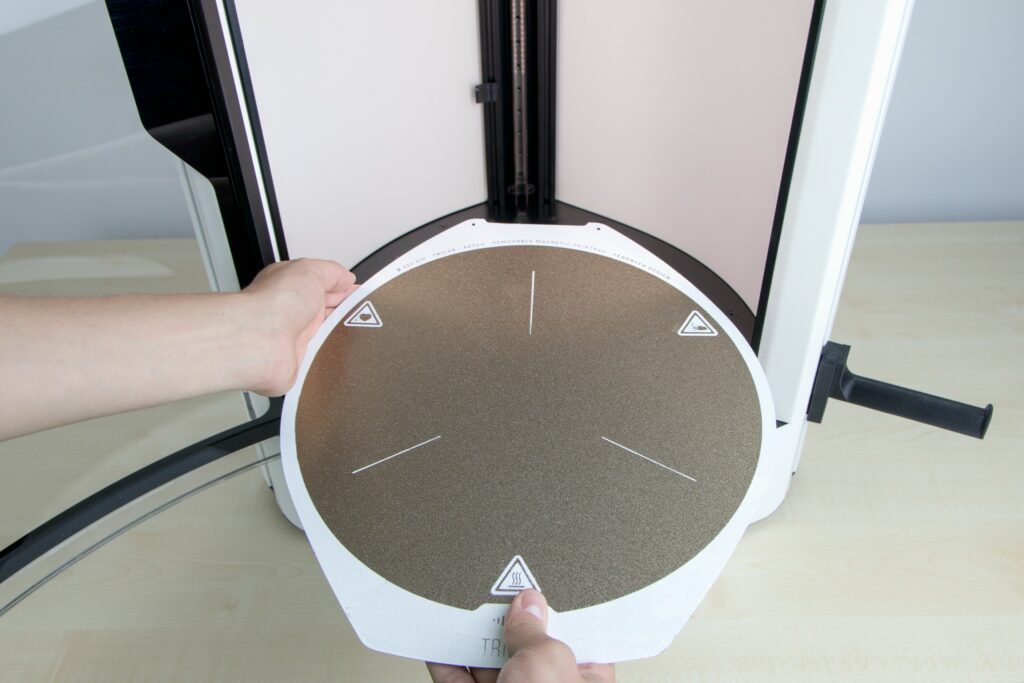
After that, push the back of the cut-out part of the PrintPad up to the two protruding screws at the rear vertical profile (ALIGNMENT).
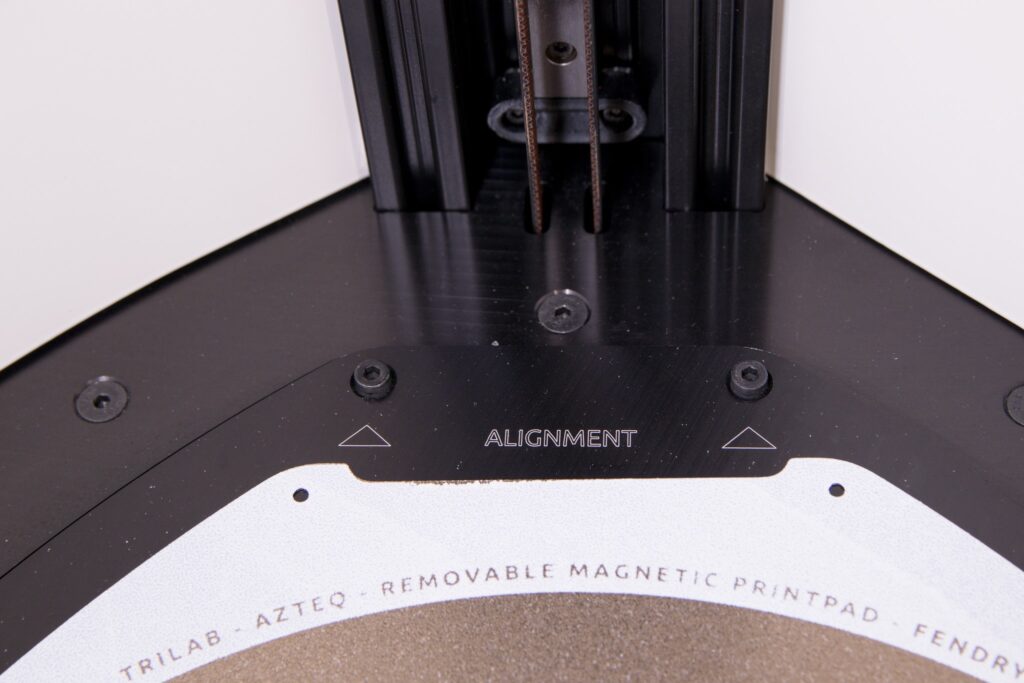
Use both hands because after putting the whole PrintPad surface on the PrintBed with magnets it is very difficult to move it.
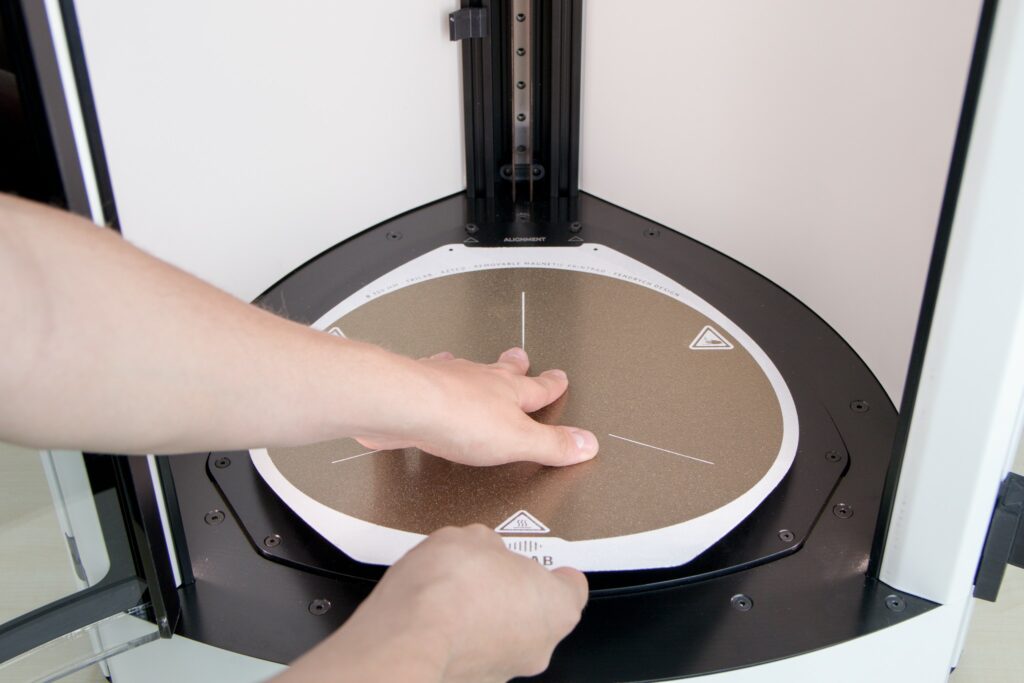
After that, let the magnets catch the PrintPad.
Warning: to prevent corrosion from occurring, never use water to wash the PrintPad.
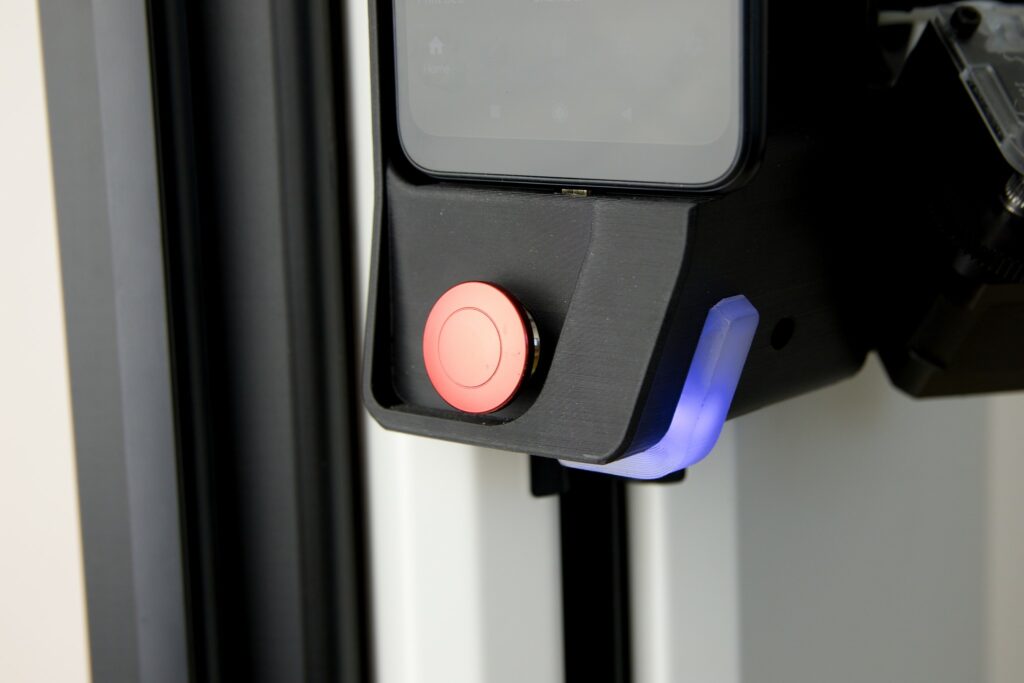
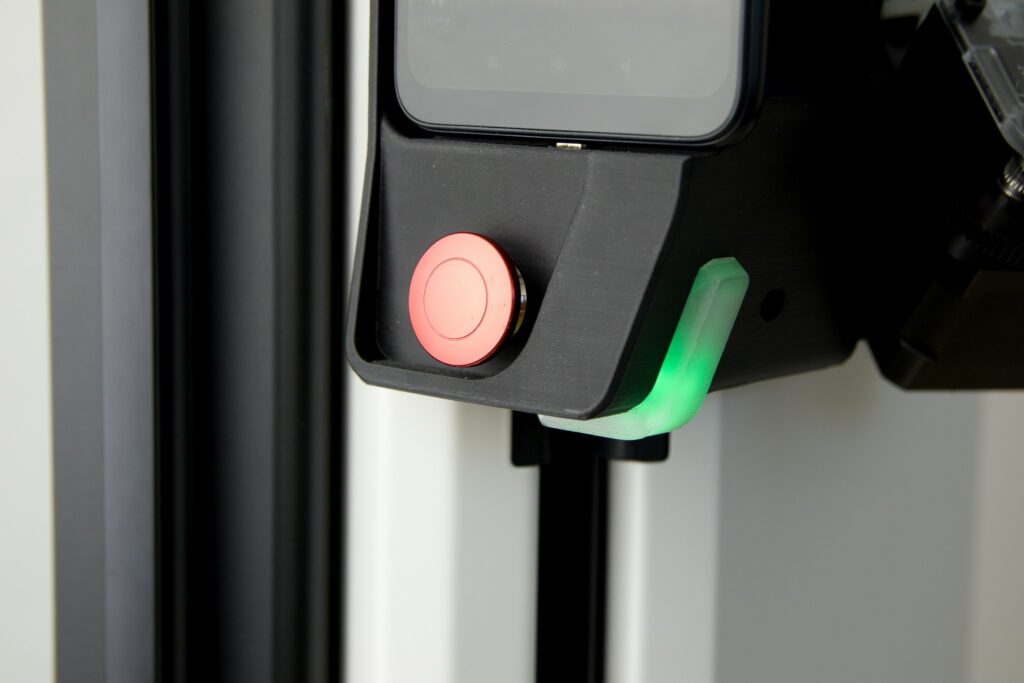
The status indicator is located next to the DeltaControl display. It has several signalling modes depending on the status:
- White light (Idle) – the printer is idle and prepared for orders.
- Yellow light (Busy) – the printer is performing a servicing task, such as firmware update.
- Blue light (Printing) – all printing-related operations and the printing as such are being performed.
- Blue and white flashing – the nozzle, the bed or the chamber has been heated to more than 50 °C.
- Green light – successful update confirmation.
- Red light (Halted) – non-standard performance detected; see the WebControl interface for details.

The chamber is closed using the transparent door for convenient printing control. The door has a built-in sensor which pauses the printing when the door is opened. However, for planned pausing of the printing we recommend using Pause on the DeltaControl display.

2) Specifications
Detailed specifications of the printer can be found HERE. In order to keep the content up to date, we do not include all the information here.
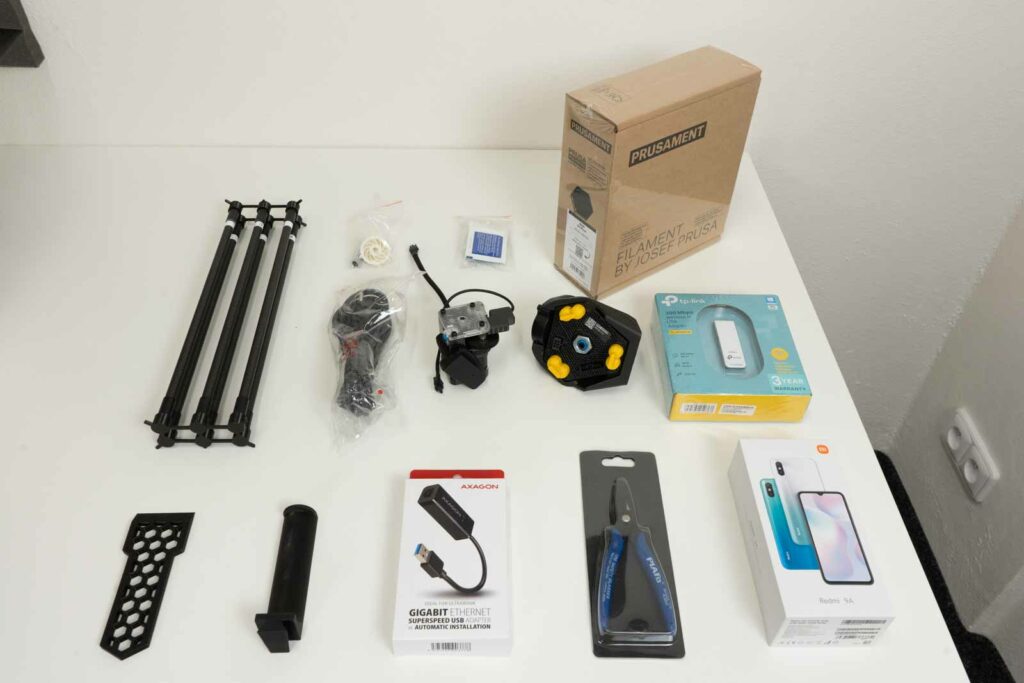
3) Content of delivery
Apart from the printer itself, the standard equipment consists of several other features shown in the enclosed collage: set of 6 carbon rods, hex torque wrench, isopropyl tissues, Prusament ASA Jet black, power supply cable, Titan extruder, printhead, wifi adapter, spatula, spoolholder, ethernet adapter, pliers and DeltaControl display.
4) How to control the printer
The TRILAB AzteQ Industrial printer features a unique way of operation that offers many advantages. However, it is necessary to understand the general approach to its use, so please read the following sections.
The printer can be operated in two ways, DeltaControl and WebControl, complementing each other. Printer configuration and printing data preparation are usually done through WebControl from your computer while printing, after printer preparation, is started using DeltaControl. The same application offers a complete overview of the printing in progress and the option of pausing or cancelling the printing at any time.
4.1) DeltaControl
The first one is using the TRILAB DeltaControl display, which consists of a smartphone with a charging cradle on the printer.

The DeltaControl display can be removed from the printer and used anywhere within the range of Bluetooth. However, we do not recommend using it as your personal mobile phone, especially for printers that are to be shared by multiple users.
Tip: Before removing the display from the printer frame, lock the screen using the button on its side in order to prevent control features from being touched.
Note: Pull the display out of the cradle upwards, not to the side. That prevents the charging connector in the lower part of the cradle from being put under stress.
Use the DeltaControl display to perform essential printing-related tasks, such as printer temperature settings, choosing the file for printing, and printing progress control. For more details on using the DeltaControl display and applications, please refer to the: How to use the DeltaControl display.
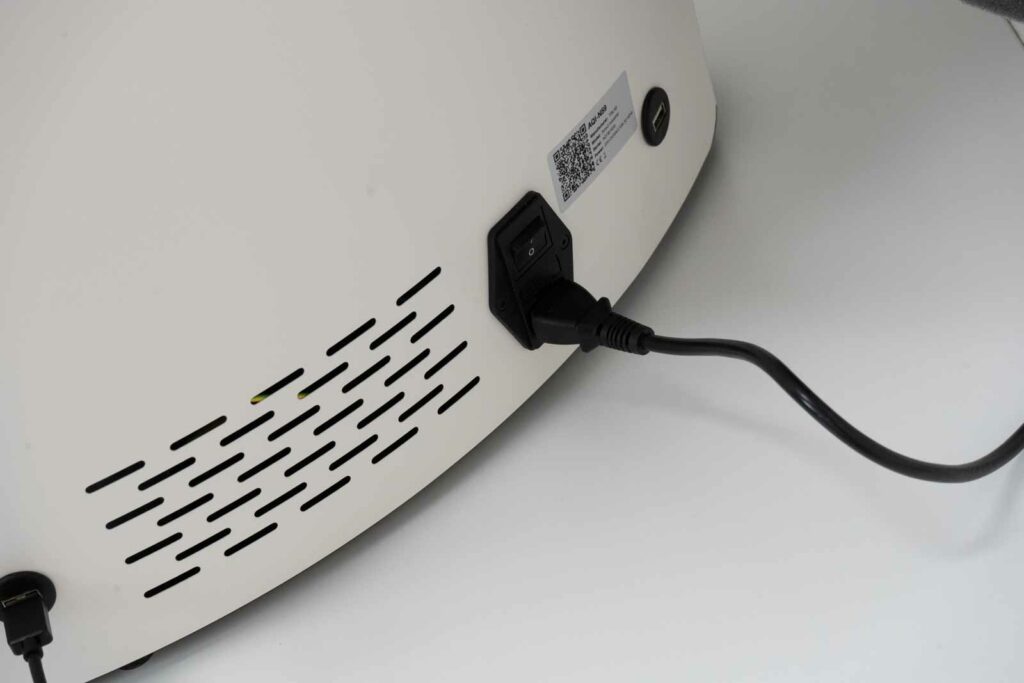
The printer is connected to its wireless display by Bluetooth. It can be paired with the DeltaControl application by scanning the label located next to the switch button. For more information, please see the section describing DeltaControl.
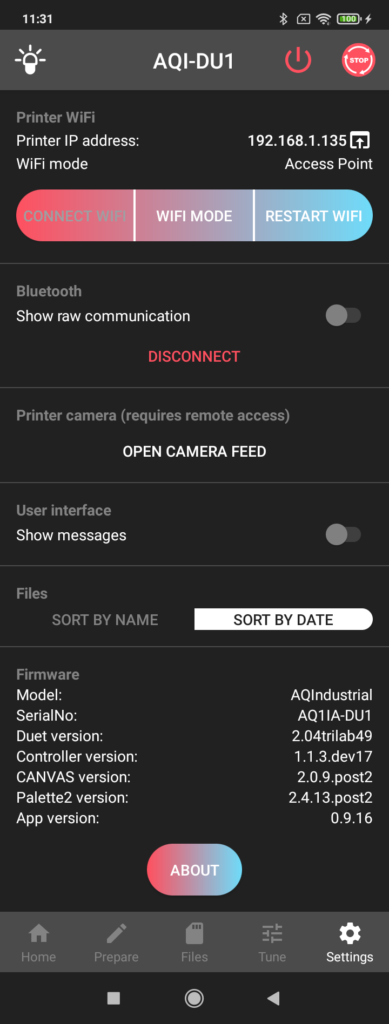
In the DeltaControl application it is possible to disconnect the printer (for example, in order to pair it with another device) using the DISCONNECT button.
Note: The DeltaControl display consists of a smartphone and charging hub on the frame of the display. During regular use, the smartphone is constantly charged through the printer’s power supply. If the printer is only used occasionally, we recommend turning the telephone off between individual printing sessions. The same recommendation applies if you know that the printer will be turned off by the power supply switch for a longer time. By turning off the telephone physically, you prevent its battery from being discharged completely (if the battery is discharged completely, its condition becomes worse and its life shortened).
4.2) WebControl
The second way of operating the printer is using the WebControl online interface, which allows you to connect from any computer in the same network or from a different location (if this option is allowed). WebControl offers complete control of the printer and can be used in computers, tablets and telephones. For a detailed description of WebControl, refer to the: How to use WebControl.
The printer offers several methods of connecting to a computer network. When they are used, the printer control software applies the following priorities:
- Ethernet dongle – a device through which the USB port allows a standard network cable with an RJ45 connector to be connected. This connection has the highest priority. If it is used, the Wi-Fi interface is automatically deactivated.
- External Wi-Fi dongle – a device connected to the printer’s USB port that allows the printer to be connected to a 2.4Ghz wireless network. When this device is used, the internal Wi-Fi device is deactivated.
- Internal Wi-Fi device – basic connection method. In an environment with increased interference, its signal range may be lower, which is why it is advisable to replace it with the external Wi-Fi dongle.
For more information about Wi-Fi connection options, please see Settings.
The basic setting will be done during printer installation and handover according to the supplied accessories and your requirements.