
- Introduction – before you start using the printer
- Unpacking and installing the printer
- Getting to know the TRILAB AzteQ printer
- First printing with your AzteQ printer
- Cheat sheat – the usual printing procedure
- How to use the DeltaControl display and application
- How to use the WebControl online interface
- Printer self-installation
- Service tasks on the printer
Subchapters
1) Common features…..2) Job…..3) G-code…..4) Google Drive…..
5) Palette 2…..6) Settings…..7) Advanced settings
WebControl makes all of the printer‘s control features available conveniently from any browser (Google Chrome is recommended) and you can also use a tablet or telephone. The interface may have a different appearance depending on the size of the screen of your device.
You can access WebControl by simply entering the IP address of your device (which can be found in the Settings tab in the DeltaControl application) or the printer name (this option must be supported by your network configuration) in the browser address line. In the event of remote access, please contact your TRILAB service representative for information about ways to connect to the web interface.
1) Machine Control tab and common features
In these instructions, the initial screen, the Machine Control tab, is used for describing the individual blocks of the environment which are identical in the other parts of the online control.
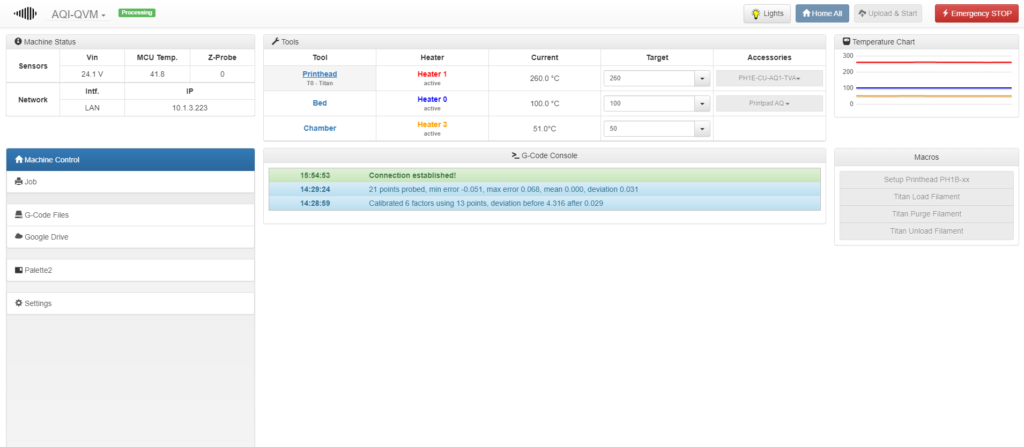
In the upper left part of the page you can see the device name and status next to the TRILAB logo. After clicking on the printer name a drop-down list of printers in the same network opens. This list allows easy switching between multiple printers – once you select a printer, the web interface opens in a new browser tab.
In the upper right part you can find an icon for switching the printer lights on/off easily (Lights), a fast command for going to the home position (Home All), a button for G-code upload and start (Upload&Start) and the red Emergency STOP button. This button immediately stops the operations in progress, stops the movement of the printer and turns off print bed and print head heating. You can use it in unexpected situations. The Home All and Upload&Start buttons are disabled during printing.

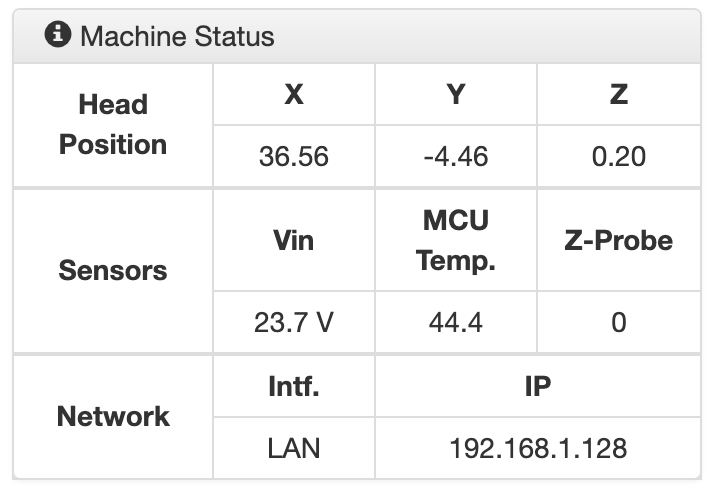
The Machine Status block provides information about the current status of the device. The Sensors line provides information about the voltage supplied by the power supply, the temperature of the printer processor and the Z-probe figure. The Network section provides information about the network interface used. Besides WiFi-EXT (external Wi-Fi dongle) value, an internal Wi-Fi card (Wi-Fi) and external USB ethernet adapter (LAN) can be used. It also shows the device IP address. (after moving the mouse cursor over the IP address, the MAC address is shown), network SSID for wireless connection and other information.

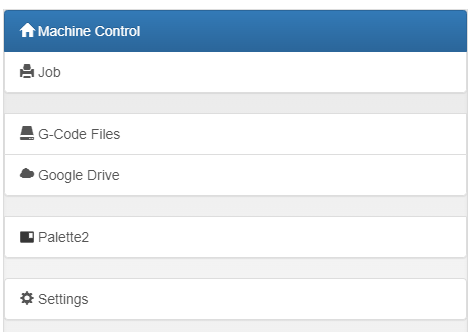
In the lower left part you can toggle individual pages (tabs). The currently highlighted page (here Machine Control) is shown in blue.
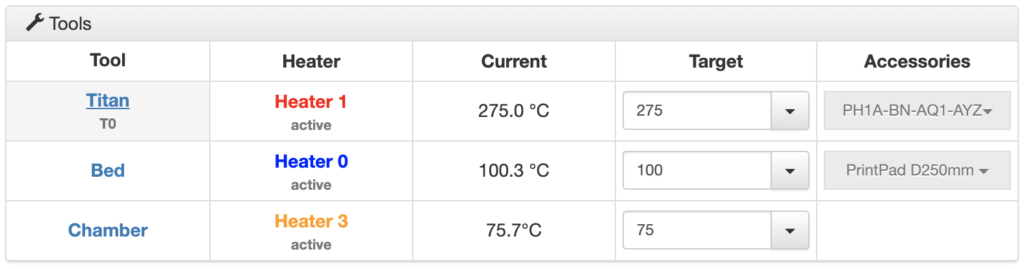
The Tools block provides an overview of the extruder, print head, chamber and bed. It enables you to set the print head, chamber and bed temperatures (by selecting them from a drop-down menu or by entering the temperature in °C and pressing Enter). If you have multiple print heads or PrintPads, use the drop-down menu in the Accessories column to select the PrintPad and print head that you want to use. After changing the accessories, their saved information (such as Z-offset) is automatically loaded and the printer is calibrated once printing is started. For more information about new accessories, go to Settings to the Accessories section.
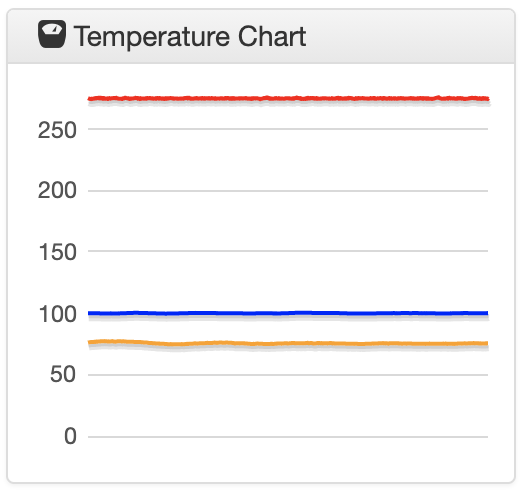
Temperature history (6 minutes) is shown in the Temperature Chart. Here, the print head temperature is set to 275 °C, bed temperature to 100 °C and chamber temperature to 75 °C.
What follows is a description of the individual sections of the Machine Control page, which are unique for this page.
The G-Code Console block displays a list of operations performed by the printer.

The last part is the Macros block. Macros are usually G-code parts – consisting of several lines – which come with the printer. Select the correct macro. For all macro commands, the nozzle is first heated to 250 °C and then the following actions are performed:
- Titan Load Filament – loads the filament using the Titan extruder.
- Titan Purge Filament – purges the nozzle with the filament to remove the previous material (e.g. another type of colour), using the Titan extruder.
- Titan Unload Filament – prepares the filament for being removed, using the Titan extruder.

Note: If you are using filament whose melting temperature is higher than 250 °C, set the required temperature manually and then select the command.
2) Job tab
The second page shows the current print job and its details. The manual does not describe the common features and blocks of the environment described in the previous part.
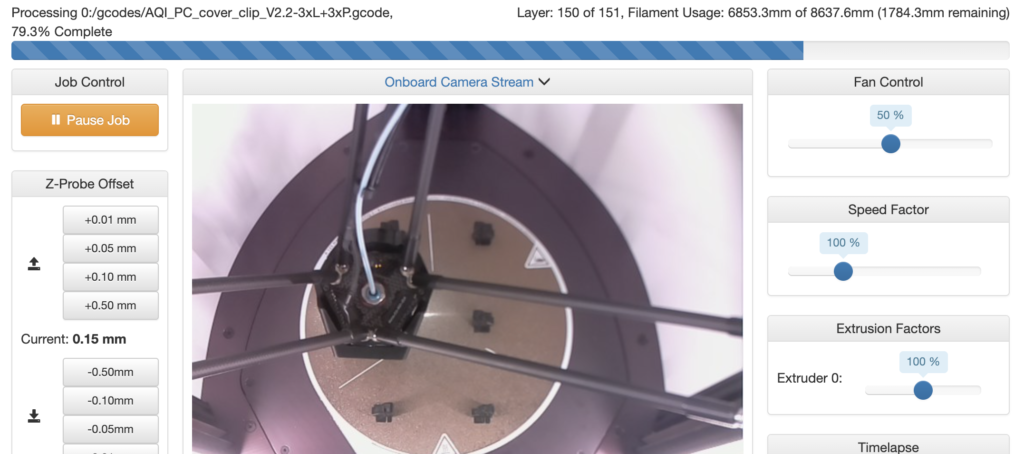
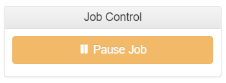
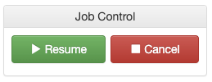
The Job Control block offers the option of pausing the job in progress. After pausing it is possible to continue printing or cancel it.
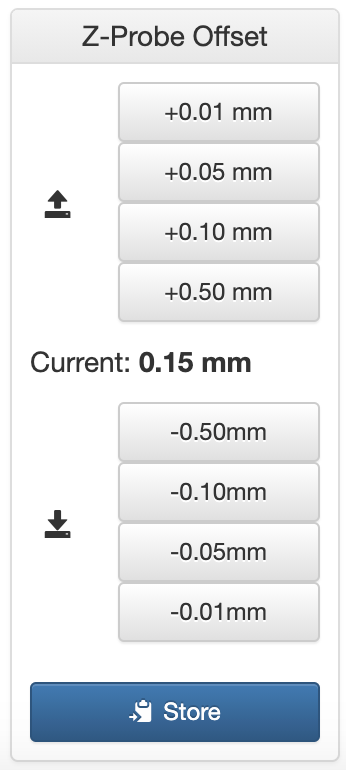
In the Z-Probe calibration block you can adjust the offset value (additional distance adjustment) of the print head – PrintPad distance) and save it for future printing jobs via the Store button. This function is the same as in the DeltaControl application. If you do not confirm the modified offset by pressing Store, it is only used for the current print job. To decrease the distance between the nozzle and the PrintPad use the minus values. To increase the offset use the plus values.
Note: When decreasing the offset figure, you have absolute control over the printer, so you must proceed very carefully. We recommend using values -0.05 and -0.01 mm.
Warning: Always make sure the printer is under your control when you are adjusting offset. Never do this action remotely (from another room) or based on information from another person.
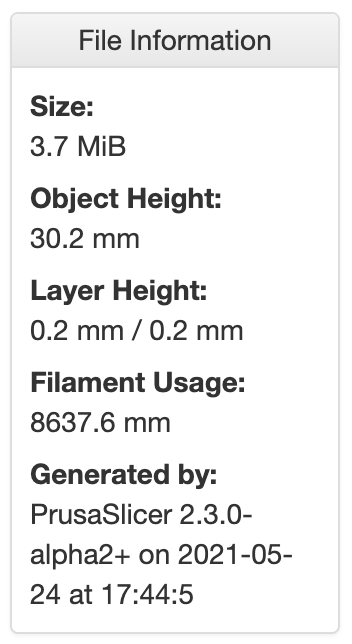
The File Information block provides information about the product being printed: file size, product height, first layer height / height of other layers, total filament consumption, as well as information about the software generating G-code.
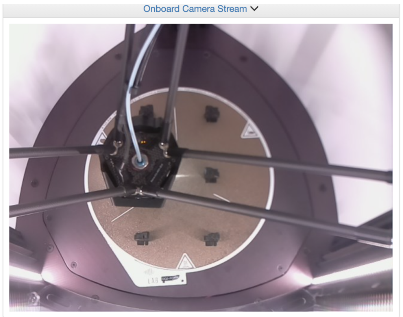
The largest part of this page consists of Webcam Surveillance with live stream provided by the camera in the upper part of the printer. This camera is focused on the PrintPad plane and is primarily used for print control. Besides the built-in camera, an external webcam can be connected and after the printer is turned off and on again, the image from the new camera is used. It is not possible to switch to the built-in internal camera after connecting an external camera.
The following blocks show statistics for the current print job in progress. Layer statistics shows the time spent printing individual layers. Collected Data shows the heating time, current layer time, previous layer time and printing time. Estimations shows printing time estimation based on three different factors.

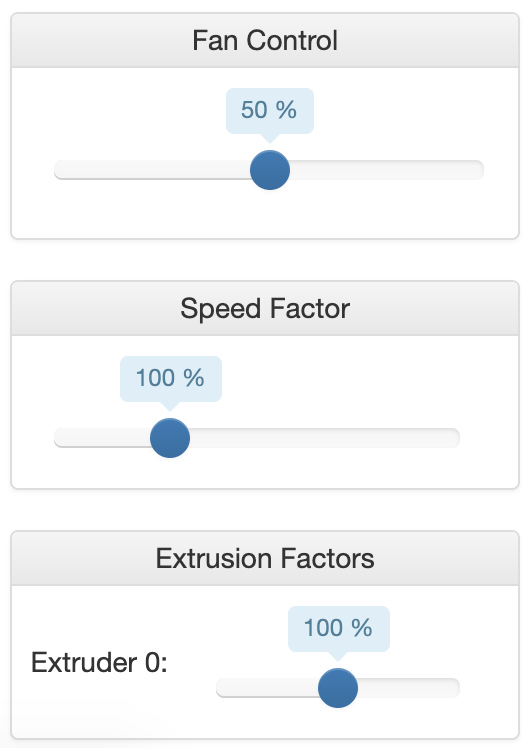
In the right-hand part you will find blocks used for manual fan control (Fan Control), printing speed (Speed Factor) and extrusion factor (Extrusion Factors). Extruder 0 means the Titan extruder. We advise you not to change these settings but let them be managed by the software.
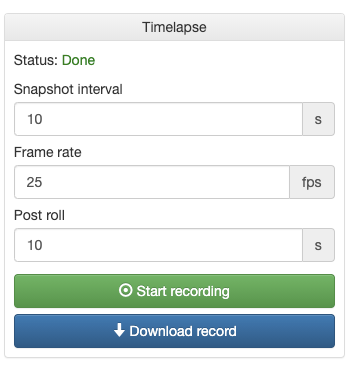
The last part is the Timelapse block, which is used for recording time-lapse videos. Before recording begins, the Status bar must be Ready in green letters. The Snapshot interval line is used for setting the recording interval. The next line, Frame rate, sets the frames per second. The last command, Post roll, shows the recording time after the completion of the print job. To start recording, use the Start recording button.
The video is saved on the printer’s memory card and recording capacity of 3 days (72 hours) is reserved. Therefore, you do not need to worry that the video recording might stop during the printing as a result of full memory.
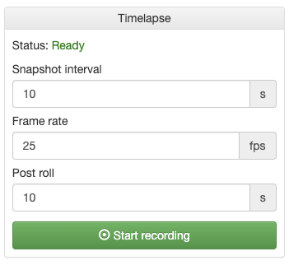
Once the recording is completed, the status changes to orange text that says Rendering. During this time, the time-lapse recording is being prepared for download. The green Done status means that the video is prepared for download by using the Download record button.
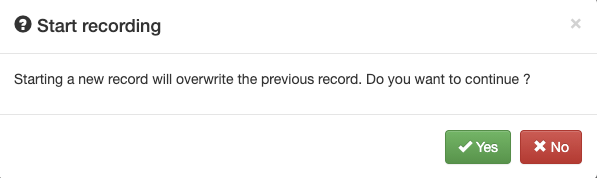
To start a new recording, select Start recording and a pop-up window will appear saying that after tapping Yes to confirm, the previous video will be overwritten by a new time-lapse video.
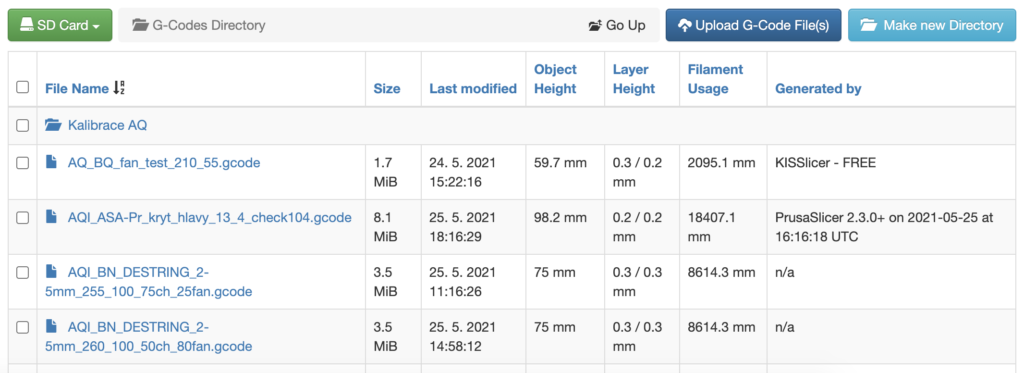
3) G-Code Files tab
This tab includes the printing data files saved in the printer memory along with other details. You can start printing by clicking the file name (the printer asks for confirmation). Right-click to view the context menu (e.g. for renaming the file). The buttons in the upper right part are used for uploading files from a computer (Upload G-Code Files) and making directories (Make new Directory).
While the file is being uploaded, a window providing upload details is shown.
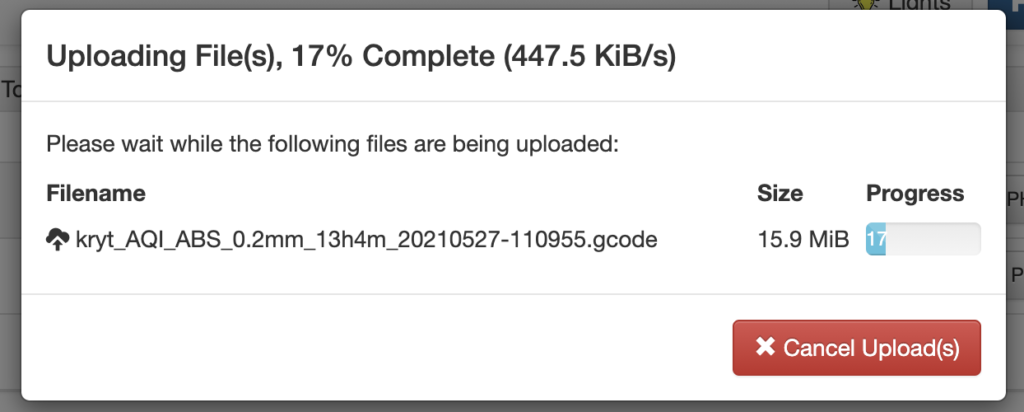
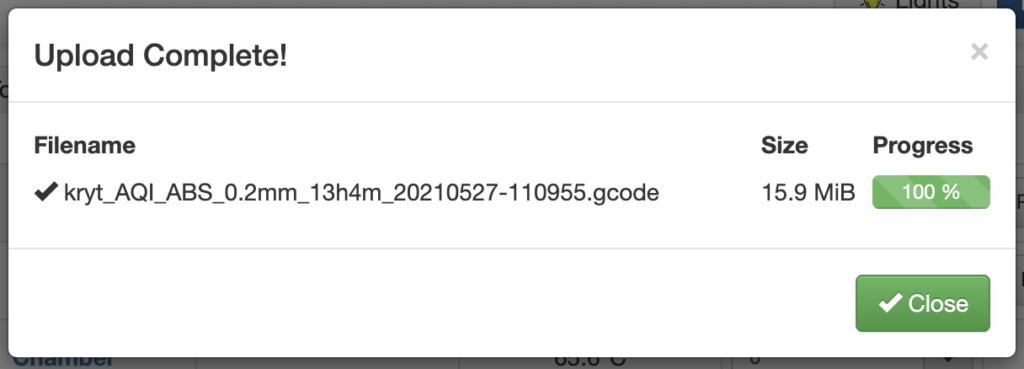
Once the file is uploaded to the printer memory, the confirmation window appears.
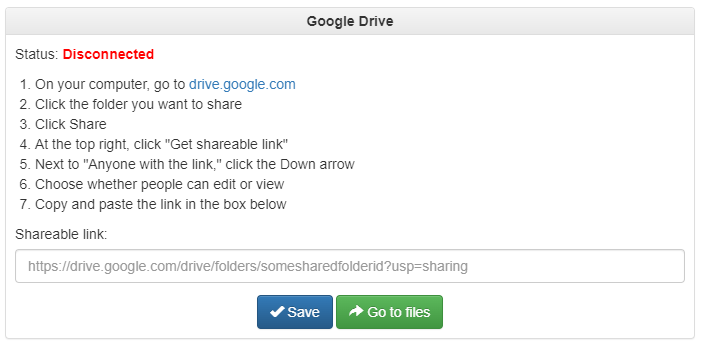
4) Google Drive tab
On this tab, you can connect your Google Drive account with printer’s memory.
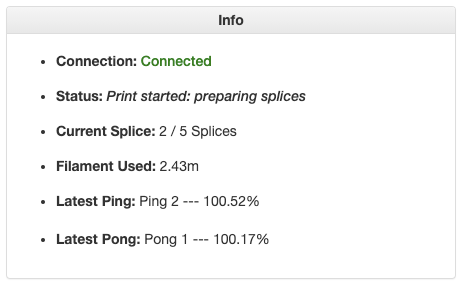
5) Palette 2 tab
This page provides information about the status of the connected extension, Mosaic Palette 2, for multi-filament printing.

Once the device is connected, the Connected status is displayed in green. Up-to-date details about the print job in progress are shown during the printing.
6) Settings tab
Here, you will find five sections for printer and WebControl settings.
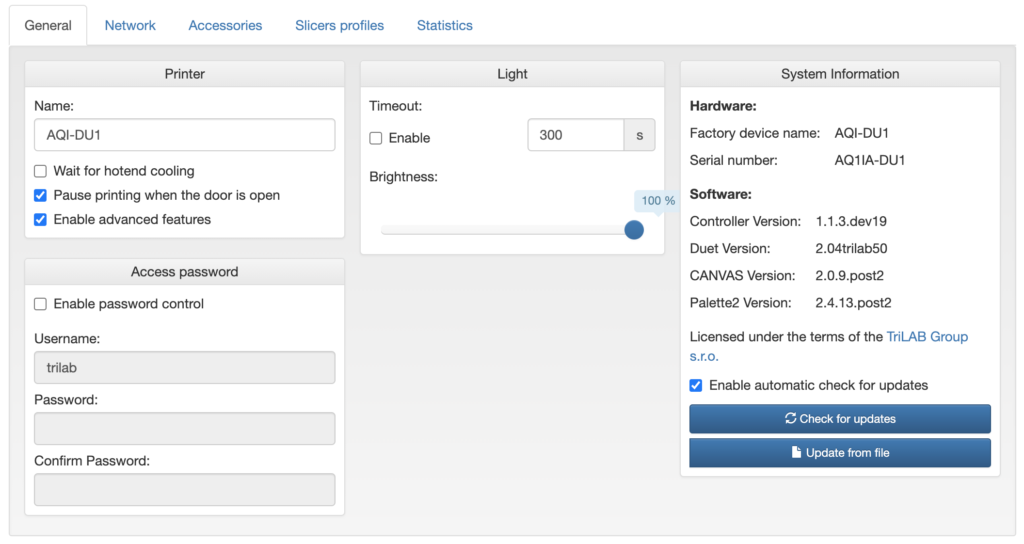
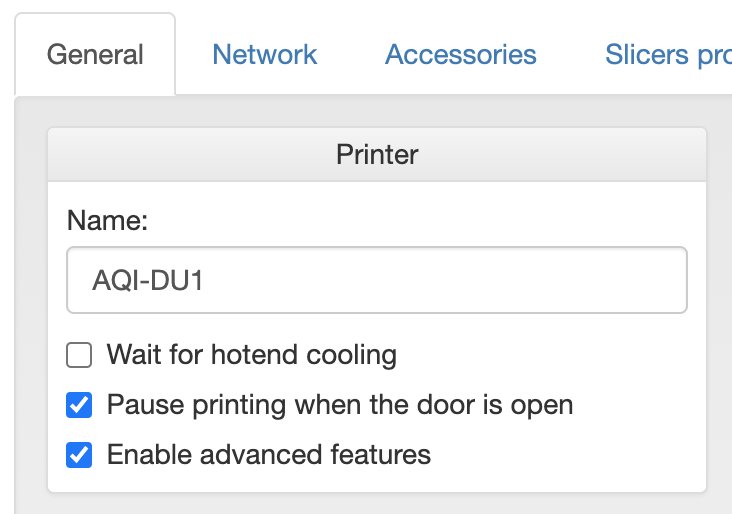
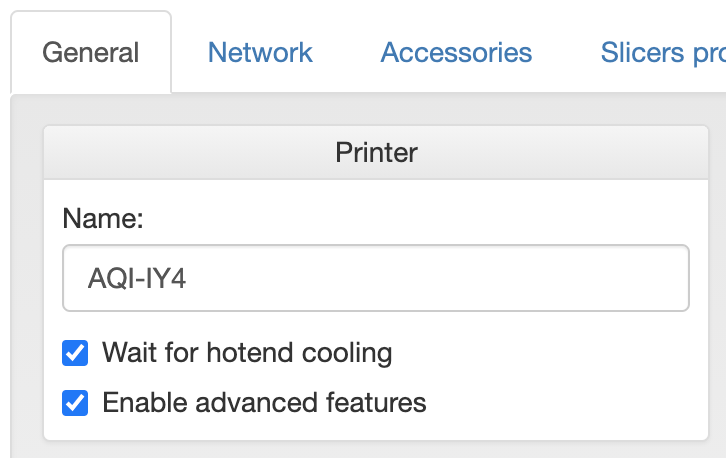
In the first tab, General, you can find software information, check the printer firmware updates (Check for updates), change the device name (Name), set your password for accessing the web interface (Access password) and set the brightness of the printer lights (Brightness) and the time after which they are to be turned off (Timeout).
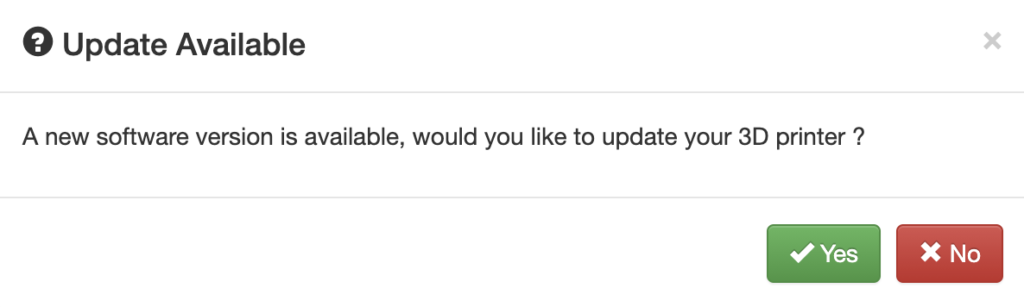
If any updates are available, a confirmation window appears.
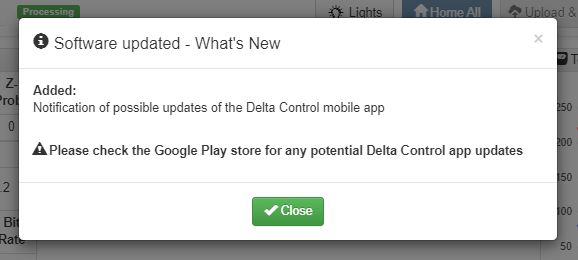
After tapping Yes , the update downloading starts, the status indicator turns yellow and after successful updating it turns green. Once the update is completed, a window listing the changes is shown. Please remember to check for updates for the mobile application as well.
There are also check boxes for activating advanced settings. If Wait for hotend cooling is ticked, it checks whether the print head was cooled down to the temperature of 150 °C before launch of the printing job. The next box, Pause printing when the door is open, manages printing pausing if the door is opened during a print job in progress. If the door is not closed, it does not allow printing to begin. The last option, Enable advanced features, shows advanced settings. Please refer to Advanced settings for more information.
The second tab, Network, allows network access. The Mode option allows you to switch between the Access point mode (if there is no accessible Wi-Fi network within range, the printer switches itself to this mode temporarily) and the standard Auto mode, in which the printer can connect to the current network with the SSID and password (Password) entered. The last part, Access point, is used for naming the printer network in the Access point mode and for setting a password.
For a remote access, enable this option and contact support dpt.
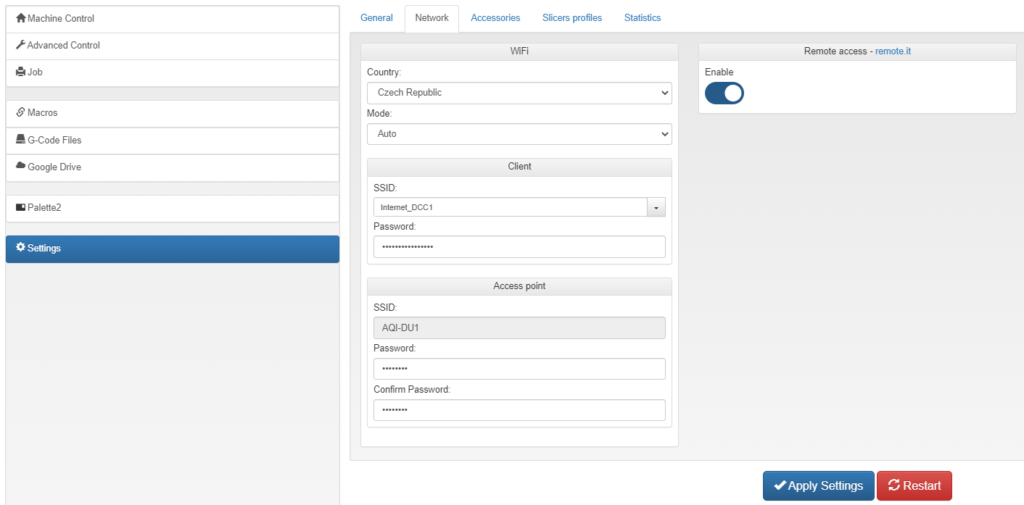
Any changes to settings must be saved by clicking Apply Settings.
The third part of the settings shows options for Accessories, where the print heads and PrintPads are managed. If you get a new print head or PrintPad, you will get a configuration file for your new accessories by email. To add new accessories, upload the configuration file through the green + (plus) button. Rename it according to your own needs and save it by clicking Save. If you need to remove any accessories, use the red – (minus) button.
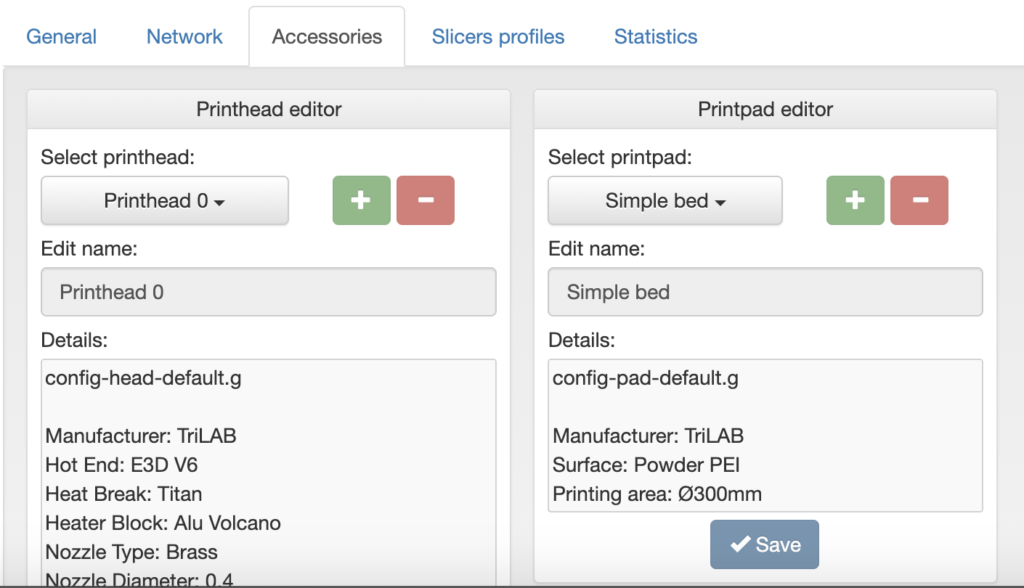
After new accessories are added, zero offset is automatically set for the new print head – PrintPad combination. As a result, a new Z offset value must be set.
The fourth section, Slicers profiles, concerns slicing programs. You can currently download PrusaSlicer and profiles for the Canvas multi-material slicer. KISSlicer 1.6.3 is currently unavailable.
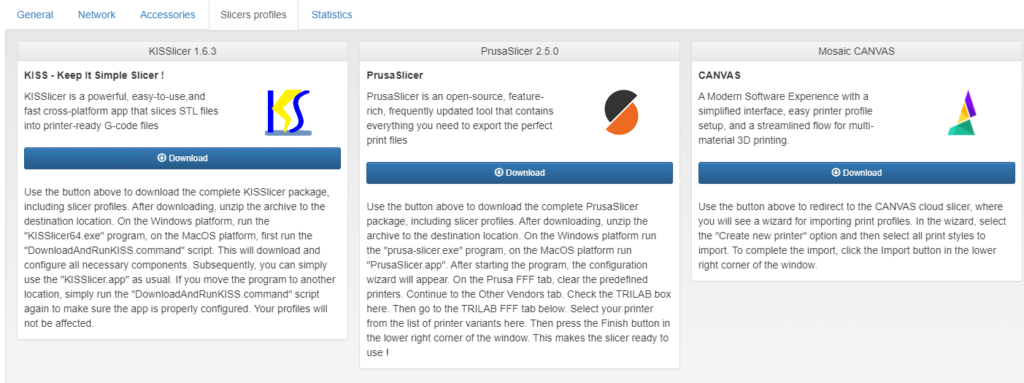
To download the slicers, click Download. Once the download is finished, extract the complete directory to the target directory.
PrusaSlicer
If you use Windows, you can simply launch the program through the “prusa-slicer.exe” file. If your operating system is Mac, launch the “PrusaSlicer.app” file.
After launching, the settings wizard is shown. Click None to unselect the pre-selected profiles in the Prusa FFF window. Continue to the Other vendors window and tick TriLAB. In the subwindow, choose the profiles that you need, continue to Filament section and tick all except Generic. Once you press Finish, everything is prepared. Shut down and re-launch the program to complete the profiles installation process.
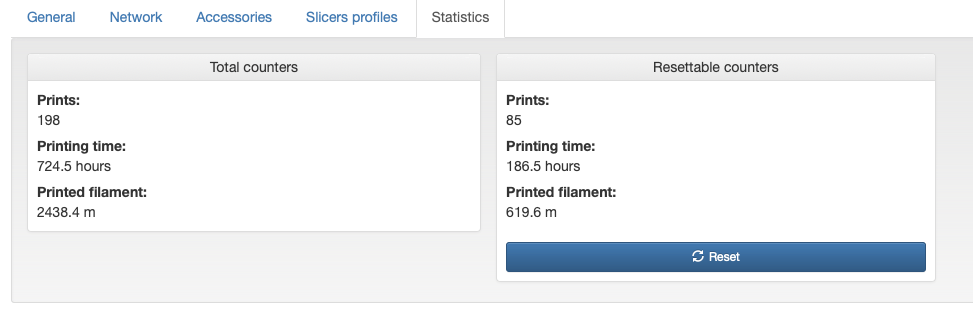
The last section, Statistics, contains statistics counters. The left window shows a general overview from the beginning while the right window shows statistics from the last reset.
7) Advanced settings
Warning: If you are not an advanced user or if you have not been instructed by a Trilab technician, we advise you not to change the following settings in any way!
If you tick Enable advanced features in Settings, advanced settings options are displayed.
The Head Position item will be added to the common screen in Machine Status.
In the Machine Control tab, the command line for sending G-Code commands by clicking Send or Enter is available.

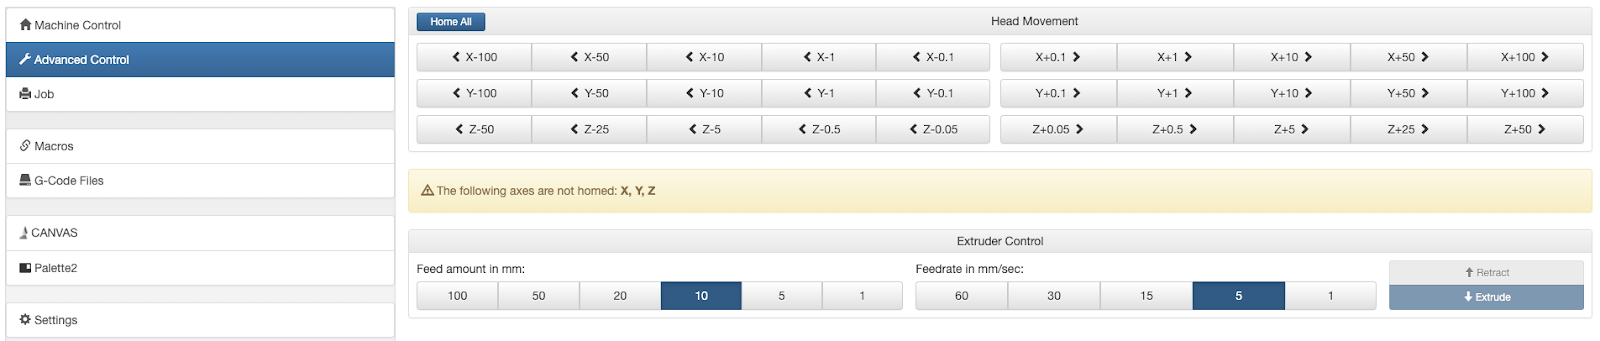
The new Advanced Control tab provides options for print head movement (Head Movement), and for extruder control there are items controlling the amount of extruded material (Feed amount) and extrusion speed (Feedrate). If you need to retract the filament, select Retract instead of Extrude.
The last advanced setting is made available in Macros, where there are configuration files of the individual pre-set macros.