
- Introduction – before you start using the printer
- Unpacking and installing the printer
- Getting to know the TRILAB AzteQ printer
- First printing with your AzteQ printer
- Cheat sheat – the usual printing procedure
- How to use the DeltaControl display and application
- How to use the WebControl online interface
- Printer self-installation
- Service tasks on the printer
Subchapters
1) Turning on the printer…..2) Loading filament
3) Installing the PrintPad…..4) PrintPad preparation…..5) Test print
6) Removing the product…..7) Hotend cooling…..8) Turning off
Recapitulation
Let’s summarize what has been completed so far. Most steps have been done by our technician who has installed the printer.
- The printer has been unpacked and placed onto a steady table.
- The individual printer components (extruder, display) have been fitted and connected.
- The DeltaControl display has been paired with the printer.
- The printer has been connected to a computer network (or is working in the AP mode).
You will first learn to print a testing model, which is prepared in the printer’s memory, so you do not need to prepare it yourself. Perform the following in order to print it:
- Turn on the printer
- Load the filament into the printer.
- Put the PrintPad in place.
- Prepare the PrintPad.
- Start printing.
1) Turning on the printer
Before connecting the cable to the printer, please make sure that the rocker switch on the printer is in the off position.
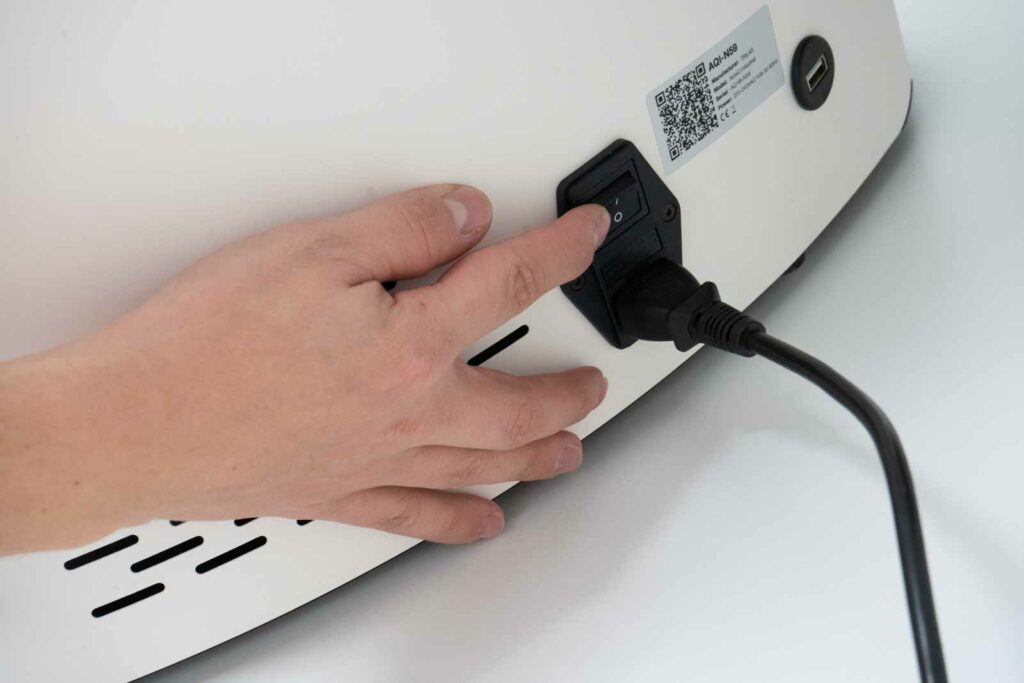
Before turning on the printer, make sure that the power supply cable is connected properly. It is a standard three-wire cable with a standard connector used in computer power supply units.

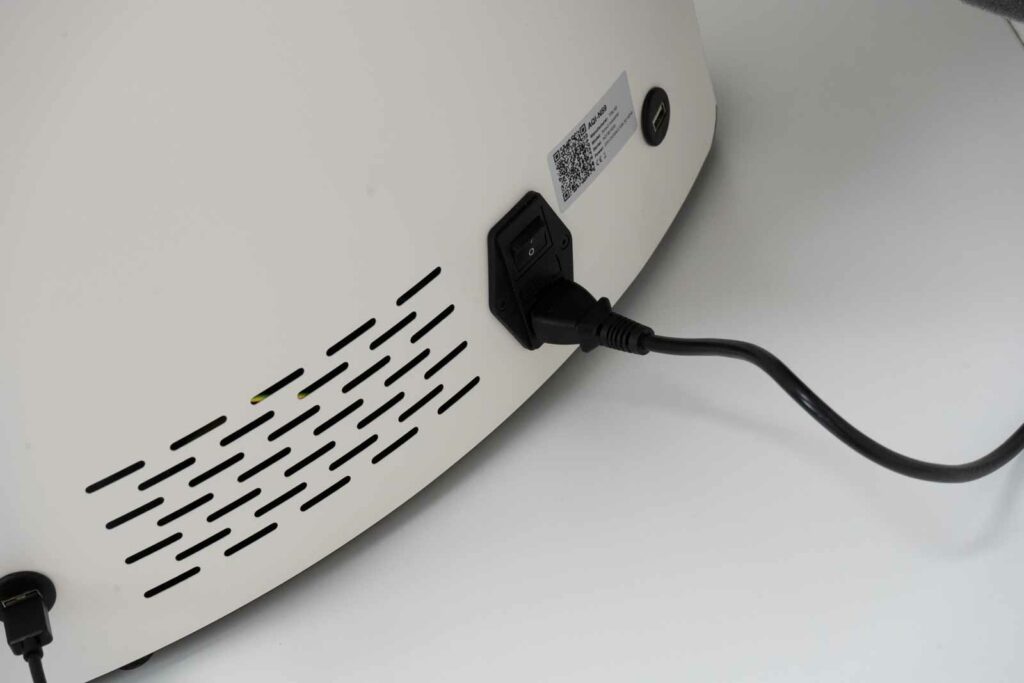
Turn on the printer by switching the rocker switch on. The machine’s successful start and readiness for work is indicated by the white colour of the status indicator below the DeltaControl display.
If the DeltaControl display has not been turned on yet, please turn it on now. Find the DeltaControl application on the Android home screen and tap on it to launch it.
2) Loading filament into the printer
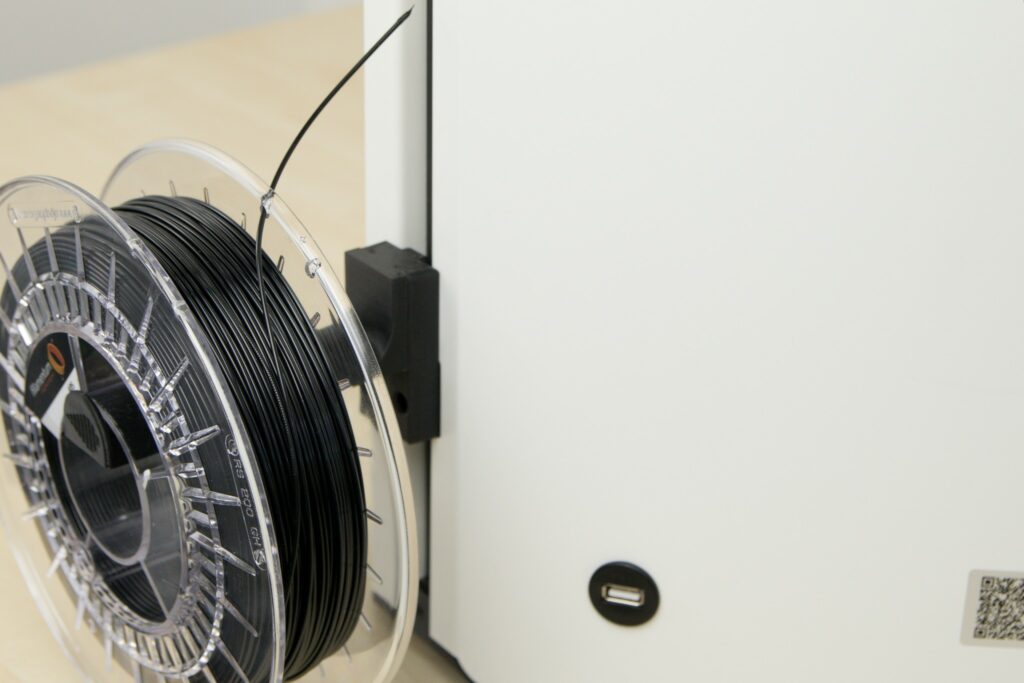
- Remove the filament spool from its packaging and put it on the holder on the side of the printer. The end of the filament is still fixed securely in the slot of the spool.
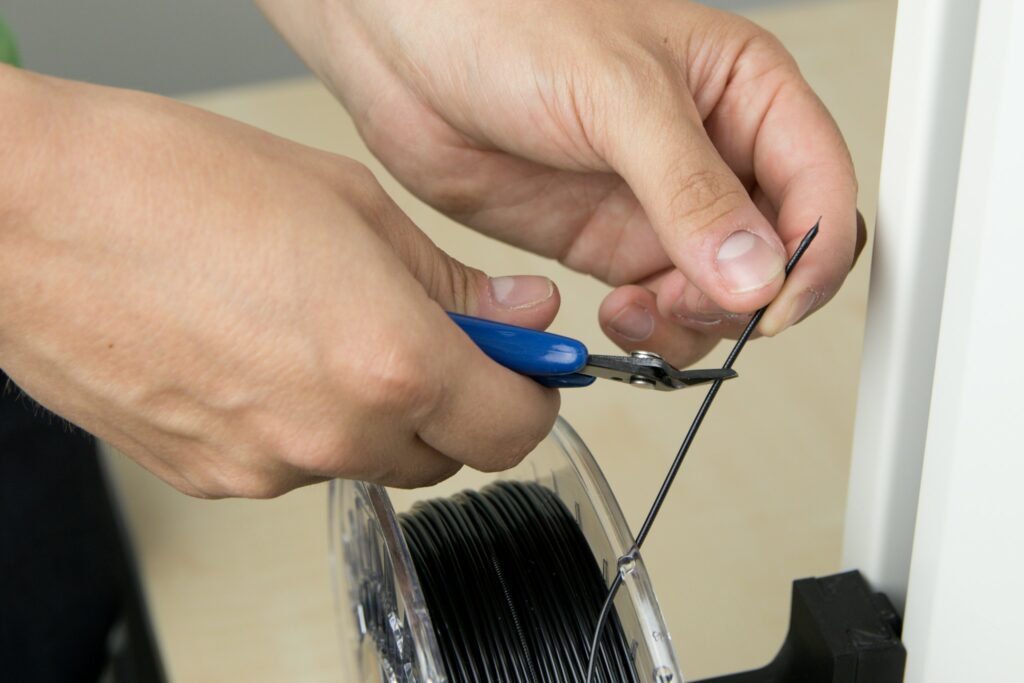
- Use the supplied pincers to cut the end of the filament at a 45° angle.
- Then remove the end of the filament from the spool and pull it towards the filament sensor.
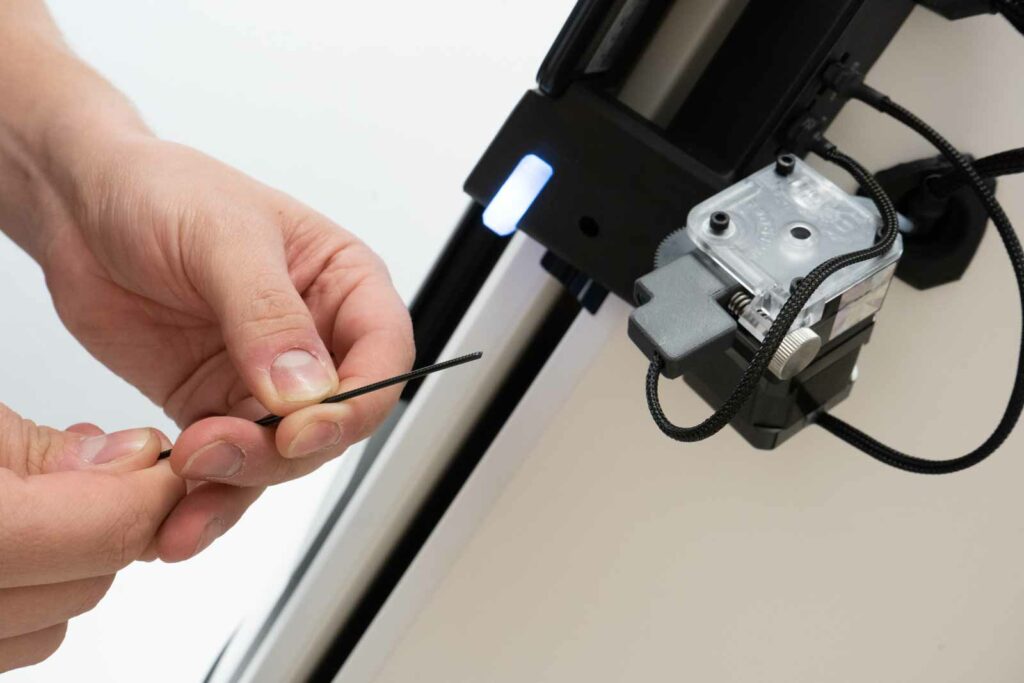
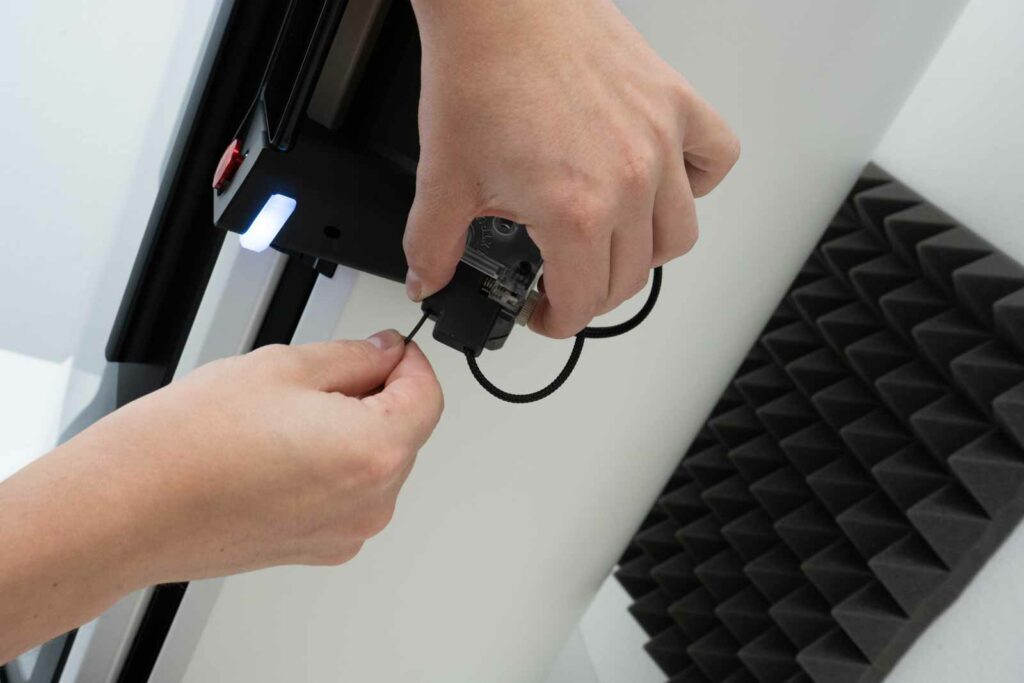
- Use your index finger and thumb to press the two marked spots on the Titan extruder against each other. That will allow the filament to be inserted easily around the feed wheel.
- The end of the filament appears in the transparent Bowden line behind the extruder. As soon as you see about 1–2 centimetres of the filament in the tube, release the pressure of your hand; the filament is ready to be loaded by the printer control.
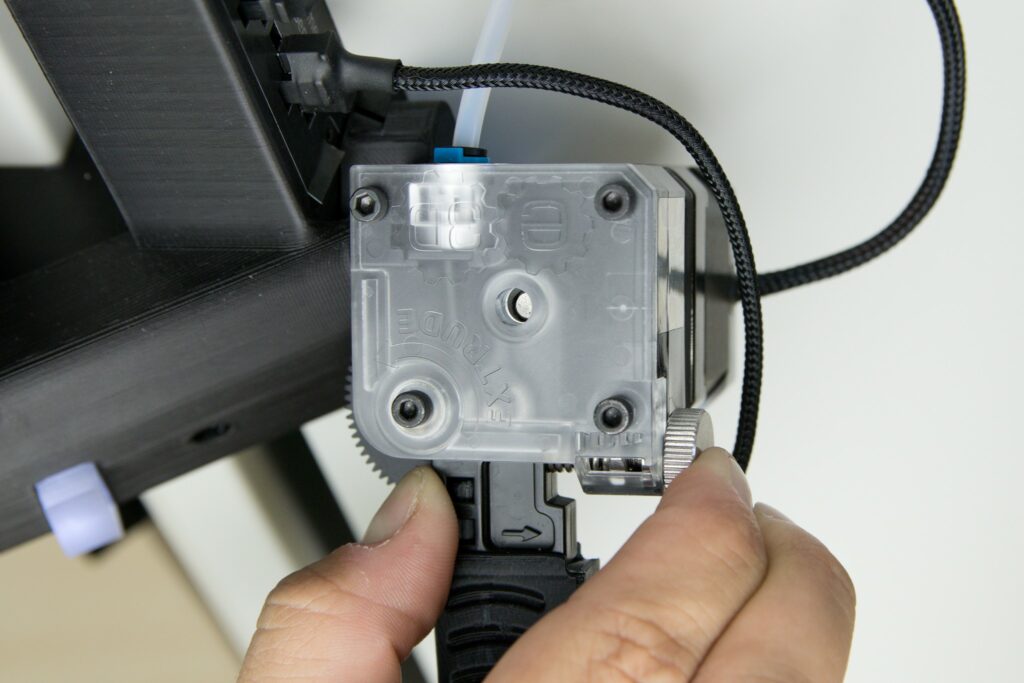
- In DeltaControl, click the Prepare tab, make sure that Titan extruder is highlighted and select LOAD FILAMENT.
- The printer begins to heat the hotend (the status indicator changes colour to yellow).
- Once the heating has been completed, the filament is loaded into the hotend and any residues of previous filament are purged.
- In order to cool the print head after loading the filament and to prevent the filament from flowing by itself out of the heated nozzle, click on the thermometer icon in Temperature settings. That causes the heating to be turned off and cooling to room temperature is started.
- Once the hotend has cooled down, remove the purged filament from the printpad and from the nozzle so that the printed product is not damaged.
Note: If you let the hotend be cooled down to room temperature, the filament becomes stiff and it is more difficult to tear it off.
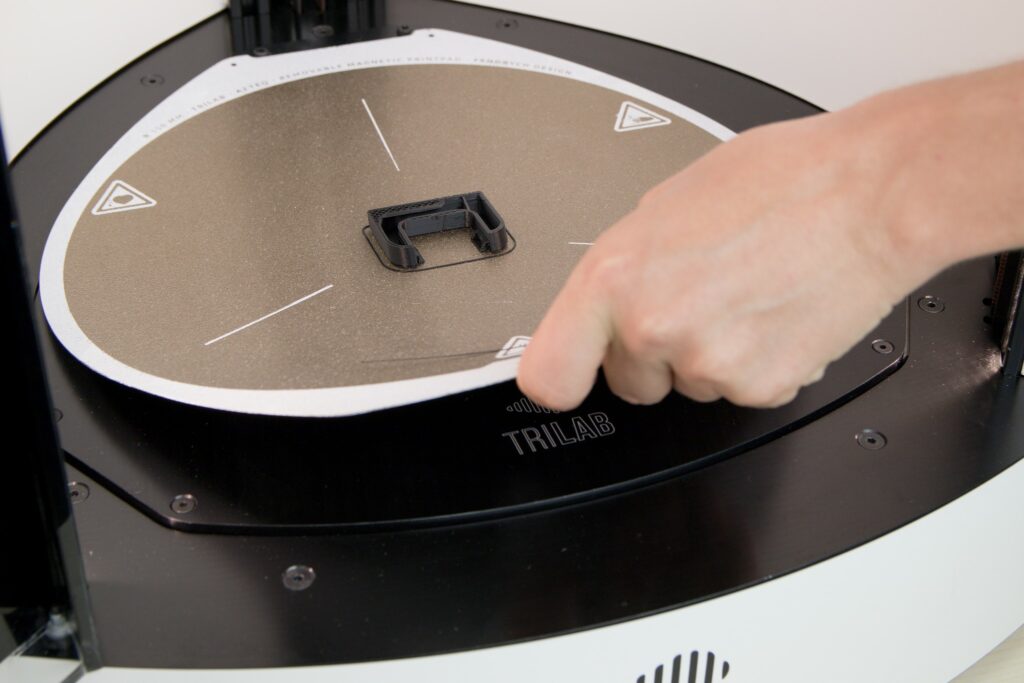
3) Installing the PrintPad
TRILAB AzteQ uses replaceable PrintPads. These are specially coated steel plates attached magnetically to a heated bed.
Warning: Never print without the PrintPad inserted, otherwise, the print bed and the print head will be damaged!
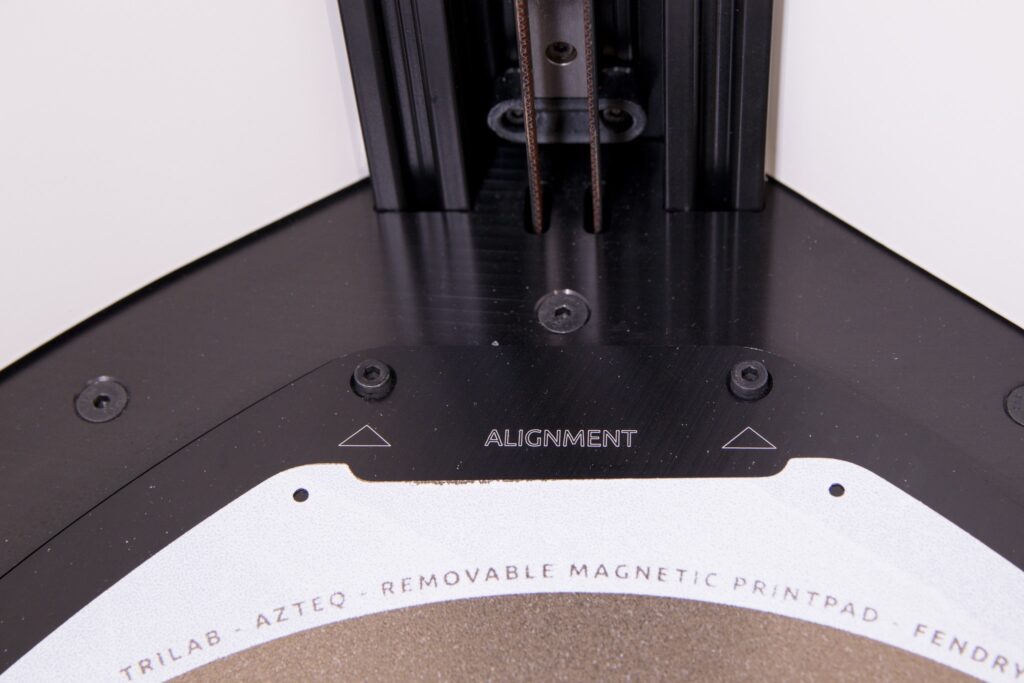
There are two protrusions (screw heads) in the back part of the printer that help you to install the PrintPad correctly. The PrintPad must touch the two protrusions but it must not be placed on them (it would not adhere perfectly to the heated bed).
We recommend the following PrintPad installation procedure:
- Clean the PrintPad as well as the heated bed.
Notice: Any impurities will prevent completely level installation, so there must be no impurities on the surface or between the heated bed and the PrintPad.
- Prepare the PrintPad with the TRILAB sign facing forward.
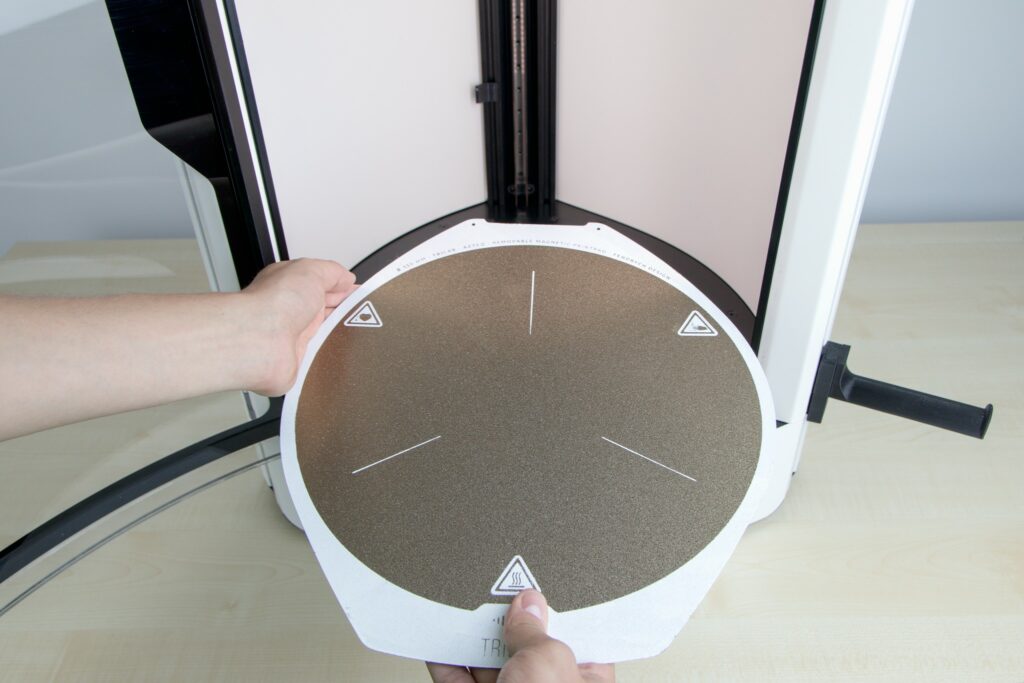
- Push the back of the cut-out part of the PrintPad up to the two protruding screws and to the ALIGNMENT sign in the rear section of the printer. If the PrintPad is installed properly, the ALIGNMENT sign is then covered.
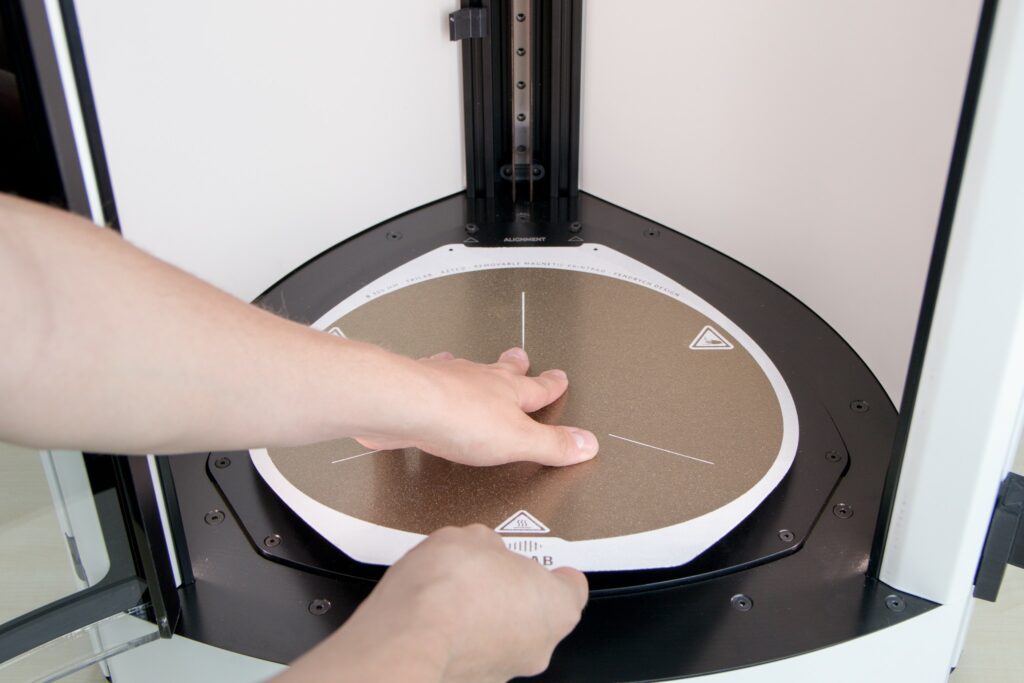
- Release the PrintPad and it will then be drawn to the bed by the magnets.

4) PrintPad preparation
The PrintPad that comes with the printer is coated with a layer of powdered PEI, which has perfect properties for trouble-free removal of the printed product.
Before each print, degrease the PrintPad using IPA wipes (isopropyl alcohol) or liquid IPA and a disposable wipe.
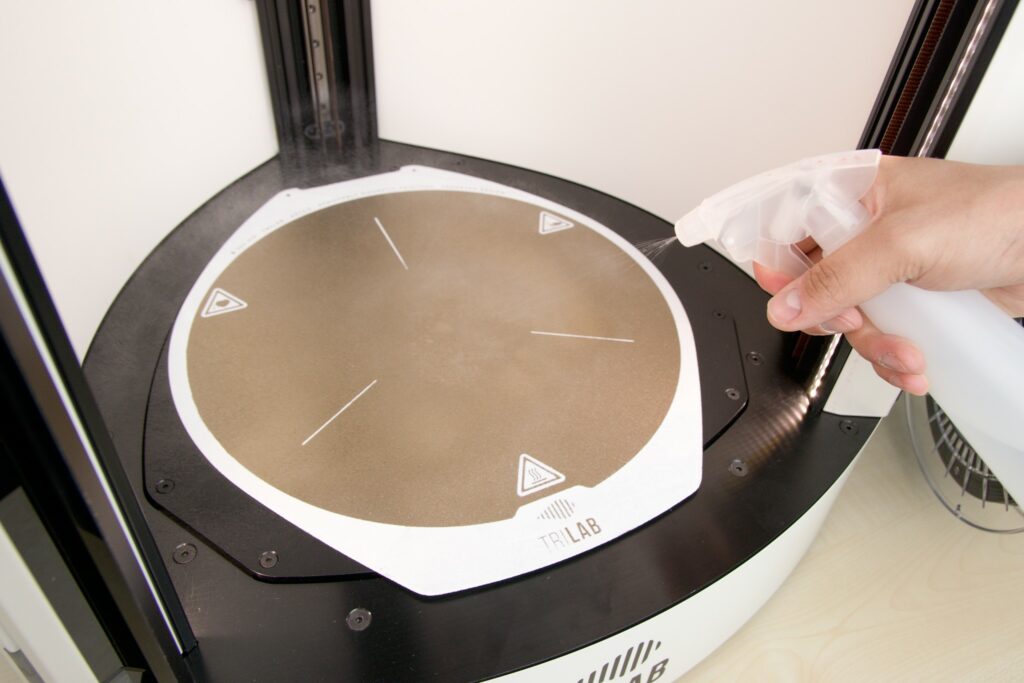

Tip: Make sure the PrintPad is always degreased properly and thoroughly before every printing session. The PEI printing surface is versatile and very durable but it is very sensitive to grease. If the surface is not degreased properly, problems with lower material adhesion may occur.
Warning: Never print directly on the bed or use any of the above procedures to it.
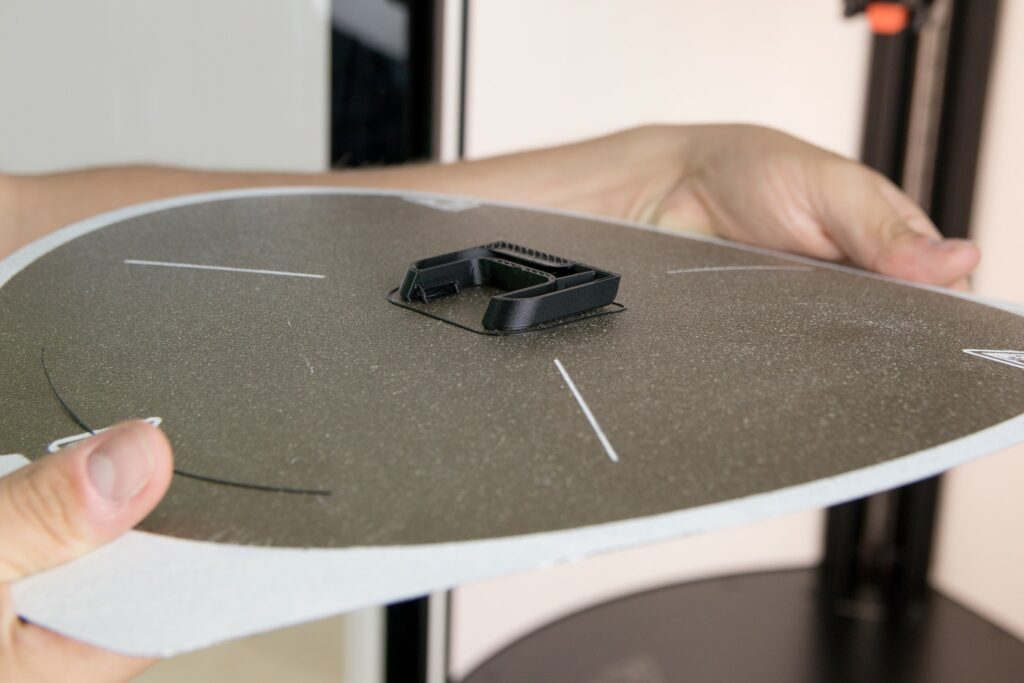
5) Starting the test print
Use one of the models stored in the printer’s memory for the first printing. These models have been prepared by our specialists and the G-code has been optimized for your printer. By visually inspecting the printed product you will see whether your printer is working properly.
Note: Make sure that the chamber door is closed before printing. If it is not closed, printing will not start.
The easiest way to start printing is to use the DeltaControl display. In the Files tab there is a directory called Demogcodes/Demoprints that contains models prepared by us.
Note: Remove any resiudes of filament from the nozzle before starting to print.
Start printing by tapping the file name and confirming.
After confirming the start of printing, the status indicator turns blue (printing in progress) and the printer begins to heat the bed and the chamber, depending on the material used, and the nozzle to 150°C/180°C. After all three components have been heated, tensiometric calibration for 13 points is performed and then autolevelling (automatic levelling of the printing plane according to minor imperfections of the bed and the PrintPad) is carried out. After these automatic actions, the print head travels forward to the left profile and starts heating up the nozzle to the required temperature. Once the nozzle has been heated, the print head performs initial rinsing and then automatically goes on to print the model.
The printing of the first layer is a very important moment, so it is a good idea not to leave before the complete first layer is finished. The height of the first layer may need to be adjusted for the selected filament. This adjustment can be set in the Tune tab in the DeltaControl application. For more information, please refer to Setting the first layer height.
6) Removing the printed product
Congratulations! Your first product has been printed successfully. There are two ways to remove it.
- Remove the whole PrintPad (lift the front part of it), take it out of the printer and separate the printed product from the pad by slightly bending the plate.
- Use the spatula. Put one side of the spatula under the PrintPad. Feel free to use your fingers to push the spatula so it bends and moves as parallel to the pad as possible. Then separate the printed product by pushing the spatula under it.
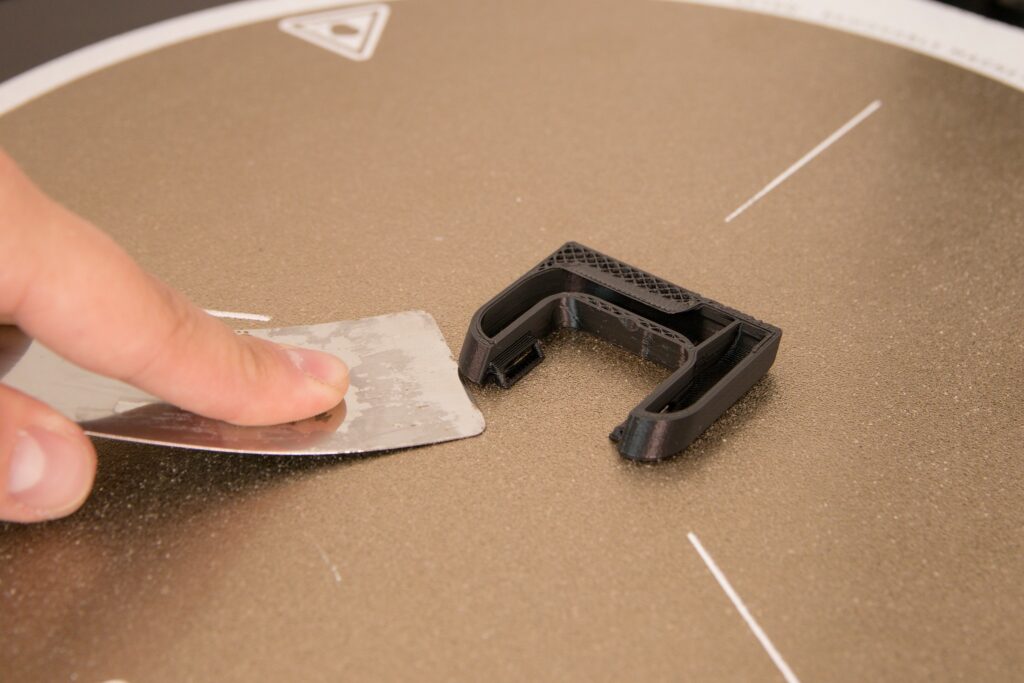
Tip: If your printed product has corners or sharp edges, they are the perfect places to slide the spatula under. Rounded and circular parts are less suitable.
7) Hotend cooling
Before another product can be printed, the print head must be cooled below 150 °C. If you enter a printing command before the cooling is finished, the rear ventilator turns on automatically to quicken the cooling. As soon as the print head temperature drops below 150 °C, the rear ventilator stops and the printing task starts.
Note: If the printer is turned off before the hotend is cooled down, the nozzle may become clogged. This can happen especially with PLA, which is plasticised at as low as 60 °C.
8) Turning off the printer
Never turn the printer off if the nozzle temperature has not fallen below 50 °C. The printer can be turned off in a way similar to turning it on: use the rocker switch on the printer.
Note: If you turn the printer off (using the rocker switch) and you know it will not be used for a longer period of time, you should turn off the DeltaControl display as well. That will prevent any problems related to the telephone battery.